
jeffersongoncalves / editorialthemev5

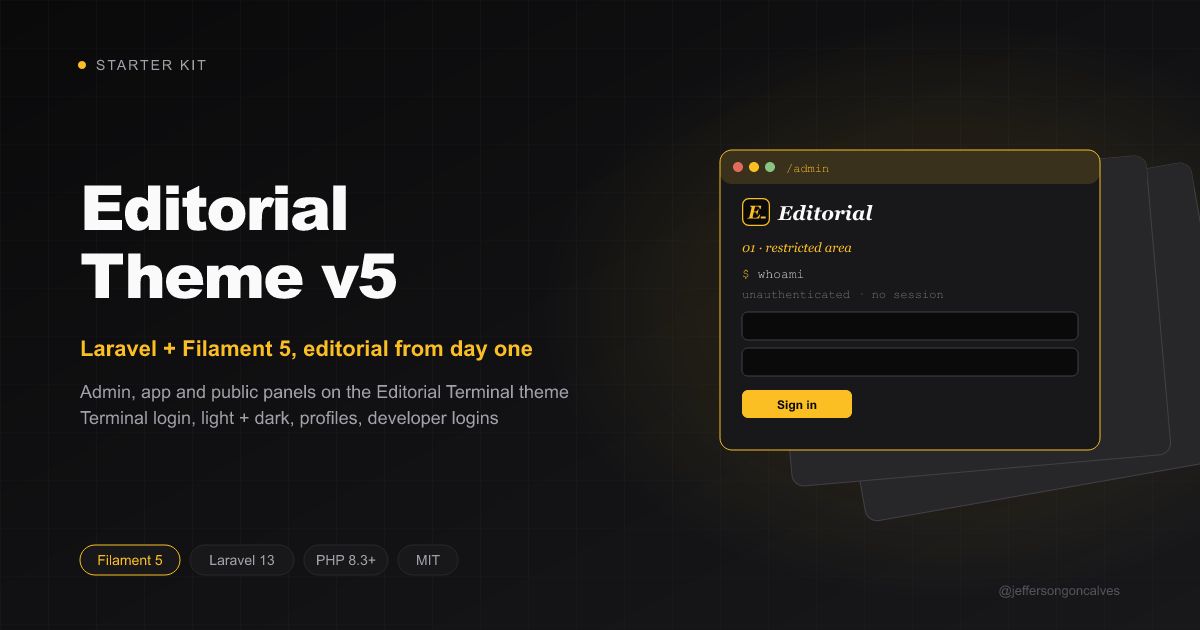
EditorialTheme starter kit built on Laravel 13.x and Filament 5.x with a ready-to-use multi-panel structure.
Package info
github.com/jeffersongoncalves/editorialthemev5
Type:project
pkg:composer/jeffersongoncalves/editorialthemev5
Requires
- php: ^8.3
- achyutn/filament-log-viewer: ^2.1
- dutchcodingcompany/filament-developer-logins: ^2.1
- filament/filament: ^5.0
- jeffersongoncalves/filament-additional-information: ^3.0
- jeffersongoncalves/filament-admin: ^3.0
- jeffersongoncalves/filament-editorial-theme: ^3.3
- jeffersongoncalves/filament-logo: ^3.0
- jeffersongoncalves/filament-pwa: ^3.0
- jeffersongoncalves/filament-sensible-defaults: ^3.0
- jeffersongoncalves/filament-user: ^3.0
- joaopaulolndev/filament-edit-profile: ^3.0
- laravel/framework: ^13.0
- laravel/tinker: ^3.0
- livewire/livewire: ^4.0
- stechstudio/filament-impersonate: ^5.4
Requires (Dev)
- barryvdh/laravel-debugbar: ^4.0
- barryvdh/laravel-ide-helper: ^3.5
- fakerphp/faker: ^1.23
- larastan/larastan: ^3.2
- laravel/pail: ^1.1
- laravel/pint: ^1.13
- laravel/sail: ^1.26
- mockery/mockery: ^1.6
- nunomaduro/collision: ^8.1
- pestphp/pest: ^4.4
- pestphp/pest-plugin-laravel: ^4.1
Suggests
None
Provides
None
Conflicts
None
Replaces
None
README
EditorialTheme Start Kit Filament 5.x and Laravel 13.x
About EditorialTheme
EditorialTheme is a robust starter kit built on Laravel 13.x and Filament 5.x, designed to accelerate the development of modern web applications with a ready-to-use multi-panel structure, styled with the Editorial Terminal theme: paper + terminal aesthetic, Fraunces / DM Sans / JetBrains Mono typography, amber palette, light and dark schemes and a terminal-style login.
Features
- Laravel 13.x - The latest version of the most elegant PHP framework
- Filament 5.x - Powerful and flexible admin framework
- Multi-Panel Structure - Includes three pre-configured panels:
- Admin Panel (
/admin) - For system administrators - App Panel (
/app) - For authenticated application users - Public Panel (frontend interface) - For visitors
- Admin Panel (
- Editorial Terminal Theme -
jeffersongoncalves/filament-editorial-themeon every panel, with the terminal login (and its light/dark toggle) on the Admin and App panels - Environment Configuration - Centralized configuration through the
config/editorialtheme.phpfile
System Requirements
- PHP 8.3 or higher
- Composer
- Node.js and PNPM
Installation
Clone the repository
laravel new my-app --using=jeffersongoncalves/editorialthemev5 --database=mysql
Using FilaKit CLI
Or use FilaKit CLI for a simplified setup:
filakit new my-app --kit=jeffersongoncalves/editorialthemev5
Install FilaKit CLI:
composer global require jeffersongoncalves/filakit-cli
Easy Installation
EditorialTheme can be easily installed using the following command:
php install.php
This command automates the installation process by:
- Installing Composer dependencies
- Setting up the environment file
- Generating application key
- Setting up the database
- Running migrations
- Installing Node.js dependencies
- Building assets
- Configuring Herd (if used)
Manual Installation
Install JavaScript dependencies
pnpm install
Install Composer dependencies
composer install
Set up environment
cp .env.example .env
php artisan key:generate
Configure your database in the .env file
Run migrations
php artisan migrate
Build frontend assets
pnpm run build
Run the server
php artisan serve
Installation with Docker
Clone the repository
laravel new my-app --using=jeffersongoncalves/editorialthemev5 --database=mysql
Move into the project directory
cd my-app
Install Composer dependencies
composer install
Set up environment
cp .env.example .env
Configuring custom ports may be necessary if you have other services running on the same ports.
# Application Port (ex: 8080)
APP_PORT=8080

# MySQL Port (ex: 3306)
FORWARD_DB_PORT=3306

# Redis Port (ex: 6379)
FORWARD_REDIS_PORT=6379

# Mailpit Port (ex: 1025)
FORWARD_MAILPIT_PORT=1025
Start the Sail containers
./vendor/bin/sail up -d
You won’t need to run php artisan serve, as Laravel Sail automatically handles the development server within the container.
Attach to the application container
./vendor/bin/sail shell
Generate the application key
php artisan key:generate
Install JavaScript dependencies
pnpm install
Editorial Terminal Theme — jeffersongoncalves/filament-editorial-theme
All three panels use jeffersongoncalves/filament-editorial-theme:
EditorialThemePlugin::make()is registered in each panel provider (the App panel keeps its green accent via->primaryColor(Color::Green)).- Each panel's
resources/css/filament/{panel}/theme.cssimports Filament's theme, then the editorial theme, and@sources the theme's views so Tailwind keeps the utilities its partials use. - The Admin and App logins (
app/Filament/{Admin,App}/Pages/Auth/Login.php) extend thefilament-admin/filament-userlogins — so inactive accounts are still rejected — and only swap in the theme's terminal view, with a light/dark toggle next to the clock.
Customize it from the plugin (footer, sidebar status, fonts, paper grain…) or by overriding the theme's CSS tokens below the
@import in each panel's theme.css — see the theme's README.
Authentication Structure
EditorialTheme comes pre-configured with a custom authentication system that supports different types of users:
Admin- For administrative panel accessUser- For application panel access
Development
# Run the development server with logs, queues and asset compilation
composer dev

# Or run each component separately
php artisan serve
php artisan queue:listen --tries=1
pnpm run dev
Customization
Panel Configuration
Panels can be customized through their respective providers:
app/Providers/Filament/AdminPanelProvider.phpapp/Providers/Filament/AppPanelProvider.phpapp/Providers/Filament/PublicPanelProvider.php
Alternatively, these settings are also consolidated in the config/editorialtheme.php file for easier management.
Themes and Colors
Each panel can have its own color scheme, which can be easily modified in the corresponding Provider files or in the
editorialtheme.php configuration file.
Configuration File
The config/editorialtheme.php file centralizes the configuration of the starter kit, including:
- Panel routes
- Middleware for each panel
- Branding options (logo, colors)
- Authentication guards
User Profile — joaopaulolndev/filament-edit-profile
This project already comes with the Filament Edit Profile plugin integrated for the Admin and App panels. It adds a complete profile editing page with avatar, language, theme color, security (tokens, MFA), browser sessions, and email/password change.
- Routes (defaults in this project):
- Admin: /admin/my-profile
- App: /app/my-profile
- Navigation: by default, the page does not appear in the menu (shouldRegisterNavigation(false)). If you want to show it in the sidebar menu, change it to true in the panel provider.
Where to configure
-
Panel providers
- Admin: app/Providers/Filament/AdminPanelProvider.php
- App: app/Providers/Filament/AppPanelProvider.php In these files you can adjust:
- ->slug('my-profile') to change the URL (e.g., 'profile')
- ->setTitle('My Profile') and ->setNavigationLabel('My Profile')
- ->setNavigationGroup('Group Profile'), ->setIcon('heroicon-o-user'), ->setSort(10)
- ->shouldRegisterNavigation(true|false) to show/hide it in the menu
- Shown forms: ->shouldShowEmailForm(), ->shouldShowLocaleForm([...]), ->shouldShowThemeColorForm(), ->shouldShowSanctumTokens(), ->shouldShowMultiFactorAuthentication(), ->shouldShowBrowserSessionsForm(), ->shouldShowAvatarForm()
-
General settings: config/filament-edit-profile.php
- locales: language options available on the profile page
- locale_column: column used in your model for language/locale (default: locale)
- theme_color_column: column for theme color (default: theme_color)
- avatar_column: avatar column (default: avatar_url)
- disk: storage disk used for the avatar (default: public)
- visibility: file visibility (default: public)
Migrations and models
- The required columns are already included in this kit’s default migrations (users and admins): avatar_url, locale and theme_color, using the names defined in config/filament-edit-profile.php.
- The App\Models\User and App\Models\Admin models already read the avatar using the plugin configuration (getFilamentAvatarUrl).
Avatar storage
- Make sure the filesystem disk is configured and that the storage link exists: php artisan storage:link
- Adjust the disk and visibility in the config file according to your infrastructure.
Quick access
- Via direct URL: /admin/my-profile or /app/my-profile
- To make it visible in the sidebar navigation, set shouldRegisterNavigation(true) in the respective Provider.
Reference
- Plugin repository: https://github.com/joaopaulolndev/filament-edit-profile
Impersonation — stechstudio/filament-impersonate
This project ships with stechstudio/filament-impersonate wired so administrators can impersonate application users from the Admin panel only.
How it is wired in this kit
- Admin → User direction only. The
App\Models\Adminmodel returnscanImpersonate(): trueandApp\Models\UserreturnscanImpersonate(): false, so only admins can trigger impersonation. - Action available on the Admin
UserResource:- Table row action in
app/Filament/Admin/Resources/Users/Tables/UsersTable.php - Header action on
app/Filament/Admin/Resources/Users/Pages/EditUser.phpandViewUser.php
- Table row action in
- Every action is configured with
->guard('web')->redirectTo('/app')so the impersonated user is logged into the App panel under thewebguard. - Global action defaults (color, icon-only button) are applied once in
app/Providers/AppServiceProvider.phpviaImpersonate::configureUsing(...).
Restricting who can be impersonated
- Add a
canBeImpersonated(): boolmethod onApp\Models\Userif you need to exclude specific records (e.g. block staff accounts). When the method is absent, every user is impersonable.
Leaving impersonation
- A banner is automatically rendered on Filament pages while impersonating. Click "Leave impersonation" to return to the Admin session.
- For non-Filament Blade layouts, add
<x-impersonate::banner/>right before</body>so the banner stays visible outside Filament.
Optional ENV configuration
FILAMENT_IMPERSONATE_REDIRECT— global fallback redirect (this kit overrides per action with/app).FILAMENT_IMPERSONATE_ALLOW_SOFT_DELETED— set totrueto allow impersonating soft-deleted users.FILAMENT_IMPERSONATE_BANNER_STYLE—dark(default),light, orauto.FILAMENT_IMPERSONATE_BANNER_POSITION—top(default) orbottom.
Reference
- Plugin repository: https://github.com/stechstudio/filament-impersonate
Developer Logins — dutchcodingcompany/filament-developer-logins
Quick-login buttons are enabled on the Admin and App panels for local development. The list is built dynamically from the database, restricted to active records (status = true).
- Admin panel (
app/Providers/Filament/AdminPanelProvider.php): pulls fromApp\Models\Admin. - App panel (
app/Providers/Filament/AppPanelProvider.php): pulls fromApp\Models\User. - Both panels are gated by
app()->environment('local'), so the buttons never appear in staging/production.
To change the column shown on the buttons, edit the ->users(...) closure in each provider (for example, swap pluck('email', 'name') for pluck('email', 'email')).
Reference
- Plugin repository: https://github.com/DutchCodingCompany/filament-developer-logins
Resources
EditorialTheme includes support for:
- User and admin management
- Multi-guard authentication system
- Tailwind CSS integration
- Database queue configuration
- Customizable panel routing and branding
License
This project is licensed under the MIT License.
Security headers
Every panel response carries baseline security headers from laravel-security-headers (the SecurityHeaders middleware is the first entry in each panel's ->middleware([...])):
X-Content-Type-Options: nosniff,X-Frame-Options: SAMEORIGIN,Referrer-Policy: strict-origin-when-cross-origin,Permissions-Policy,Cross-Origin-Opener-PolicyStrict-Transport-Securityover HTTPS outside thelocalenvironment (configuretrustProxiesbehind a TLS-terminating proxy)- a
Content-Security-Policythat keeps scripts, styles, fonts, frames and form posts first-party. Filament needs'unsafe-inline'and'unsafe-eval'inscript-src, so it is not an XSS defence — escape and sanitize anything user-supplied. The CSP is disabled inlocalso the Vite dev server works.
Defaults live in config/security-headers.php. Admins can change them at runtime in Settings → Security headers (filament-security-headers); saved values override the config, and Reset to config goes back. Allow any third-party origin you add (analytics, chat widgets, CDNs) in the matching directive, and try a stricter policy with report-only first.
Credits
Developed by Jefferson Gonçalves.