heyblackmagic / foundation
Installs: 24
Dependents: 0
Suggesters: 0
Security: 0
Stars: 1
Watchers: 1
Forks: 0
Open Issues: 0
Type:project
pkg:composer/heyblackmagic/foundation
Requires
- craftcms/ckeditor: ^4.8
- craftcms/cms: 5.7.5
- ether/splash: ^5.0
- fakerphp/faker: ^1.24
- newridetech/php-classnames: ^1.2
- nystudio107/craft-imageoptimize: ^5.0.7
- nystudio107/craft-seomatic: 5.1.13
- nystudio107/craft-templatecomments: ^5.0.4
- nystudio107/craft-vite: ^5.0.1
- twig/html-extra: ^3.21
- vlucas/phpdotenv: ^5.4.0
Requires (Dev)
- craftcms/generator: ^2.1
- yiisoft/yii2-shell: ^2.0.3
README
Foundation is a starter project built to streamline development with Craft CMS 5. It serves as a flexible and robust foundation, providing essential configurations, templates, and tools to kickstart your Craft CMS projects efficiently. Whether you're building a simple website or a complex application, this base project aims to save time and ensure best practices are followed from the start.
Features:
- Pre-configured Craft CMS 5 setup.
- Customizable templates and components.
- Ready-to-use development environment setup.
Requirements:
Before installing this repository, ensure that the following tools are installed and properly configured:
- Docker: You only need one Docker provider installed. We recommend using OrbStack, but other options like Lima, Docker Desktop, Rancher Desktop, or Colima are also compatible. Follow the recommended settings.
- DDEV.
- Visual Studio Code.
- Dev Containers extension.
DDEV global setup
After installing DDEV, or before installing this repository, it is highly recommended to configure your current git settings in DDEV.
Run the following command:
ln -s ~/.gitconfig ~/.ddev/homeadditions/.gitconfig
Installation:
There are two cases where you might need to install this repo:
Installing from scratch:
- Create project with Composer's
create-projectcommand:
# Create a project directory and move into it:
mkdir my-craft-site && cd my-craft-site

# Set up the DDEV environment:
ddev config --project-type=craftcms --docroot=public_html

# Boot the project and install the starter project:
ddev start
ddev composer create --no-scripts heyblackmagic/foundation
- Set the project name and any other DDEV config options.
# Replace YOUR_PROJECT_NAME with the name of your project.
ddev config --project-name=YOUR_PROJECT_NAME

# Restart DDEV
ddev restart
- Install Craft CMS. IMPORTANT: During the installation, the Craft CLI will prompt for information such as database credentials (name, password, user, and database driver) or the project URL. These values are pre-configured and should not be edited.
ddev craft install
# or
ddev craft install \
  --username="YOUR_USERNAME" \
  --email="YOUR_EMAIL@DOMAIN.COM" \
  --password="YOUR_PASSWORD" \
  --site-url='$DDEV_PRIMARY_URL'
- Open project with VSCode.
ddev code
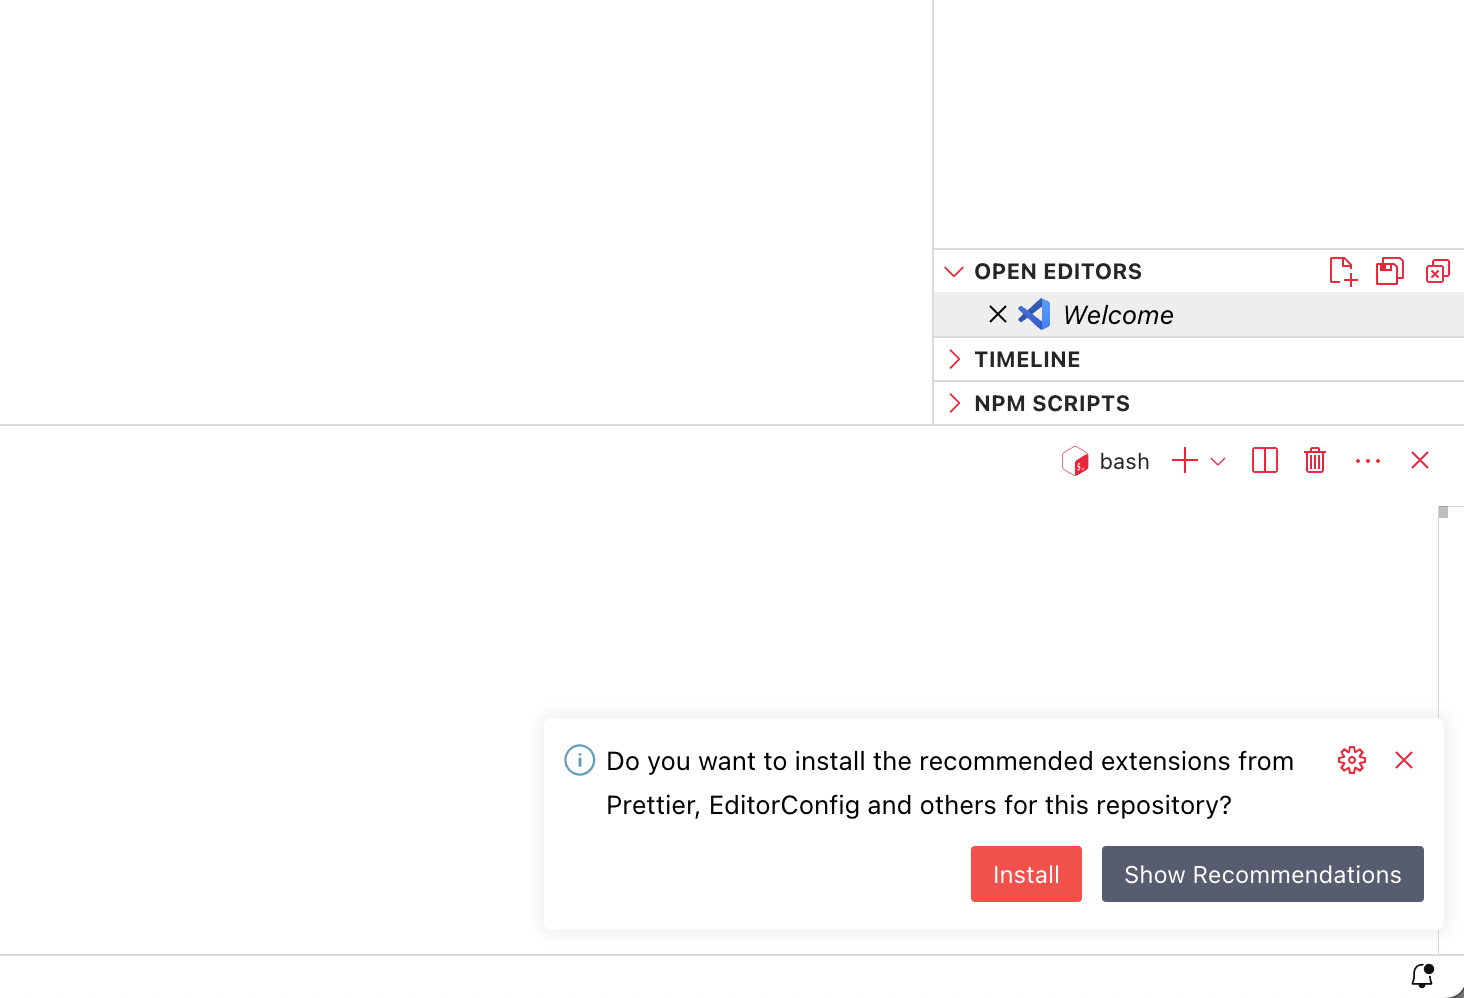
It’s possible that VSCode will ask if you want to install the recommended extensions for this repository.
We highly recommend installing the suggested extensions. You can see a full list of recommended extensions here.
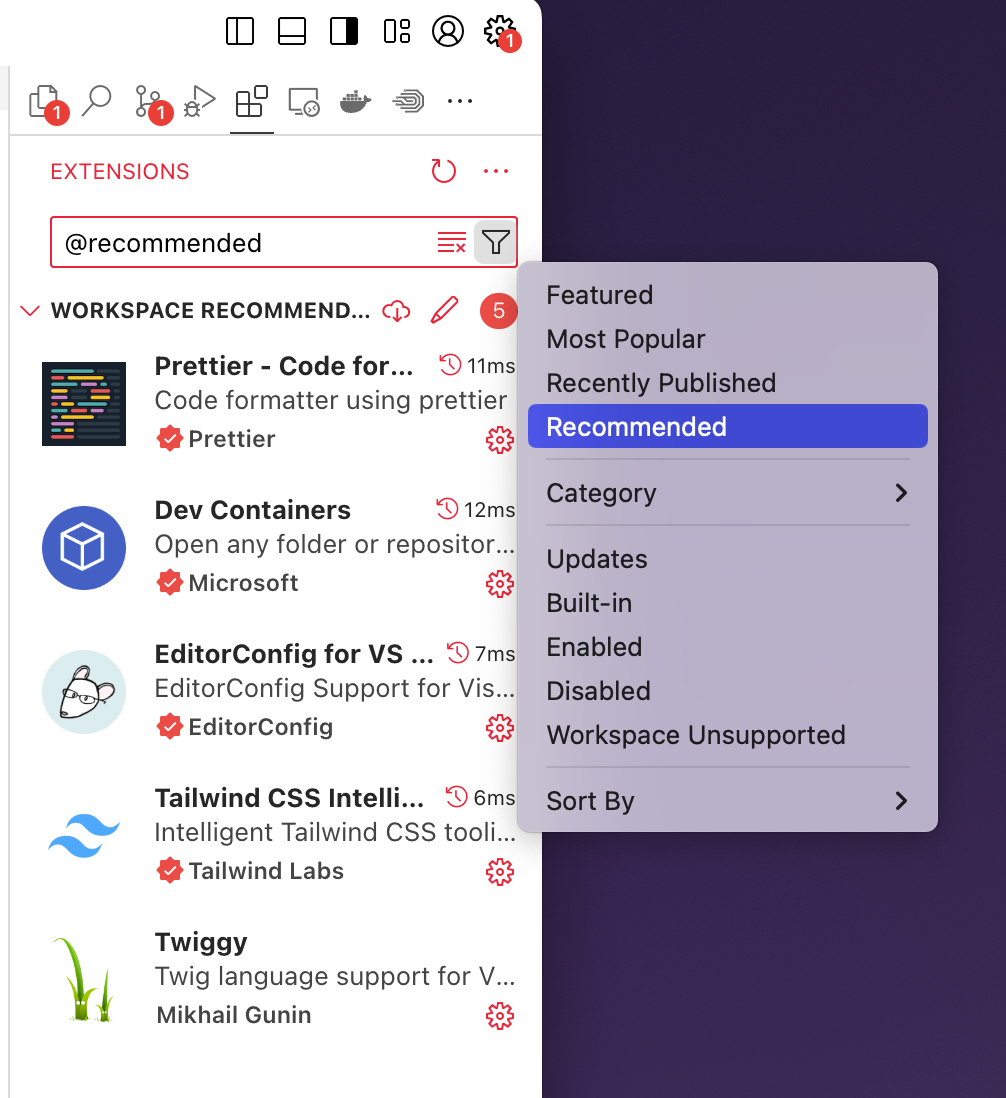
If VSCode doesn’t prompt you about the recommended extensions, you can check them manually by going to Extensions (shift + command + X). In the search bar, filter by “Recommended.”
At this point, running ddev launch or ddev launch /admin will open your project's URL in the default browser.
Happy coding! 😊
Installing existing project (from git pull):
If you are installing an existing project from a git pull or git clone, follow these steps.
-
Pull or clone the project from GitHub.
-
To avoid discrepancies between environments when working collaboratively, avoid changing the name of the DDEV project. Any changes you make to the repo configuration should be communicated to your team.
-
Boot the project.
ddev start
- Import project db.
ddev craft db/restore ./YOUR_DB_BACKUP_PATH
- Open project with VSCode.
ddev code
It’s possible that VSCode will ask if you want to install the recommended extensions for this repository.
We highly recommend installing the suggested extensions. You can see a full list of recommended extensions here.
If VSCode doesn’t prompt you about the recommended extensions, you can check them manually by going to Extensions (shift + command + X). In the search bar, filter by “Recommended.”
You’re ready to continue developing on your existing project.
Happy coding!
Resolving ambiguities about commands
In order for DDEV to be able to execute the commands in their respective context, you must prefix each command with ddev. For example, instead of typing npm run dev, you should type ddev npm run dev. Ref: FAQS, DDEV docs.
However, when you run the ddev code command, VSCode opens the project with the Dev Containers extension, i.e. it opens the docker container directly. This means that any actions in the project will be in the docker / DDEV context, so if you open a VSCode terminal, you won't need the ddev prefix when running your commands.
Workflow commands
ddev npm run dev: Start Vite development server.ddev npm run build: Compile JS and CSS with Vite.ddev craft: Craft console app.
VSCode Extensions
We strongly recommend installing the following extensions for a better development experience:
- DEV Containers: The Dev Containers extension lets you use a Docker container as a full-featured development environment.
- EditorConfig for VSCode: This plugin attempts to override user/workspace settings with settings found in .editorconfig files.
- Prettier - Code formatter: Prettier is an opinionated code formatter. It enforces a consistent style by parsing your code and re-printing it with its own rules that take the maximum line length into account, wrapping code when necessary.
- Tailwind CSS IntelliSense: Tailwind CSS IntelliSense enhances the Tailwind development experience by providing Visual Studio Code users with advanced features such as autocomplete, syntax highlighting, and linting.
- Twiggy: Twiggy Language Server provides syntax highlighting, autocompletion, and formatting for Twig. It is recommended to uninstall any other Twig extensions.


