edrisaturay / filament-ai-chat-agent
Integrate with OpenAI ChatGPT
Installs: 93
Dependents: 0
Suggesters: 0
Security: 0
Stars: 0
Watchers: 0
Forks: 16
pkg:composer/edrisaturay/filament-ai-chat-agent
Requires
- php: ^8.3
- filament/filament: ^5.0
- illuminate/contracts: ^12.0
- livewire/livewire: ^4.0
- spatie/laravel-package-tools: ^1.9.2
Requires (Dev)
- laravel/pint: ^1.0
- nunomaduro/collision: ^8.1
- orchestra/testbench: ^10.0
- pestphp/pest: ^3.0
- pestphp/pest-plugin-arch: ^3.0
- pestphp/pest-plugin-laravel: ^3.0
- phpstan/extension-installer: ^1.1
- phpstan/phpstan-deprecation-rules: ^1.0
- phpstan/phpstan-phpunit: ^1.0
README
Filament AI Chat Agent is a Filament plugin that allows you to easily integrate ChatGPT into your Filament project, enabling ChatGPT to access context information from your project by creating GPT functions.
Note: This is a fork of likeabas/filament-chatgpt-agent originally created by Bas Schleijpen. This version is maintained by Edrisa Turay.
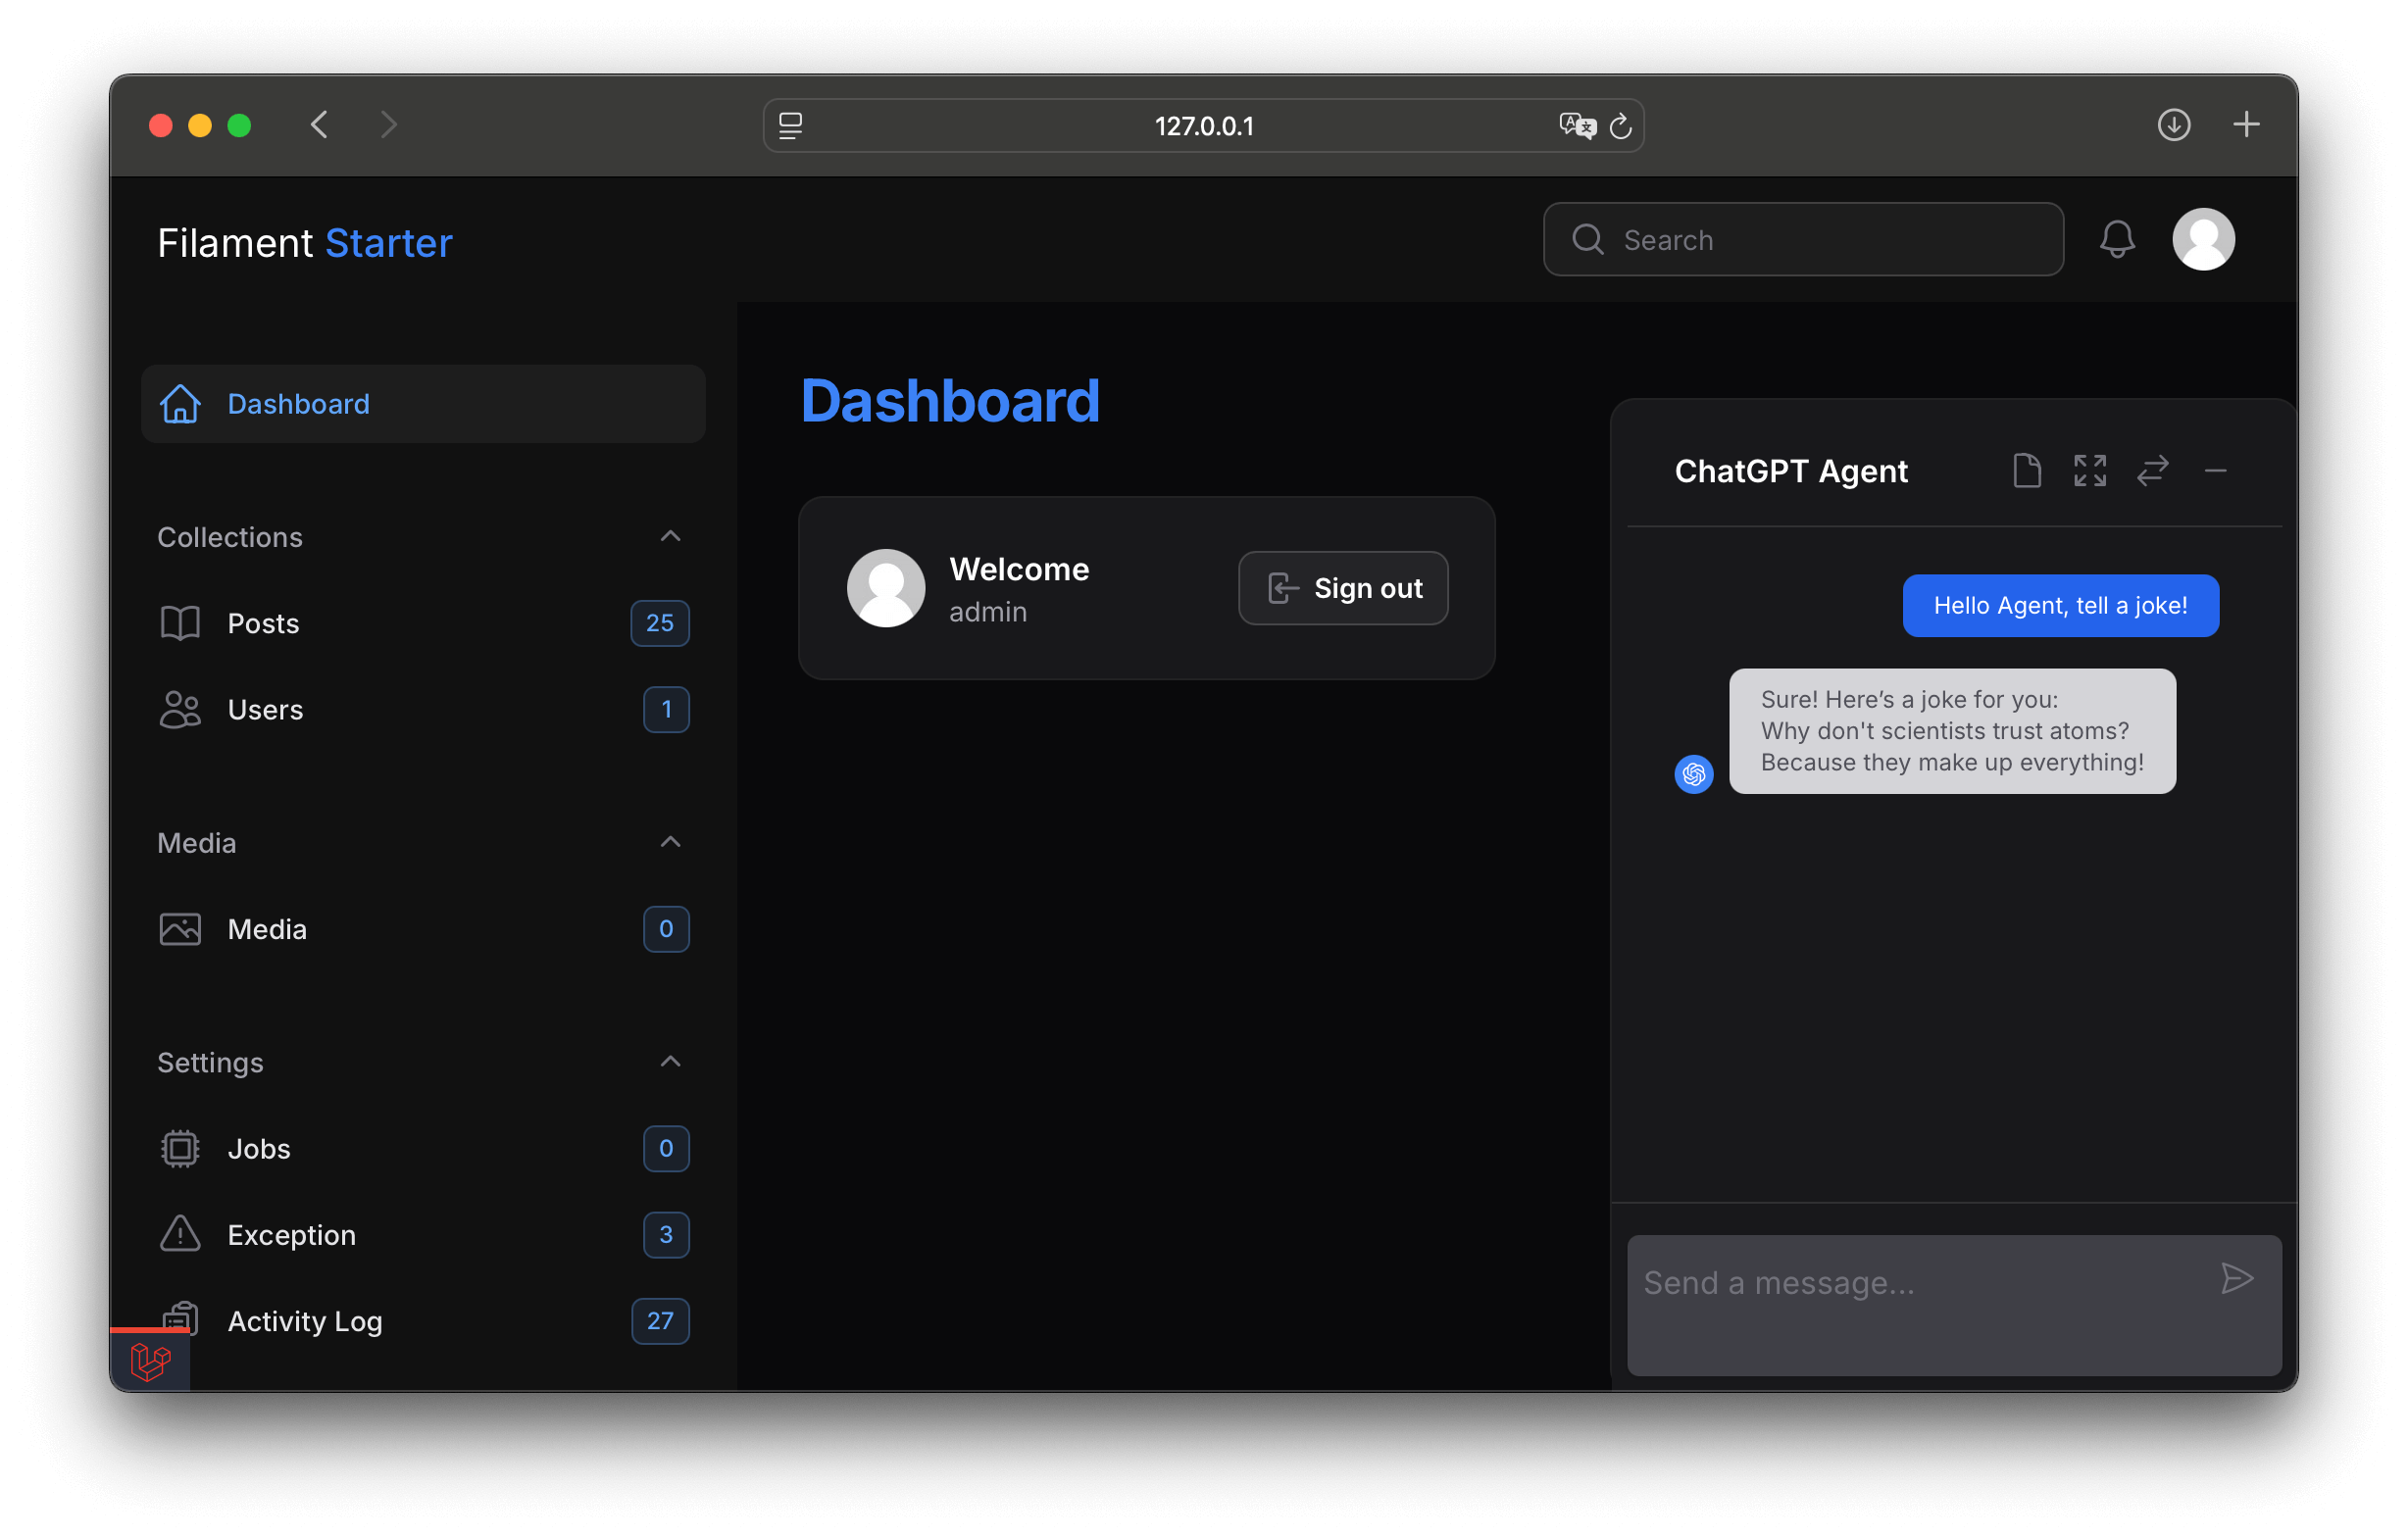
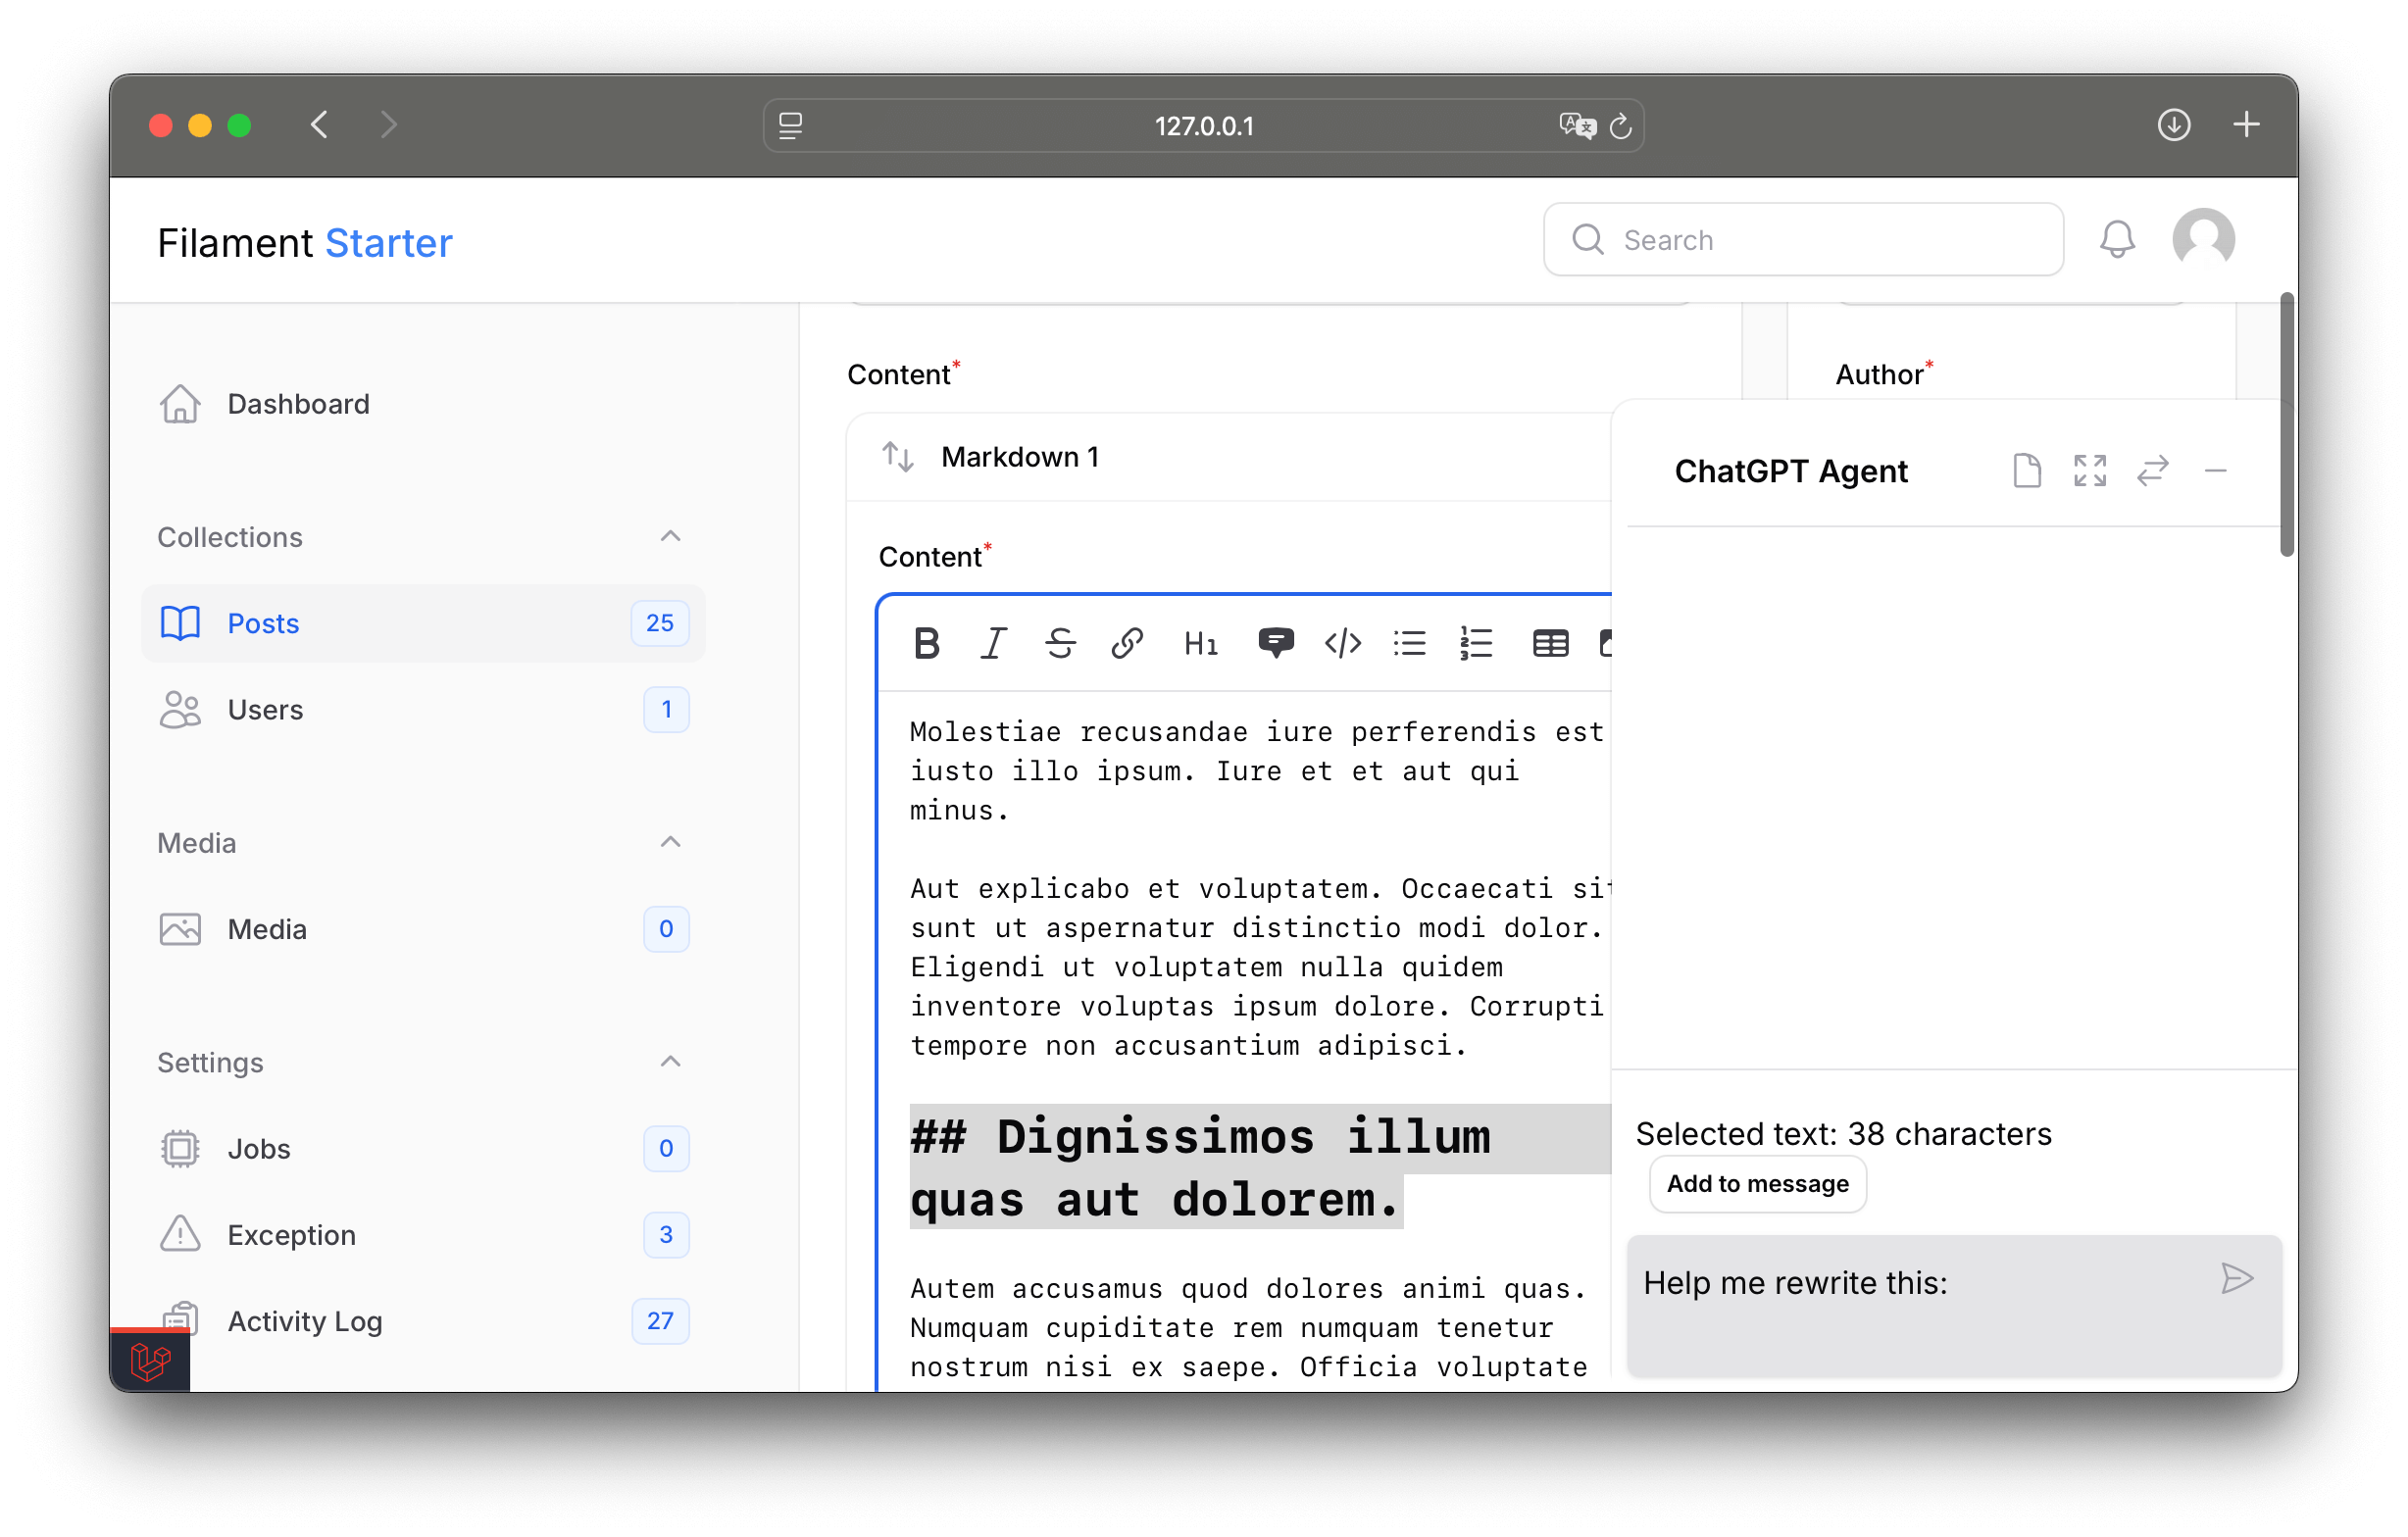
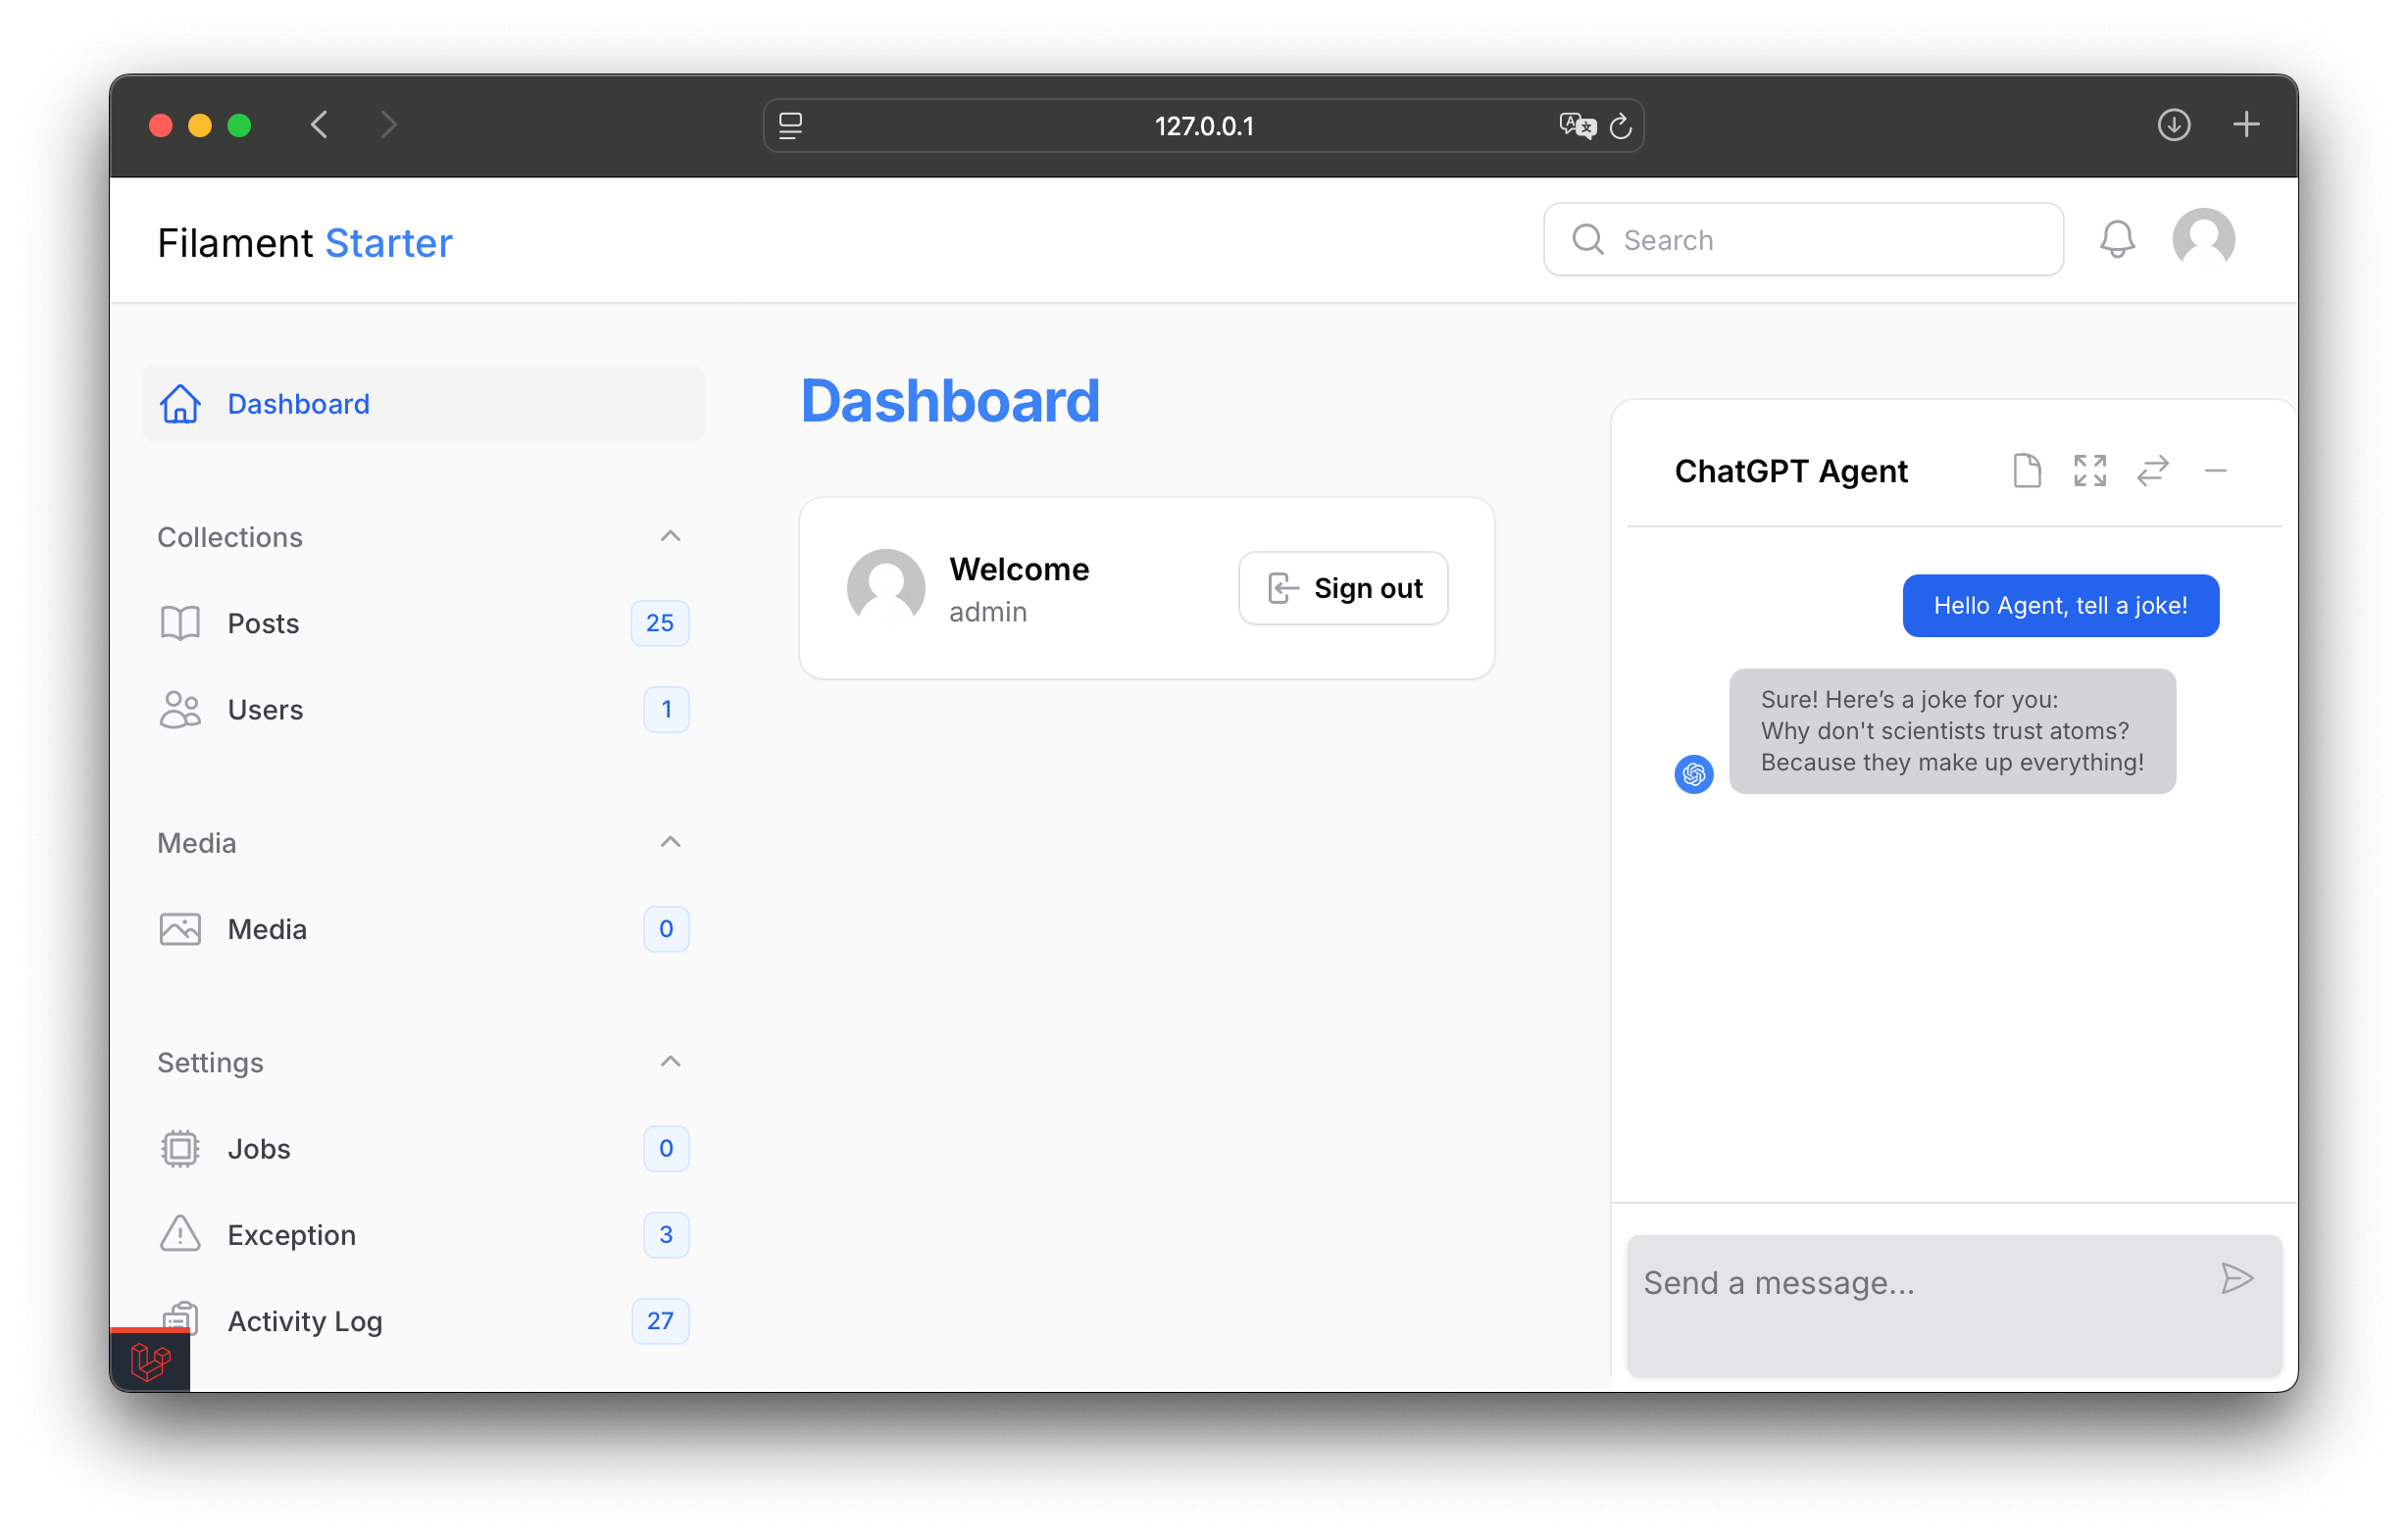
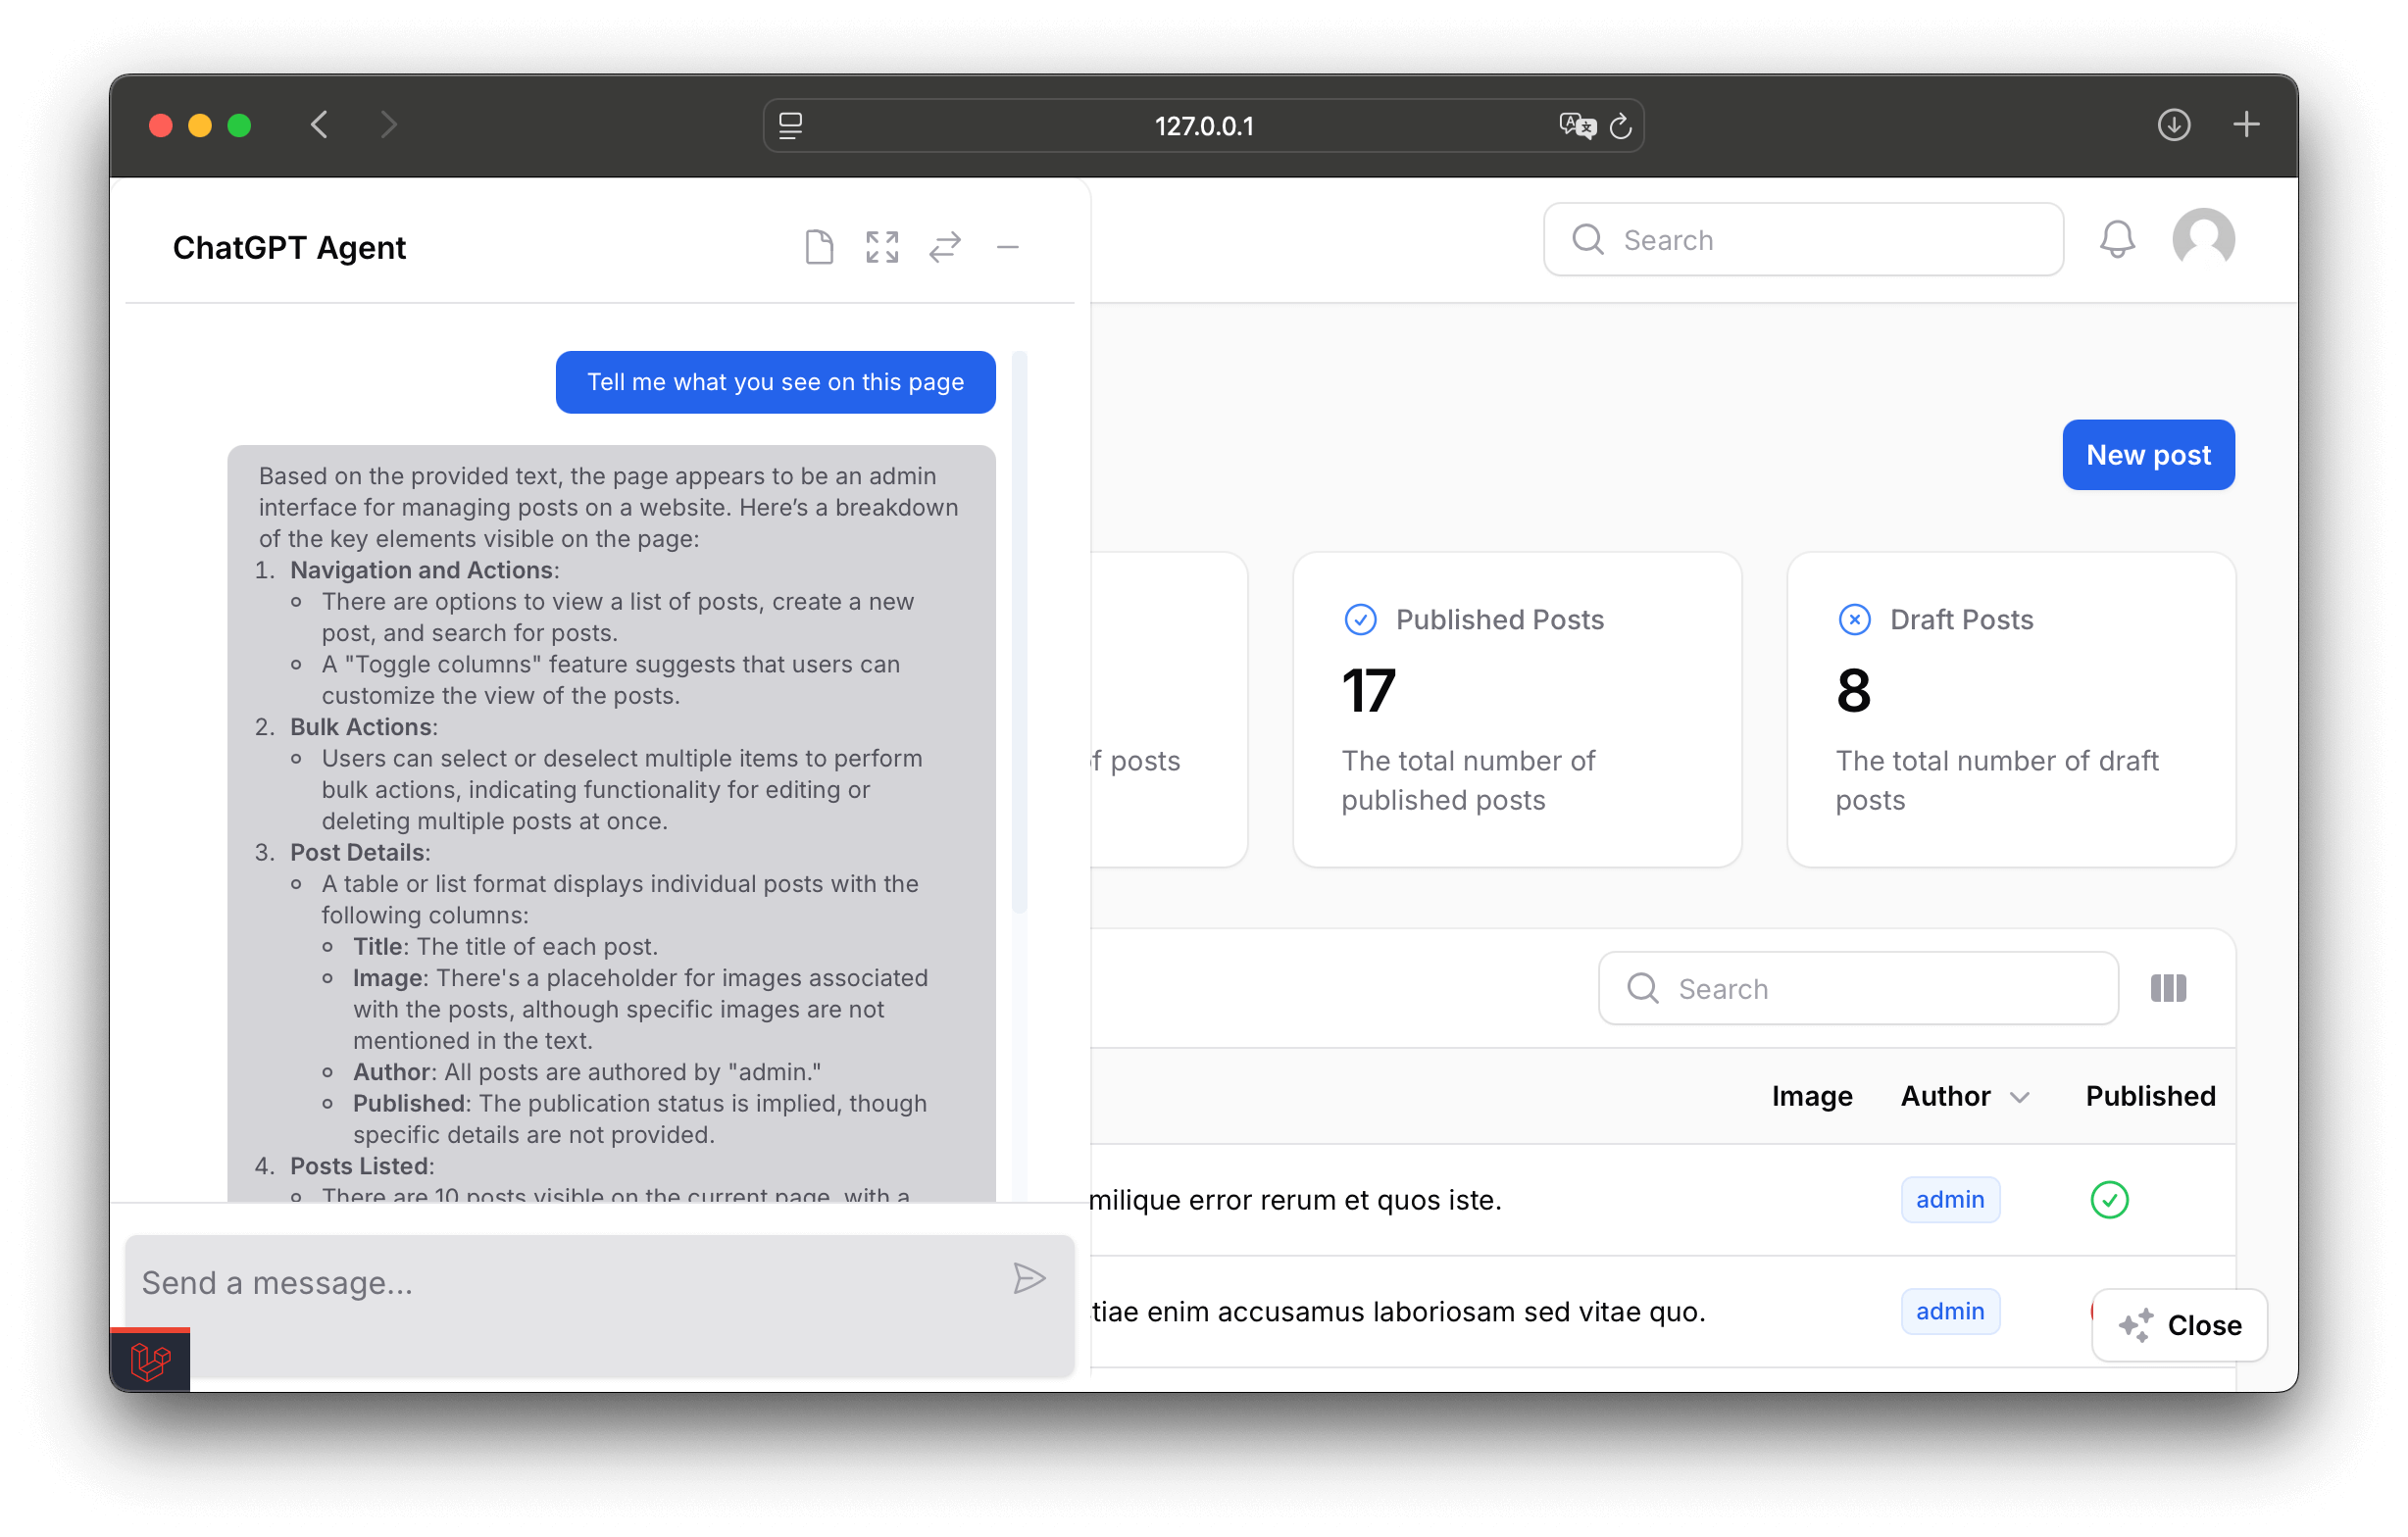
Preview:
Dark Mode:
 Select a text to quickly insert it:
 Light Mode:
 ChatGPT can read the page content for extra context:

Features
I asked ChatGPT to generate a full list of the plugin features:
- Seamless ChatGPT Integration: Easily integrates OpenAI’s ChatGPT into your Filament project.
- Customizable Chat Interface: Modify bot name, button text, panel width, and more.
- Select To Insert: Select some text on the page and insert that with one click.
- Supports Laravel GPT Functions: Define and register custom GPT functions to enhance AI capabilities.
- Page Watcher: Sends the page content and URL to ChatGPT for better contextual responses.
- Configurable OpenAI Model: Choose different models like
gpt-4oorgpt-4o-miniand control temperature and token usage. - Custom System Message: Define how the AI should behave using a system instruction.
- Full Screen Mode: The more space the better.
- Dark Mode Support: Specially tailored to night owls.
Screenshots
Installation
Install this package via Composer:
composer require edrisaturay/filament-ai-chat-agent
Note: This package includes all necessary AI integration functionality and does not require any additional dependencies.
Configuration
Choose Your AI Provider
This package supports both OpenAI and Azure OpenAI. Set your preferred provider in your .env file:
FILAMENT_AI_CHAT_AGENT_PROVIDER=openai
or
FILAMENT_AI_CHAT_AGENT_PROVIDER=azure
OpenAI Configuration
If using OpenAI, configure your API Key and Organization ID. You can find both in the OpenAI Dashboard.
Add these to your .env file:
FILAMENT_AI_CHAT_AGENT_PROVIDER=openai
OPENAI_API_KEY=your-api-key-here
OPENAI_ORGANIZATION=your-organization-id-here
Azure OpenAI Configuration
If using Azure OpenAI, configure your endpoint, API key, region, and deployment name. You can find these in the Azure Portal.
Add these to your .env file:
FILAMENT_AI_CHAT_AGENT_PROVIDER=azure
AZURE_OPENAI_ENDPOINT=https://your-resource-name.openai.azure.com
AZURE_OPENAI_API_KEY=your-api-key-here
AZURE_OPENAI_REGION=your-region
AZURE_OPENAI_DEPLOYMENT_NAME=your-deployment-name
Note: After publishing the config file (see below), these values will be available in
config/ai-chat-agent.phpand can be customized there as well.
Publishing Assets
You can publish the configuration file, views, and translations:
Config
Publish the configuration file:
php artisan vendor:publish --tag="ai-chat-agent-config"
This will create a config/ai-chat-agent.php file where you can customize the default settings, including AI provider selection and API credentials.
The config file will read the provider and API credentials from your .env file by default, but you can override them directly in the config file if needed.
Views
Publish the views:
php artisan vendor:publish --tag="ai-chat-agent-views"
This will publish the views to resources/views/vendor/ai-chat-agent/ where you can customize them.
Translations
Publish the translations:
php artisan vendor:publish --tag="ai-chat-agent-translations"
This will publish the translations to lang/vendor/ai-chat-agent/ where you can customize them.
Publish All
You can also publish all assets at once:
php artisan vendor:publish --provider="EdrisaTuray\FilamentAiChatAgent\FilamentAiChatAgentServiceProvider"
Usage
1. Adding the Plugin to Filament Panel
Modify your Filament Panel Configuration to include the plugin:
use EdrisaTuray\FilamentAiChatAgent\AiChatAgentPlugin;

    public function panel(Panel $panel): Panel
    {
        return $panel
            ...
            ->plugin(
                AiChatAgentPlugin::make()
            )
            ...
    }
2. You can customize the plugin using the available options:
Also see all available options below.
use App\GPT\Functions\YourCustomGPTFunction;
use EdrisaTuray\FilamentAiChatAgent\AiChatAgentPlugin;

...

    public function panel(Panel $panel): Panel
    {
        return $panel
            ...
            ->plugin(
                AiChatAgentPlugin::make()
                    ->defaultPanelWidth('400px') // default 350px
                    ->botName('GPT Assistant')
                    ->model('gpt-4o')
                    ->buttonText('Ask ChatGPT')
                    ->buttonIcon('heroicon-m-sparkles')
                    // System instructions for the GPT
                    ->systemMessage('Act nice and help')
                    // Array of GPTFunctions the GPT can use
                    ->functions([
                        new YourCustomGPTFunction(),
                    ])
                    // Default start message, set to false to not show a message
                    ->startMessage('Hello sir! How can I help you today?')
                    ->pageWatcherEnabled(true)

            )
            ...
    }
Other language strings can be altered in the translations file. Just publish the translations.
See the full list of available options
3. Blade Component Usage
You can embed the ChatGPT agent in any Blade file:
<body>
    @livewire('fi-ai-chat-agent')
</body>
This works for all Livewire pages in any Laravel project, not just Filament. Ensure Tailwind CSS, Filament, and Livewire are properly imported.
<body>

    ...

    @livewire('fi-ai-chat-agent')
</body>
Available Options
| Option | Type | Default | Description |
|---|---|---|---|
enabled() |
bool,Closure |
auth()->check() |
Enables or disables the ChatGPT agent. |
botName() |
string,Closure |
'ChatGPT Agent' |
Sets the displayed name of the bot. |
buttonText() |
string,Closure |
'Ask ChatGPT' |
Customizes the button text. |
buttonIcon() |
string,Closure |
'heroicon-m-sparkles' |
Defines the button icon. |
sendingText() |
string,Closure |
'Sending...' |
Text displayed while sending a message. |
model() |
string,Closure |
'gpt-4o-mini' |
Defines the ChatGPT model used. |
temperature() |
float,Closure |
0.7 |
Controls response randomness. Lower is more deterministic. 0-2. |
maxTokens() |
int,Closure |
null |
Limits the token count per response. null is no limit. |
systemMessage() |
string,Closure |
'' |
Provides system instructions for the bot. |
functions() |
array,Closure |
[] |
Defines callable GPT functions. See Using Laravel GPT Functions |
defaultPanelWidth() |
string,Closure |
'350px' |
Sets the chat panel width. |
pageWatcherEnabled() |
bool,Closure |
false |
See the Page wachter option. |
pageWatcherSelector() |
string,Closure |
'.fi-page' |
Sets the CSS selector for the page watcher. |
pageWatcherMessage() |
string,Closure,null |
null |
Message displayed when the page changes. |
startMessage() |
string,bool,Closure |
false |
Default message on panel open. Set to false to disable. |
logoUrl() |
string,bool,Closure |
false |
Overwrite the chat avatar / logo. Set to false to show a default GPT icon. |
Using GPT Functions
You can define custom GPT Functions that ChatGPT can call to execute tasks within your application. This is useful for integrating dynamic data retrieval, calculations, or external API calls into the ChatGPT responses.
GPT Functions should be objects with:
- A
toArray()method that returns the function definition (name, description, parameters) - An
execute(array $arguments)method that executes the function and returns the result
Example:
class GetUserDataFunction
{
    public function toArray(): array
    {
        return [
            'name' => 'get_user_data',
            'description' => 'Get user information by ID',
            'parameters' => [
                'type' => 'object',
                'properties' => [
                    'user_id' => [
                        'type' => 'integer',
                        'description' => 'The user ID',
                    ],
                ],
                'required' => ['user_id'],
            ],
        ];
    }

    public function execute(array $arguments): string
    {
        $userId = $arguments['user_id'] ?? null;
        $user = User::find($userId);

        return json_encode([
            'id' => $user->id,
            'name' => $user->name,
            'email' => $user->email,
        ]);
    }
}
Page Watcher
The Page Watcher feature allows the ChatGPT agent to receive additional context about the current page by including the .innerText of a specified page element (default: .fi-page, the Filament page container) along with the page URL in each message sent to ChatGPT. This helps provide better contextual responses based on the page content.
Privacy Considerations
Use this feature with caution. Since the entire page content (or the selected element's content) is sent to ChatGPT, users should be informed of this behavior. The pageWatcherEnabled option supports a closure, allowing you to provide an opt-in mechanism for users.
Enabling Page Watcher
To enable the Page Watcher feature, set the pageWatcherEnabled option to true and define a selector for the element to monitor:
public function panel(Panel $panel): Panel
{
    return $panel
        ->plugin(
            AiChatAgentPlugin::make()
                ->pageWatcherEnabled(true) // Enable page watcher
                ->pageWatcherSelector('.custom-content') // Specify the selector
                ->pageWatcherMessage(
                    "This is the plain text the user can see on the page, use it as additional context for the previous message:\n\n"
                ) // Optional custom message for ChatGPT
        );
}
Alternatively, you can use a closure to enable the feature conditionally, such as requiring users to opt-in:
public function panel(Panel $panel): Panel
{
    return $panel
        ->plugin(
            AiChatAgentPlugin::make()
                ->pageWatcherEnabled(fn () => auth()->user()->settings['enable_page_watcher'] ?? false) // User opt-in
                ->pageWatcherSelector('.fi-page')
        );
}
Versioning
This package uses semantic versioning (SemVer). The version is automatically bumped on each push to the main branch via GitHub Actions.
Automatic Version Bumping
When you push to the main branch, the version will be automatically bumped:
- Patch version (default):
1.0.0→1.0.1- For bug fixes and minor changes - Minor version: Include
[minor]in your commit message -1.0.0→1.1.0- For new features - Major version: Include
[major]in your commit message -1.0.0→2.0.0- For breaking changes
Example commit messages:
fix: resolve issue with chat widget [minor]- Will bump to 1.1.0feat: add new feature [major]- Will bump to 2.0.0fix: bug fix- Will bump patch version (1.0.1)
Manual Version Bumping
For local development, you can use the provided script:
./scripts/bump-version.sh [major|minor|patch]
This will:
- Update the version in
composer.json - Commit the change
- Create a git tag
Changelog
Please see CHANGELOG for more information on what has changed recently.
Security Vulnerabilities
Please review our security policy on how to report security vulnerabilities.
Credits
- Original Package: This package is a fork of likeabas/filament-chatgpt-agent originally created by Bas Schleijpen.
- Current Maintainer: Edrisa Turay.
- The view and livewire component structure was inspired by Martin Hwang.
- All Contributors
