
daedaloslabs / filament-shelly

Show live Shelly Cloud sensor stats (temperature, humidity, power, door/window, custom) on any Filament page.
Requires
- php: ^8.2
- filament/filament: ^5.0
- spatie/laravel-package-tools: ^1.16
Requires (Dev)
- orchestra/testbench: ^10.0
- phpunit/phpunit: ^11.0
Suggests
None
Provides
None
Conflicts
None
Replaces
None
README
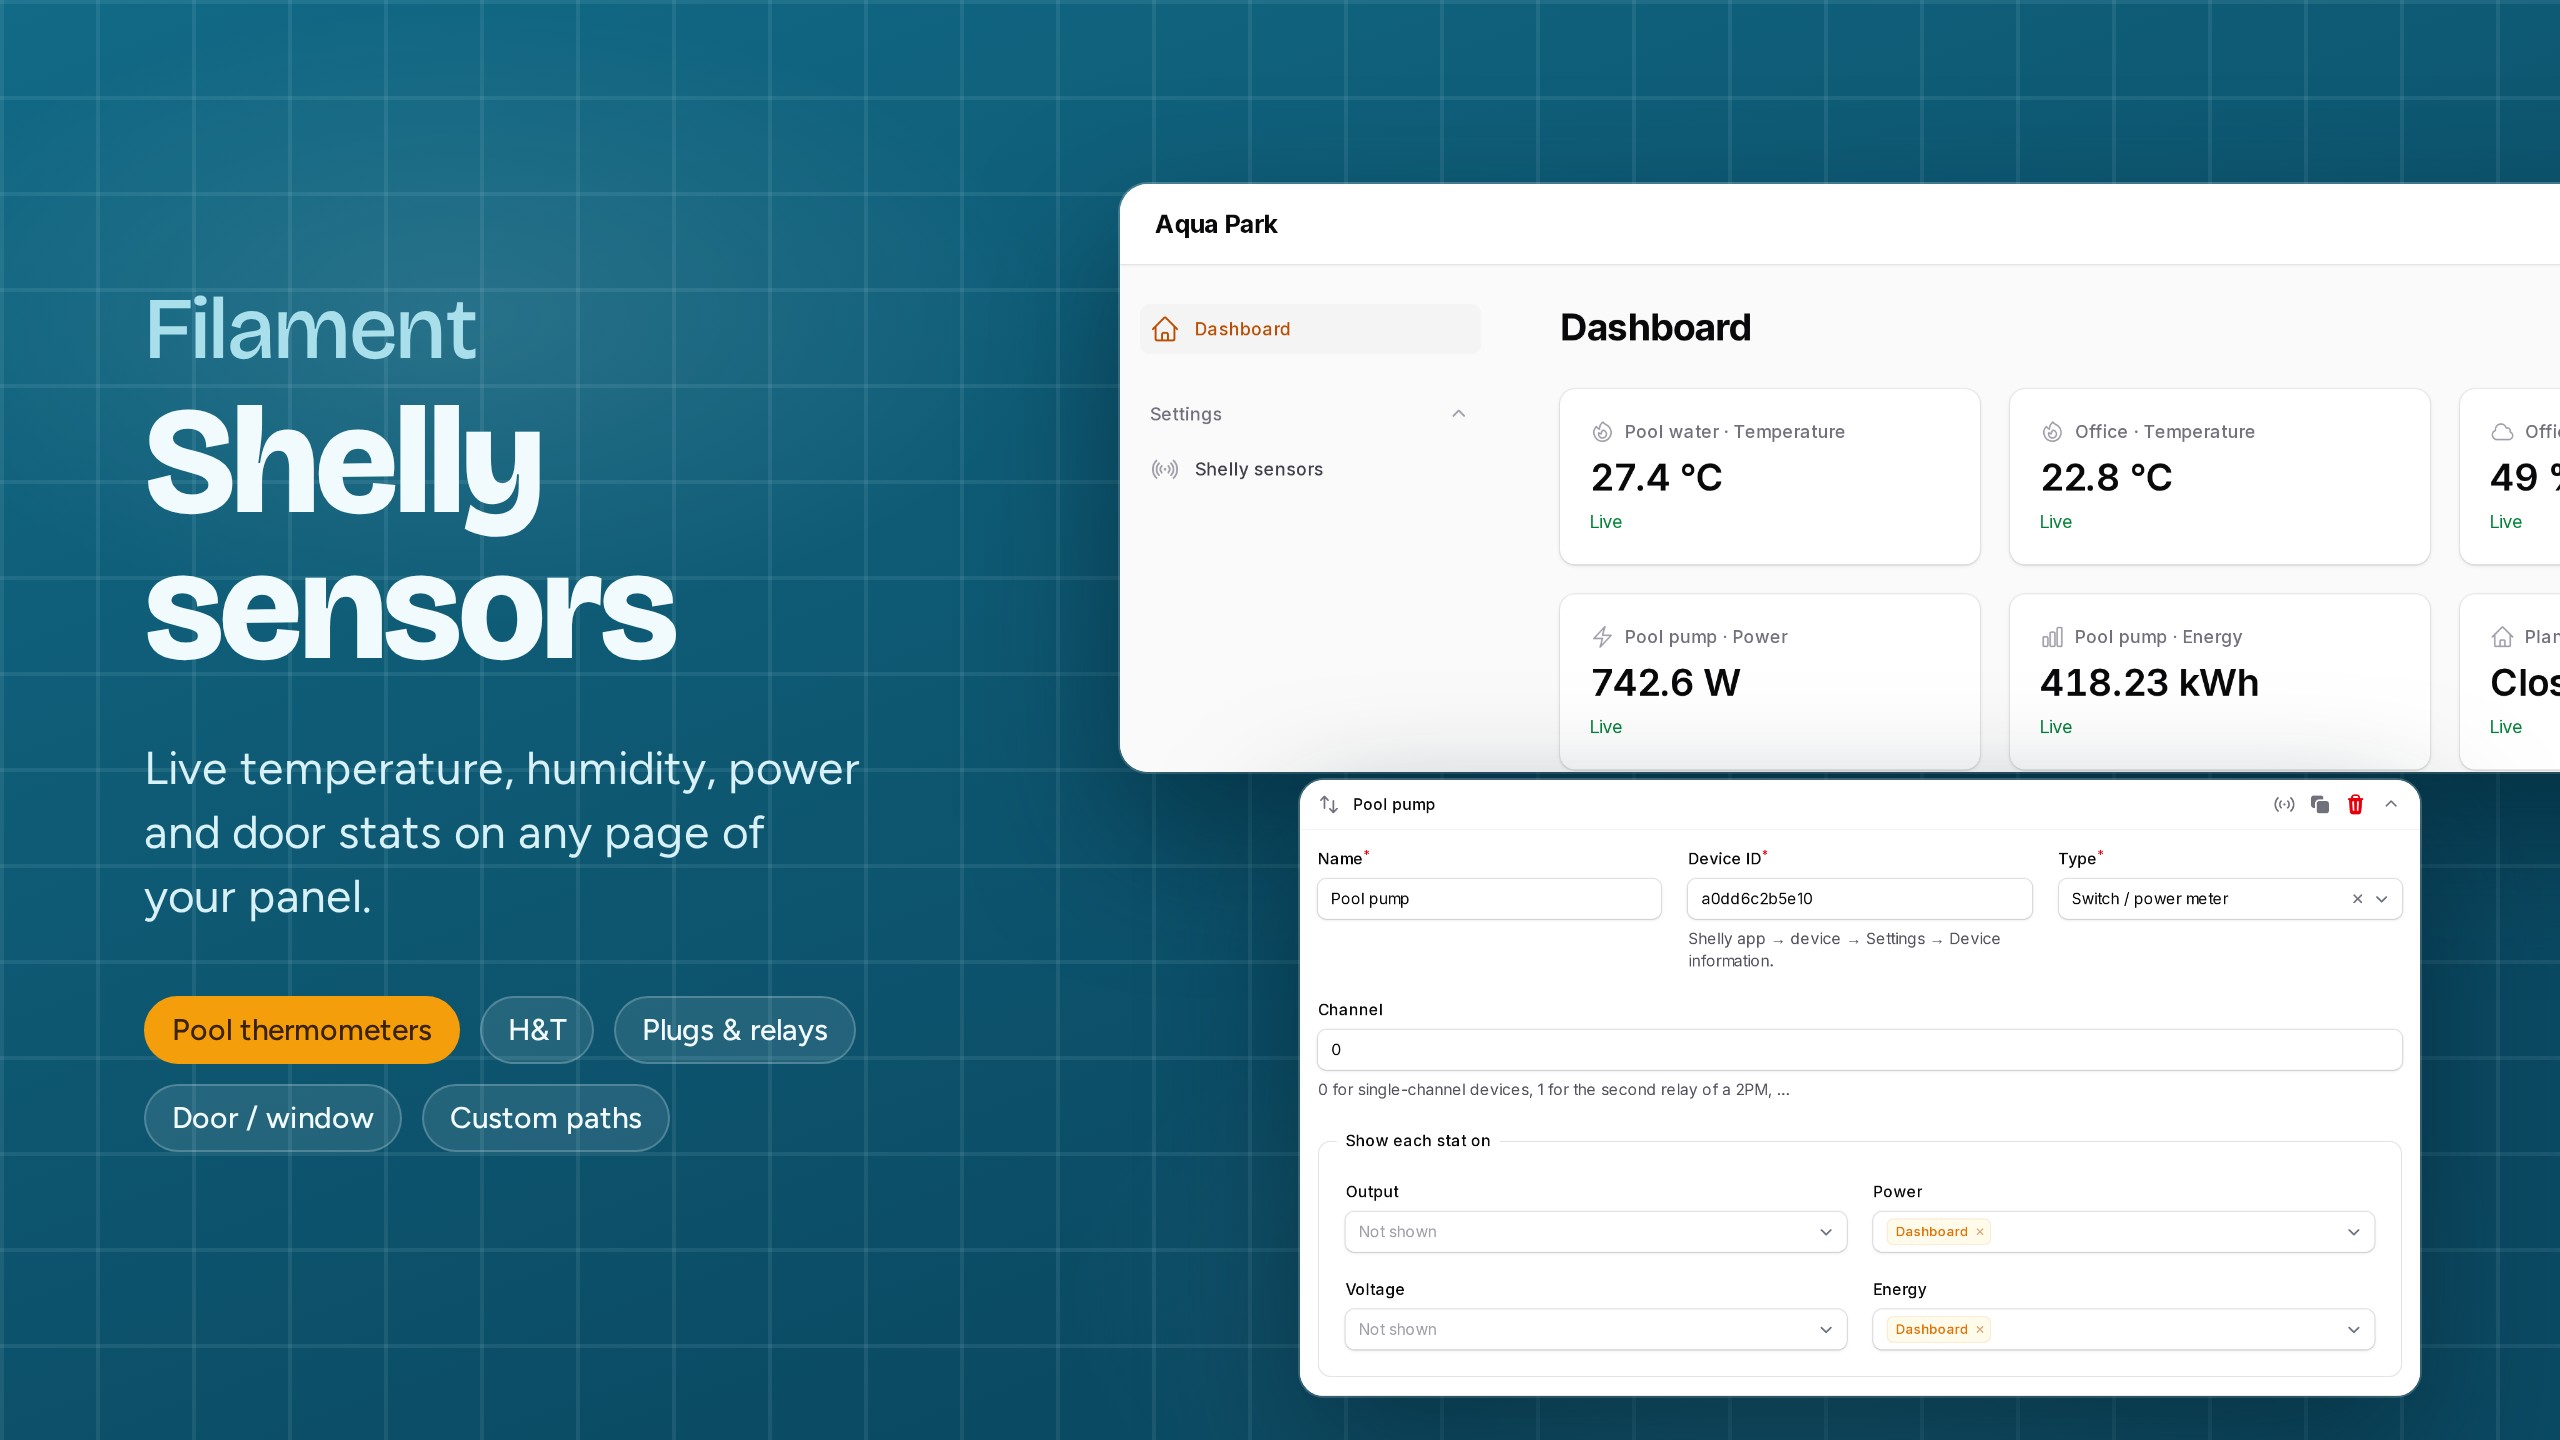
Show live Shelly sensor values as stat widgets on any Filament page: a pool thermometer on the dashboard, a fridge's humidity on an inventory page, a pump's power draw on a maintenance resource.
Add as many sensors as you want from a settings page, choose each sensor's type, then decide per stat on which pages it appears. You don't have to write a widget or touch your pages.
Features
- Settings page with a repeater: add, reorder, clone and test any number of Shelly devices.
- Sensor types that know what each device reports, for both Gen1 and Gen2+/Gen3 devices:
Type Stats Temperature probe (pool, water, pipe; DS18B20 on Plus Add-on, …) temperature Humidity & temperature (H&T Gen1, Plus, Gen3) temperature, humidity, battery Switch / power meter (1PM, 2PM, Plug S, PM Mini, Pro…) output, power, voltage, energy Door / window (DW2, BLU DW) state, illuminance, battery Custom any value from the device status JSON, with your own labels and units - Per-stat placement: every stat has its own "show on pages" picker listing all pages of the panel, including resource pages.
- Light on requests: one Shelly Cloud request covers up to 10 devices, every status is cached (failures too), and Shelly's 1 request/second limit is respected.
- "Test" button for each sensor that shows the live values and the device's available components, so you can find the right path for custom stats.
- Extensible: add your own sensor types in one small class.
- The auth key is stored encrypted. English and Greek translations are included.
Requirements
- PHP 8.2+
- Filament 5.x
- A Shelly Cloud account with its devices
Installation
composer require daedaloslabs/filament-shelly
php artisan filament-shelly:install
The install command publishes and runs the migration, which creates the shelly_accounts and shelly_sensors tables. If you'd rather do it by hand:
php artisan vendor:publish --tag="filament-shelly-migrations"
php artisan migrate
Multi-tenant apps (one database per tenant): move the published migration into your tenant migrations folder. Each tenant then gets its own Shelly account and sensors.
Register the plugin in your panel provider:
use DaedalosLabs\FilamentShelly\ShellyPlugin;

public function panel(Panel $panel): Panel
{
    return $panel
        // ...
        ->plugin(ShellyPlugin::make());
}
If your panel uses a custom theme, you don't need to change anything. The plugin only uses Filament's own components.
Usage
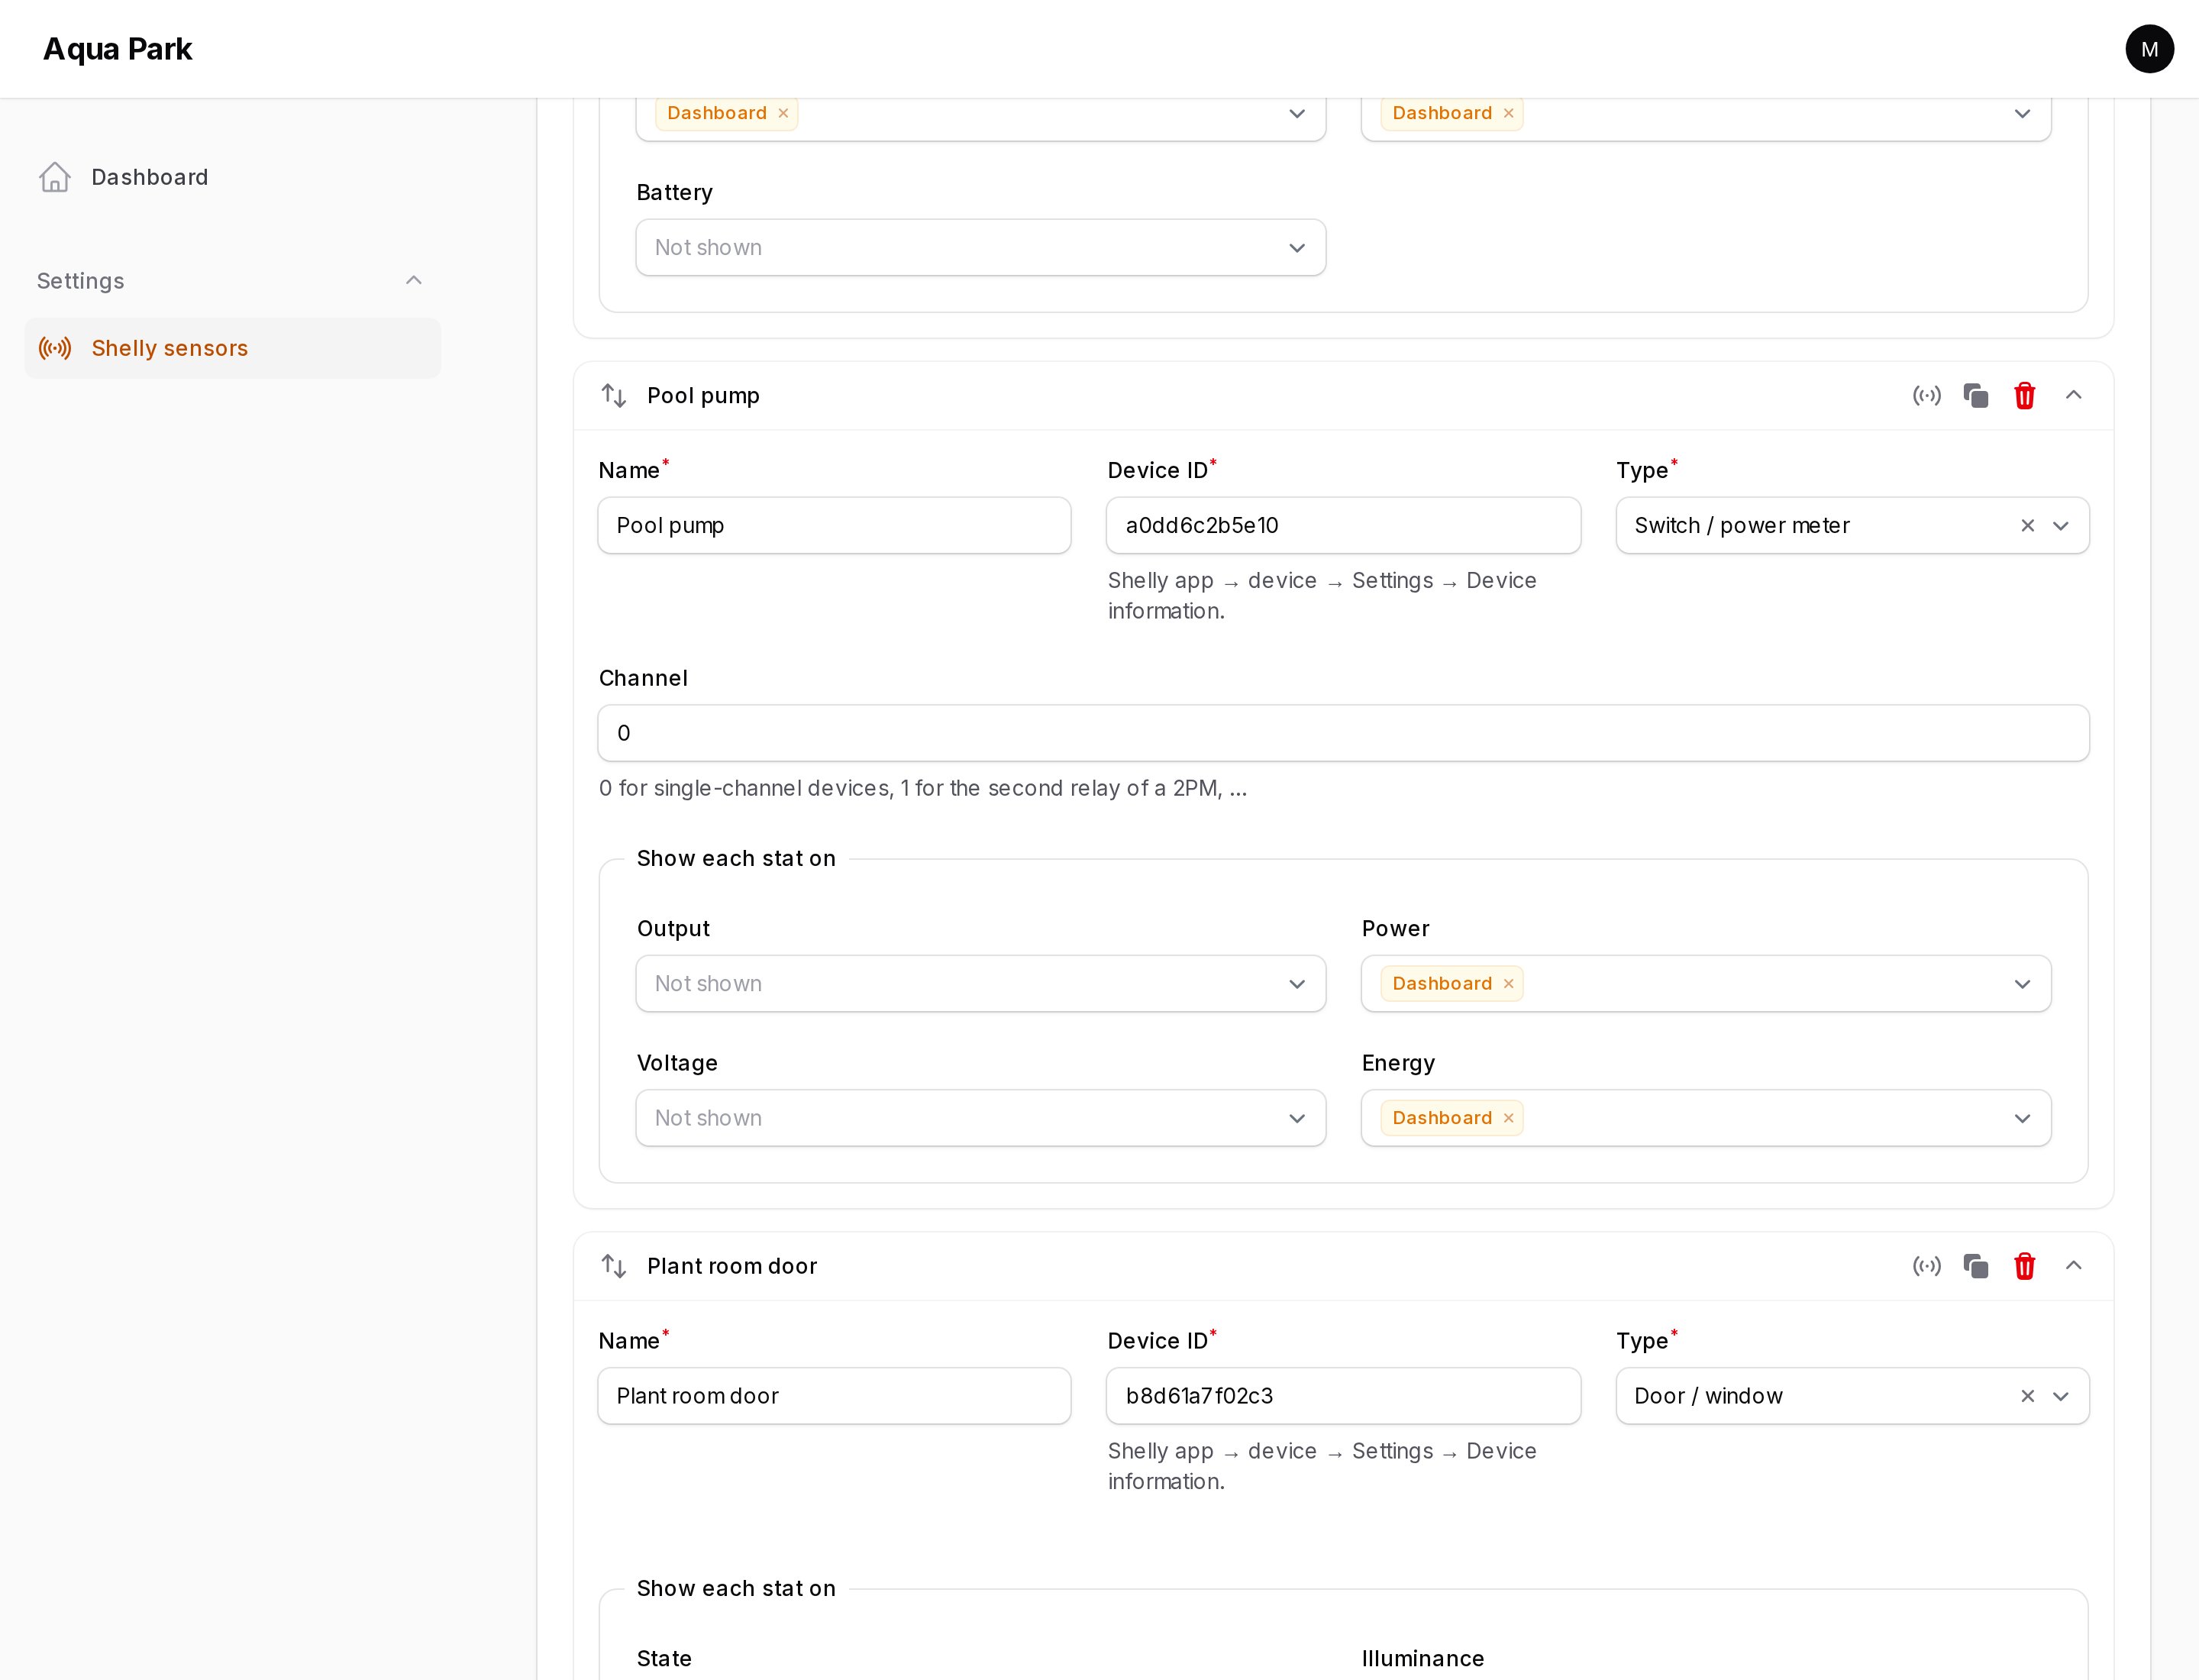
- Open Shelly sensors in the panel navigation.
- Copy the server and authorization cloud key from the Shelly app or control.shelly.cloud: User settings → Authorization cloud key.
- Click Add sensor, then enter a name and the Device ID (device → Settings → Device information) and pick a type.
- Under Show each stat on, choose the pages where each stat should appear. Leave a stat empty to hide it.
- Click Test to confirm that the device answers, then Save.
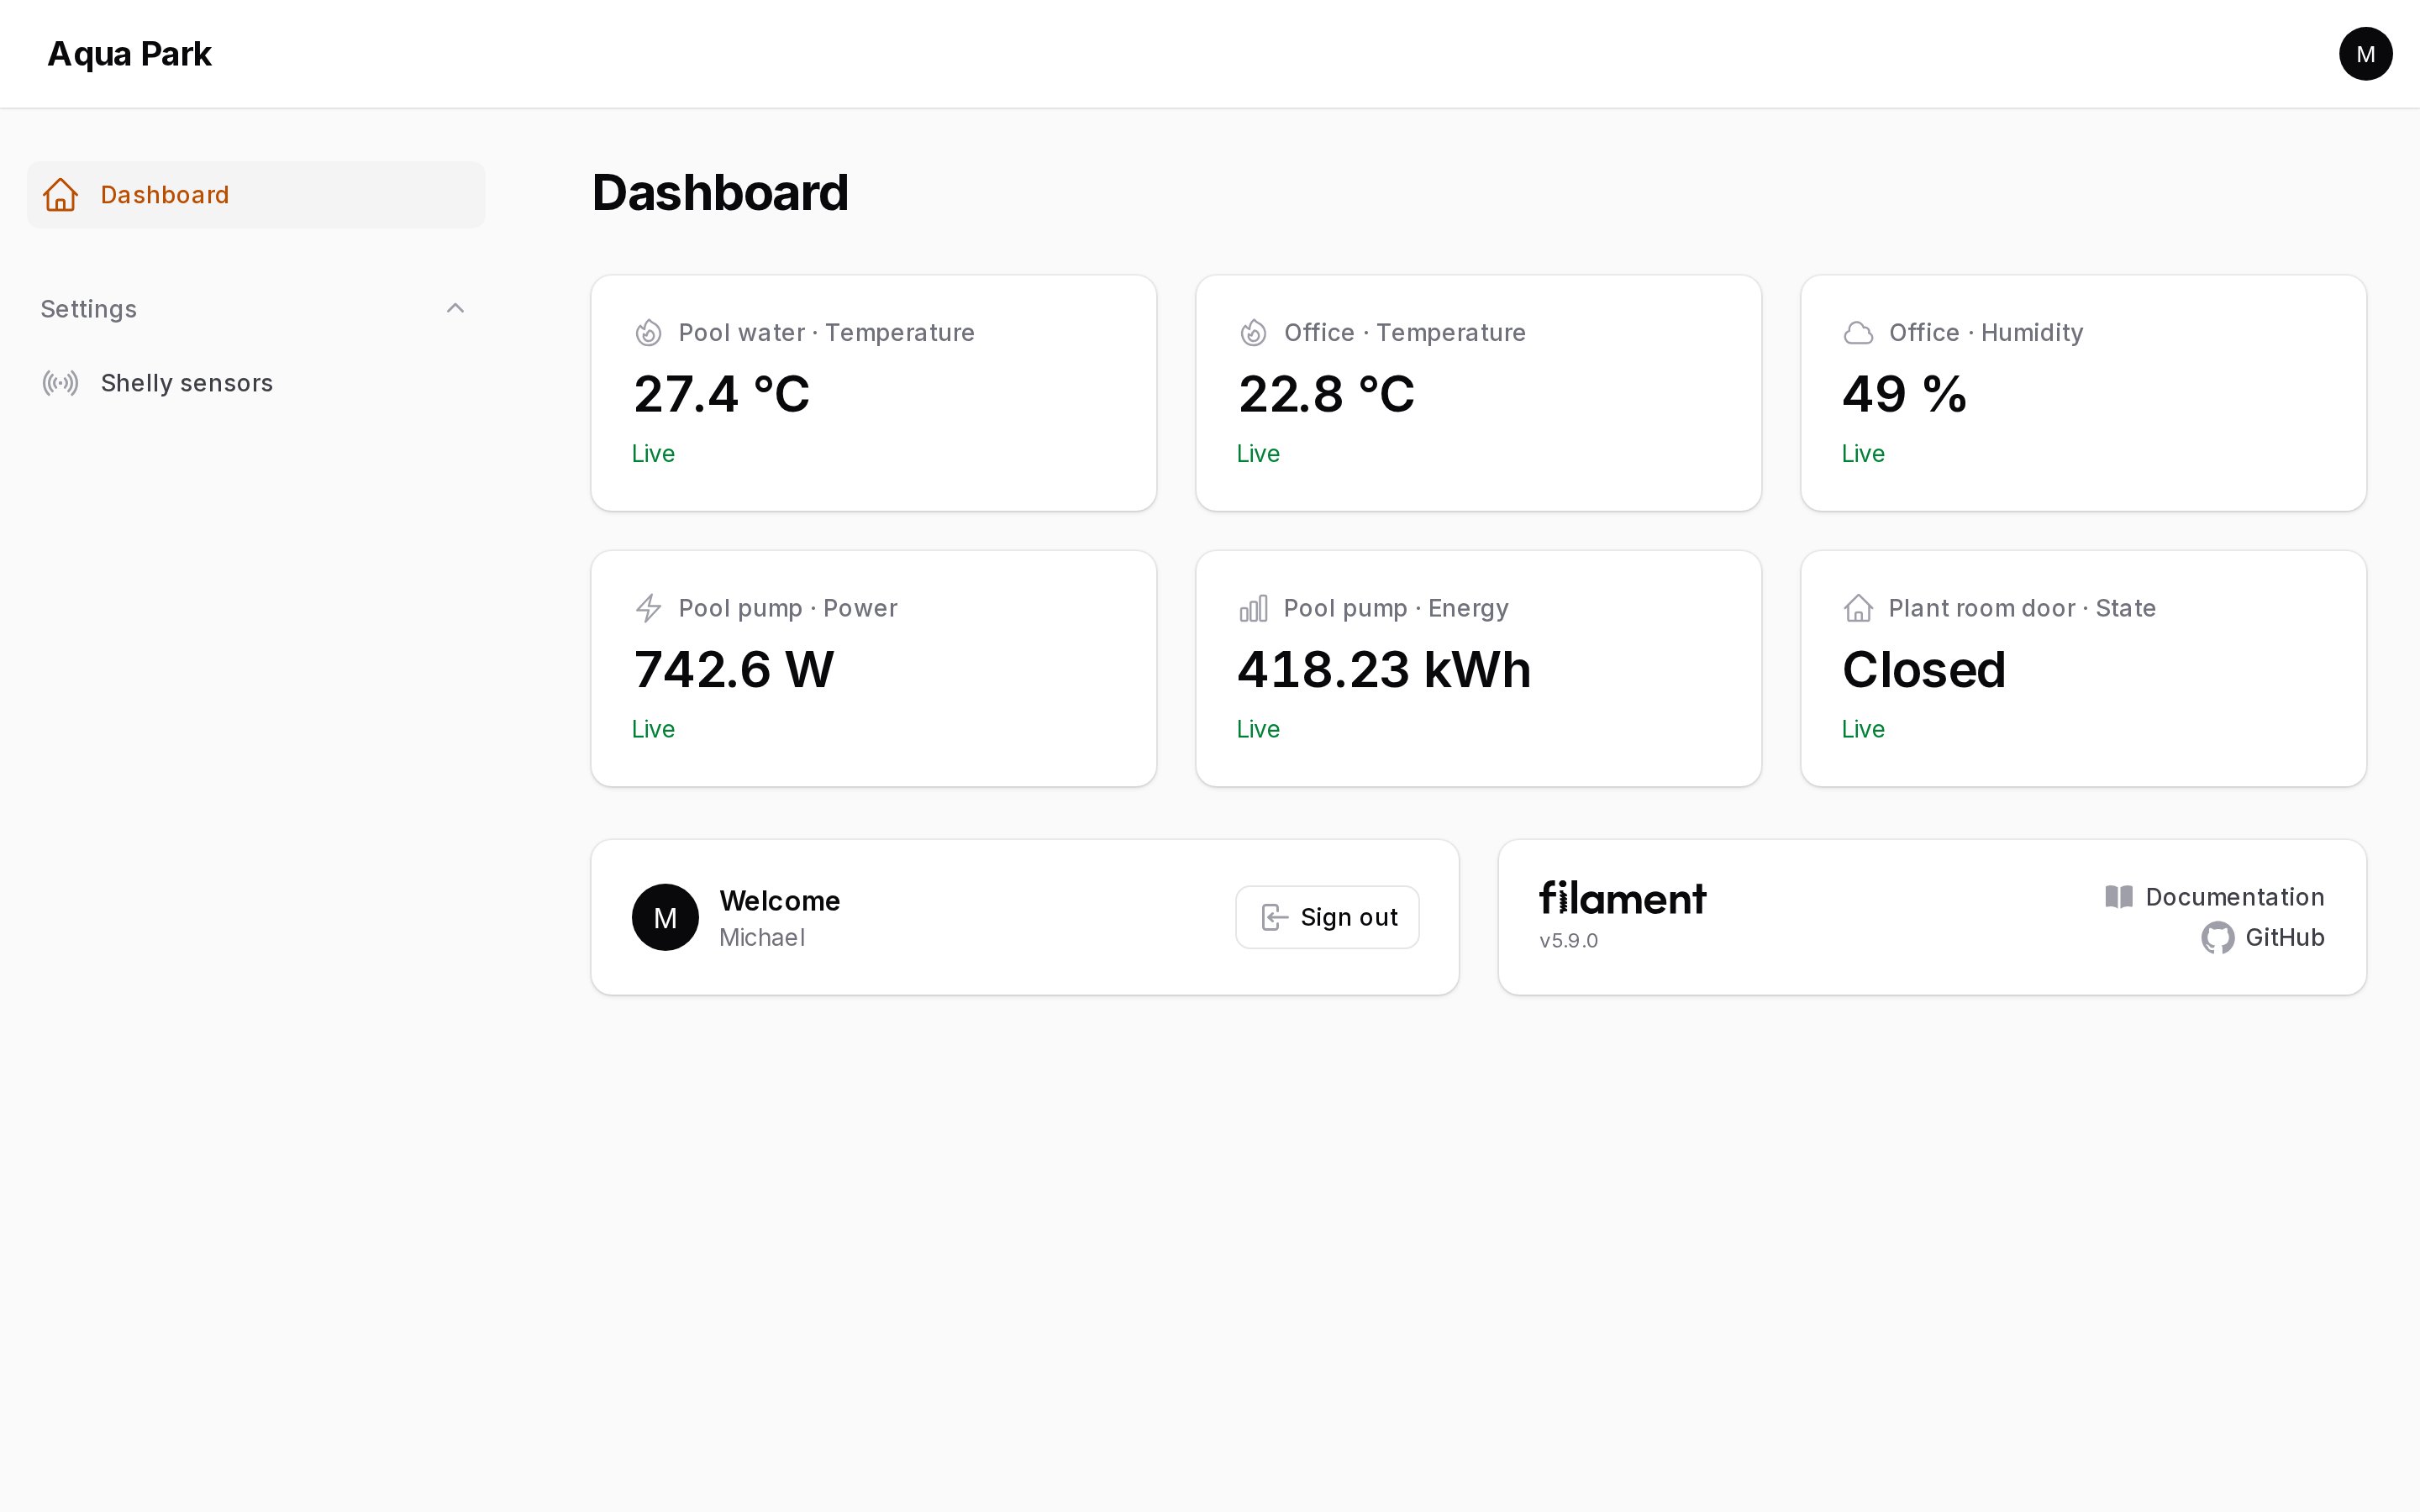
The stats appear at the top of the chosen pages and refresh on their own.
Custom sensors
Choose Custom and add one row per stat, with a label, a dot path inside the device status, and an optional unit:
| Label | Status path | Unit |
|---|---|---|
| Pool water | temperature:100.tC |
°C |
| Pump power | switch:0.apower |
W |
| WiFi signal | wifi.rssi |
dBm |
Not sure which path to use? Click Test on the sensor. The notification lists the device's components (temperature:100, switch:0, wifi, …).
Configuration
All options are optional:
ShellyPlugin::make()
    // Reuse a device status for N seconds before asking Shelly Cloud again (default 60).
    ->cacheFor(120)

    // How often the widgets refresh in the browser (default '60s', null = never).
    ->pollingInterval('30s')

    // Where the stats render on each page: any Filament\View\PanelsRenderHook constant.
    // Default: PanelsRenderHook::PAGE_HEADER_WIDGETS_BEFORE
    ->renderHook(\Filament\View\PanelsRenderHook::PAGE_FOOTER_WIDGETS_AFTER)

    // Navigation of the settings page.
    ->navigationGroup('Settings')
    ->navigationSort(90)

    // Who can manage sensors (default: everyone who can access the panel).
    ->authorize(fn (): bool => auth()->user()->is_admin)

    // Add your own sensor types (see below). Use merge: false to drop the built-in ones.
    ->sensorTypes([SoilMoisture::class])
Placing the widget by hand
The stats are injected automatically through a render hook. To place them yourself instead, for example between other widgets, add the widget to a page and pass that page's class:
use DaedalosLabs\FilamentShelly\Widgets\ShellyStatsWidget;

protected function getHeaderWidgets(): array
{
    return [
        ShellyStatsWidget::make(['page' => static::class]),
    ];
}
If you place it by hand, set
->renderHook()to a hook your page doesn't render, or the stats will show twice.
Adding a sensor type
A sensor type tells the plugin which metrics a device reports and where to find them in the status JSON. Extend SensorType:
namespace App\Shelly;

use Filament\Forms\Components\TextInput;
use DaedalosLabs\FilamentShelly\SensorTypes\Metric;
use DaedalosLabs\FilamentShelly\SensorTypes\SensorType;

class Flood extends SensorType
{
    public function key(): string
    {
        return 'flood'; // stored in the database, never change it
    }

    public function label(): string
    {
        return 'Flood sensor';
    }

    public function metrics(array $options): array
    {
        return [
            new Metric(
                key: 'flood',
                label: 'Water leak',
                paths: ['flood:0.alarm', 'flood'],        // first path that exists wins (Gen2+, then Gen1)
                icon: 'heroicon-o-exclamation-triangle',
                format: fn (bool $alarm): string => $alarm ? 'Leak!' : 'Dry',
            ),
            new Metric('battery', 'Battery', ['devicepower:0.battery.percent', 'bat.value'], unit: '%', decimals: 0),
        ];
    }

    // Optional extra fields per sensor, saved in $options. Use ->live(onBlur: true) if metrics() reads them.
    public function form(): array
    {
        return [];
    }
}
Then register it:
ShellyPlugin::make()->sensorTypes([\App\Shelly\Flood::class]);
Metric options:
| Argument | Meaning |
|---|---|
key |
Stable id, used to store the placement. |
label |
Stat label. |
paths |
Candidate dot paths into the status. The first non-null one wins. |
unit |
Appended to the value. |
icon |
Any Blade icon name. |
decimals |
Rounds numbers. null shows the raw value. Default 1. |
format |
fn (mixed $value): string for full control. |
How requests are kept low
- Statuses come from the Shelly Cloud Control API v2 (
/v2/devices/api/get), so one request covers up to 10 devices. - Each device status is cached for
cacheFor()seconds. The cache key includes the credentials, so tenants never share data. - Failures and unknown devices are cached as well, so a broken key or an offline cloud is not retried on every page load.
- HTTP 429 responses are retried, and when more than 10 devices are on one page, the batches are sent 1 second apart to respect Shelly's rate limit.
- The widget is lazy-loaded, and it isn't rendered at all on pages that have no stats placed on them.
Testing
composer test
Changelog
See CHANGELOG.
Credits
License
The MIT License (MIT). See License File.