camya / filament-import-inline
ImportInlineInput - Directly paste, import, and validate machine readable data in form fields. (PHP / Laravel / Livewire)
Installs: 717
Dependents: 0
Suggesters: 0
Security: 0
Stars: 19
Watchers: 2
Forks: 3
Open Issues: 3
pkg:composer/camya/filament-import-inline
Requires
- php: ^8.0.2
- filament/filament: ^2.16
- illuminate/contracts: ^9.0|^10.0
- spatie/laravel-package-tools: ^1.13.0
- spatie/ray: ^1.36
Requires (Dev)
- laravel/pint: ^1.0
- nunomaduro/collision: ^6.0
- nunomaduro/larastan: ^2.0.1
- orchestra/testbench: ^7.0|^8.0
- pestphp/pest: ^1.21
- pestphp/pest-plugin-laravel: ^1.1
- phpstan/extension-installer: ^1.1
- phpstan/phpstan-deprecation-rules: ^1.0
- phpstan/phpstan-phpunit: ^1.0
- phpunit/phpunit: ^9.5
- roave/security-advisories: dev-latest
- spatie/x-ray: ^1.1
README
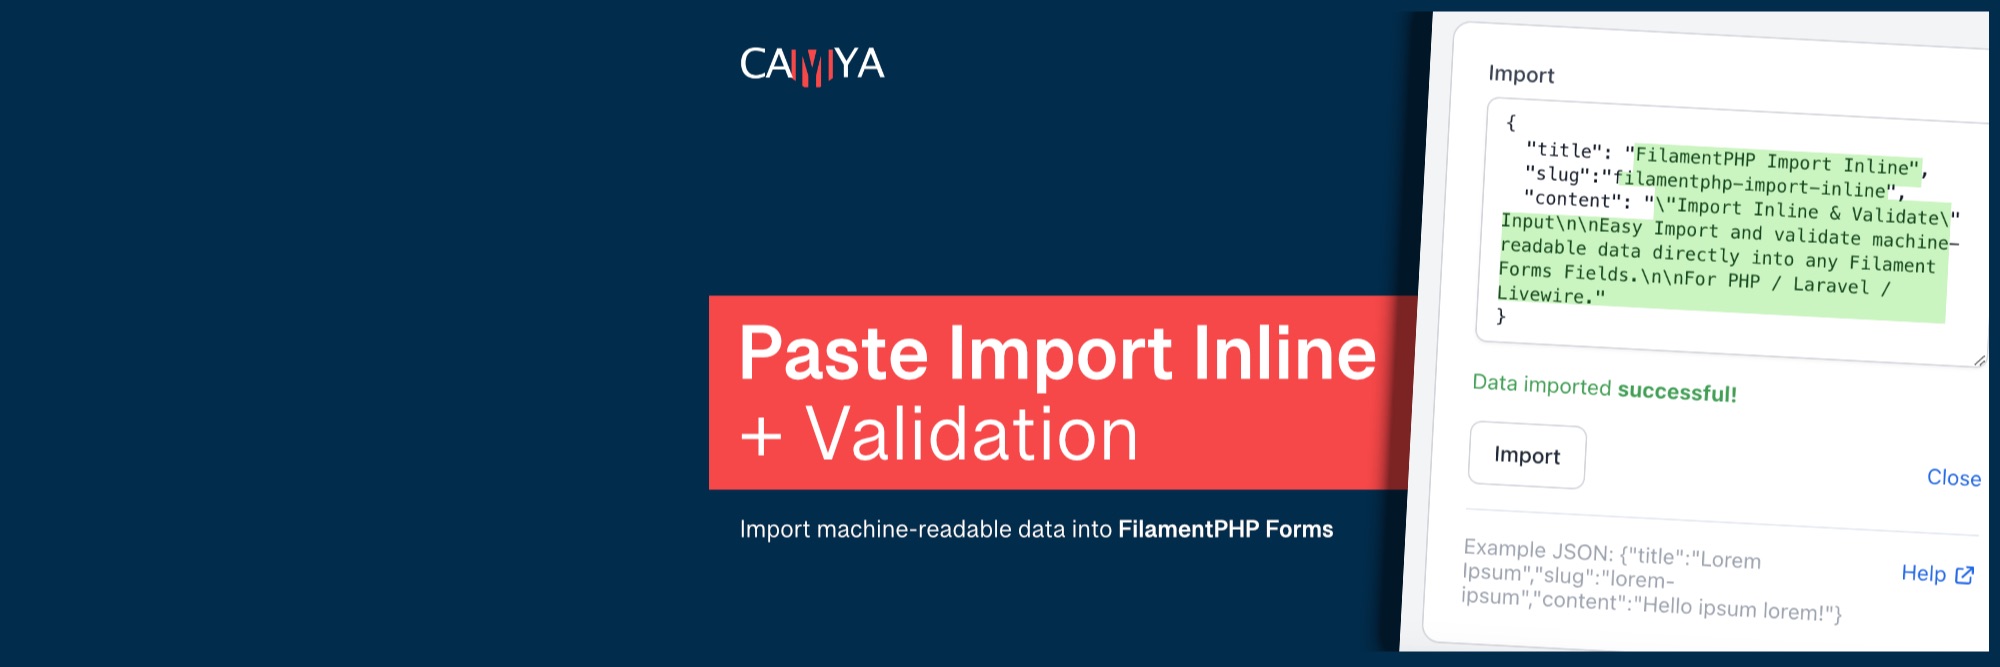
FilamentPHP Paste "Import Inline" Input - Directly paste, import, and validate machine readable data in form fields. (PHP / Laravel / Livewire)
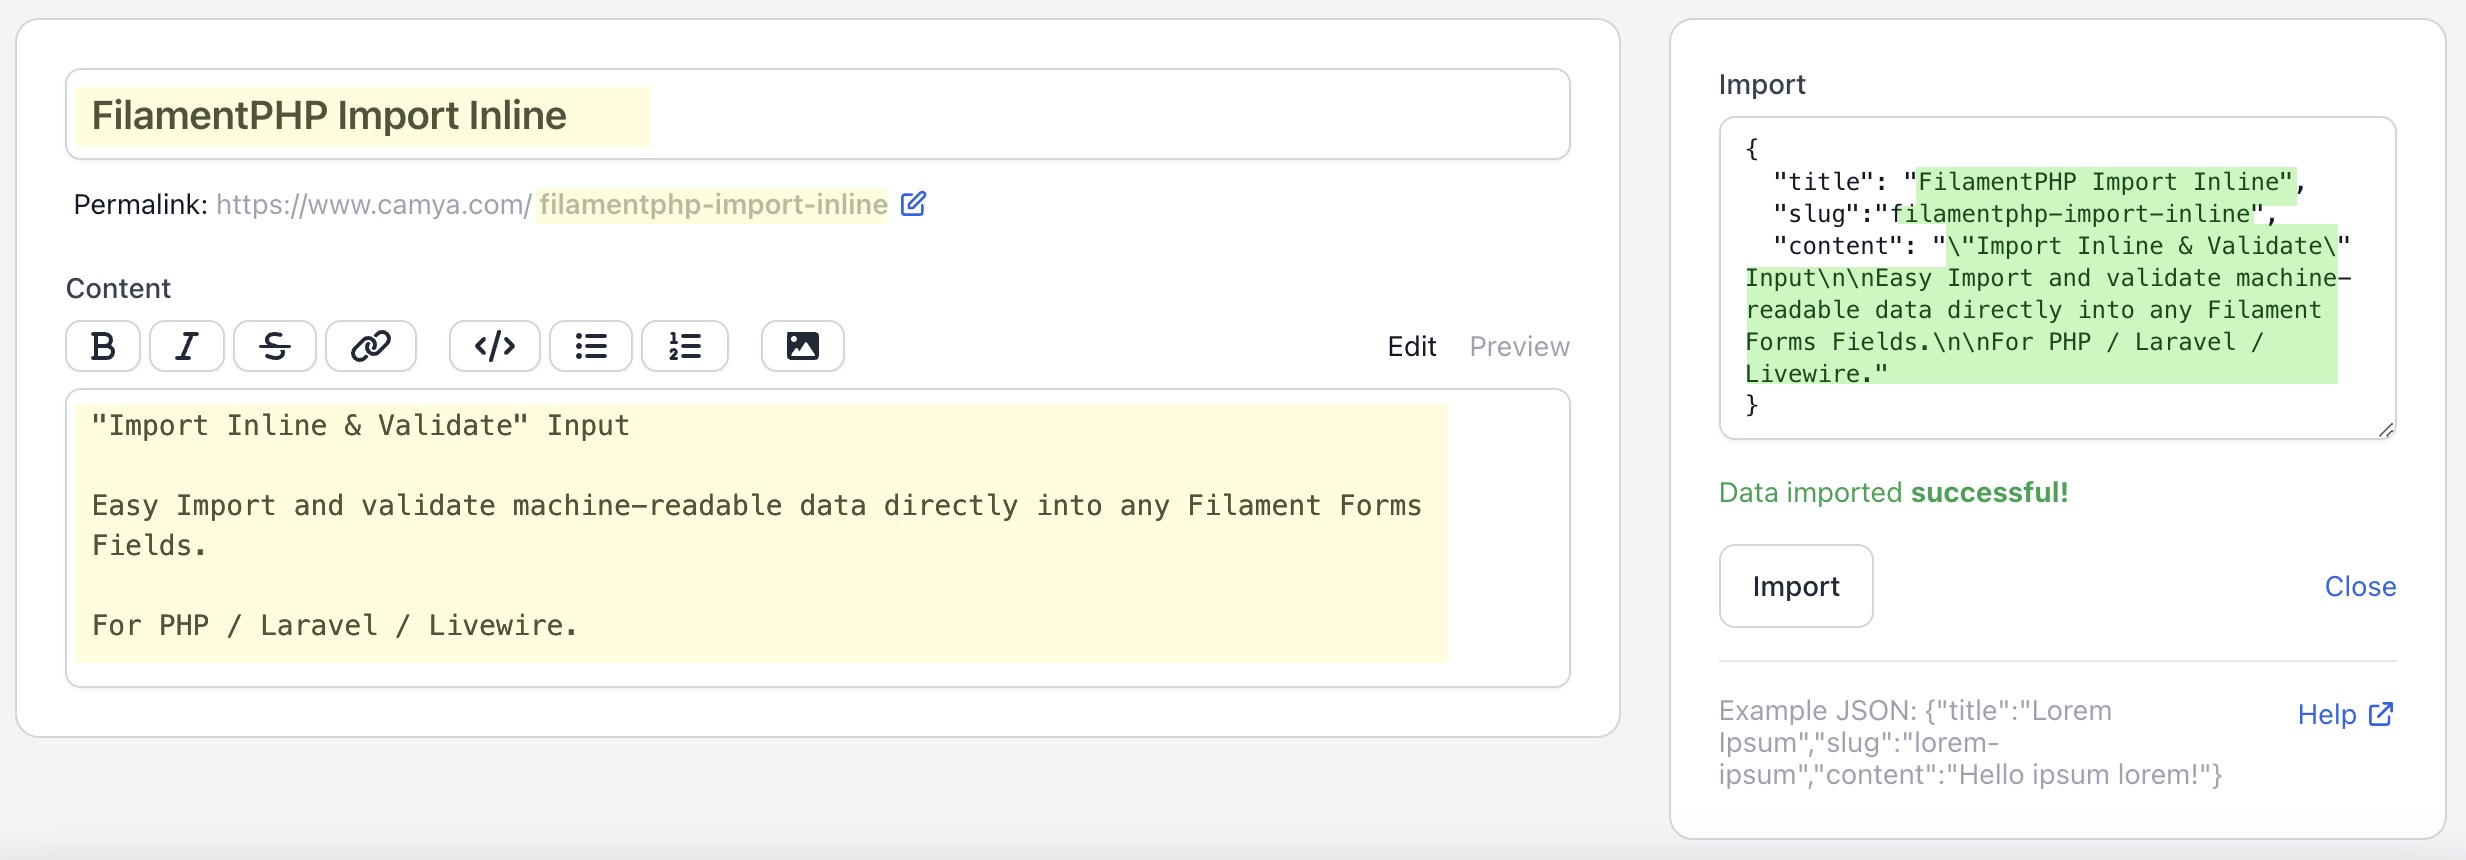
This package for FilamentPHP adds the form component ImportInlineInput, which allows you to import machine-readable string data directly into your Filament form fields and validate its structure.
The plugin can automatically import data via the "on paste" event, which makes it a great tool for increasing productivity when editing content.
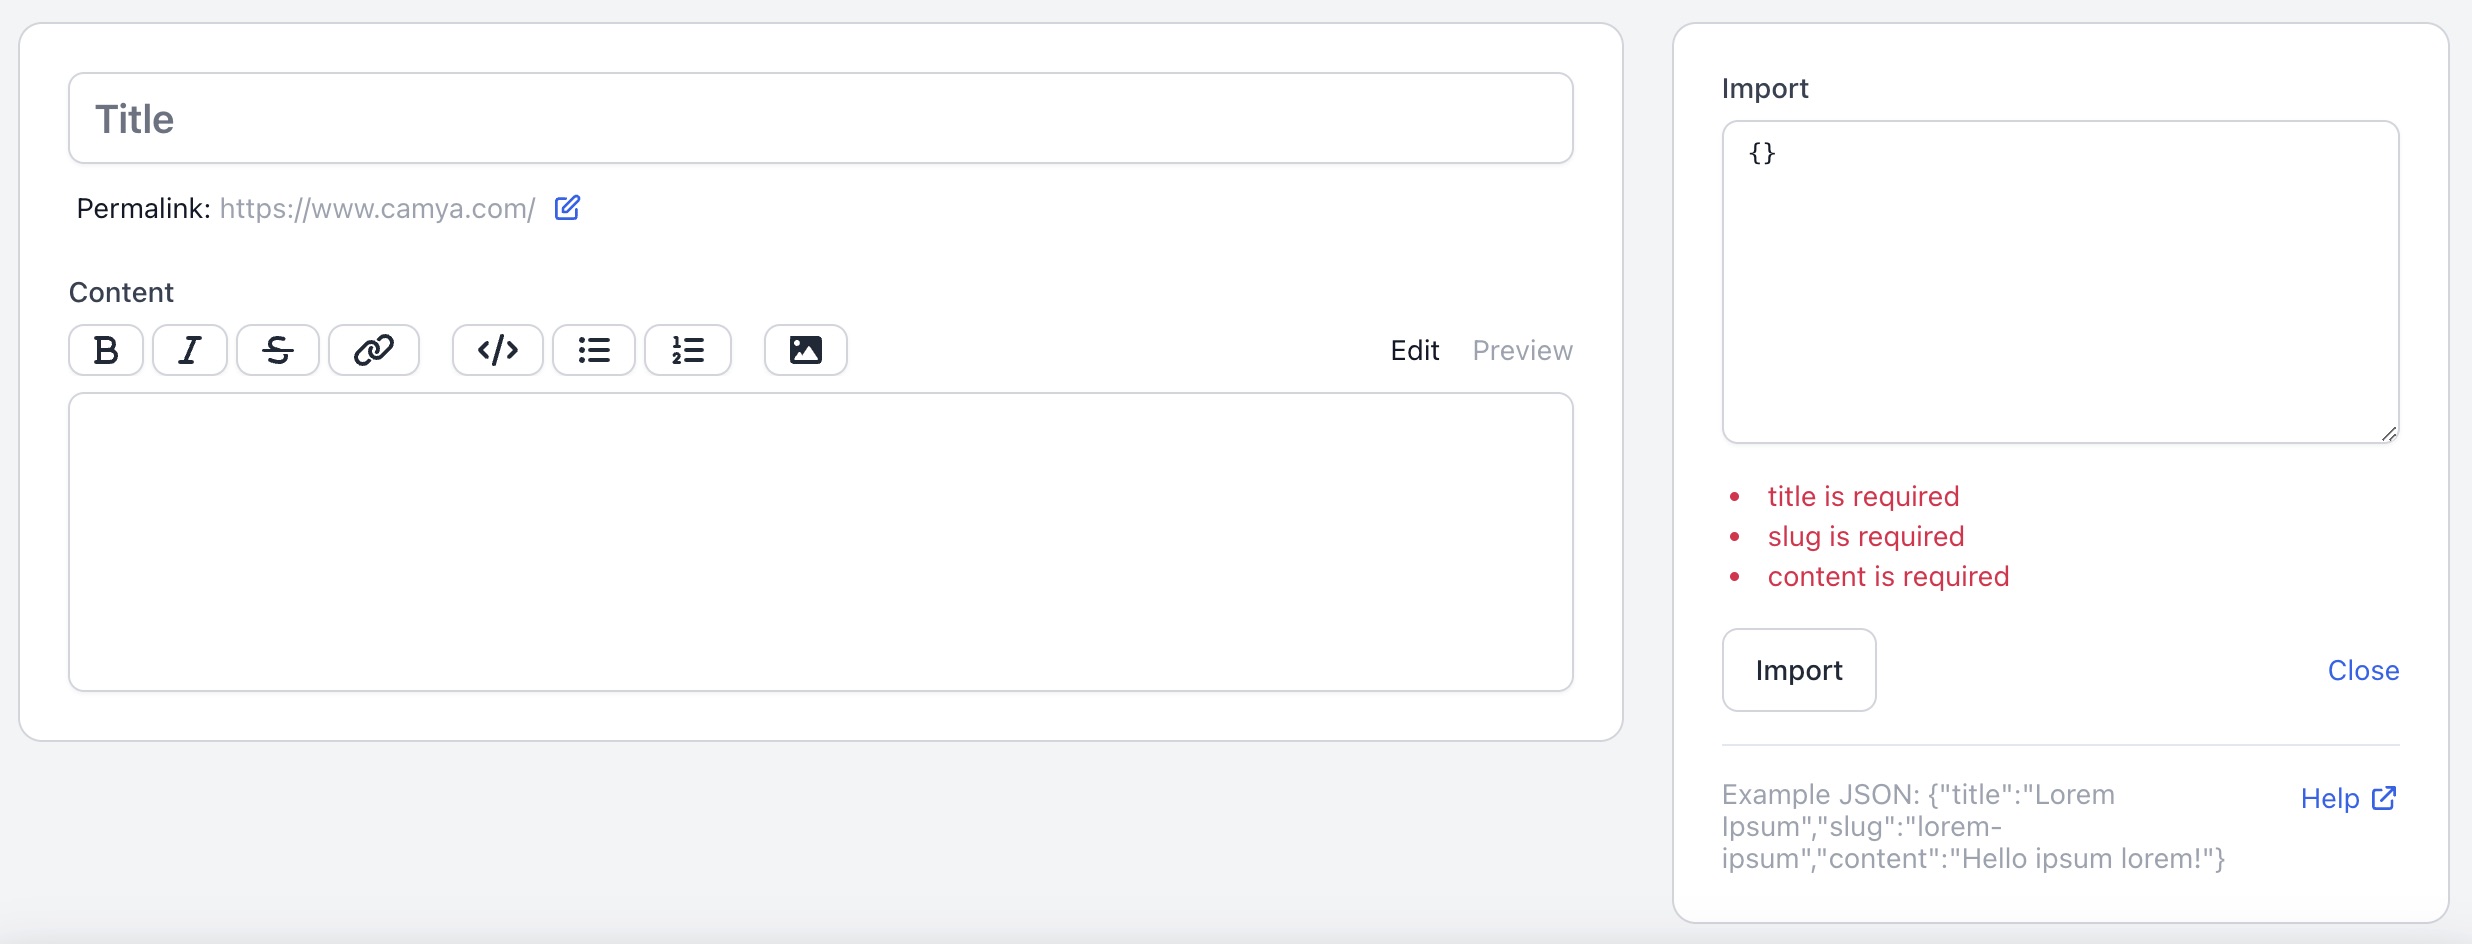
You can validate imported data using the standard Laravel Validation Rules.
The plugin comes with two handy importers, jsonString() and csvString(), but you can also just write and use your own importer.
Quick jump to the Table of contents.
You can watch a short demo video of the package below.
Below is an example of how to add the ImportInlineInput component to your FilamentPHP resource form. Read the full documentation here.
The JSON data for the example looks like this. Import/paste this data into you newly added component form field.
{
    "title": "The title of this post!",
    "slug": "title-of-post",
    "content": "Lorem ipsum."
}
Implementation
use Camya\Filament\Forms\Components\ImportInlineInput;
use Camya\Laravel\Importer\Facades\Import;

class PostResource extends Resource
{
    public static function form(Form $form): Form
    {
        return $form->schema([

            ImportInlineInput::make('Import')
                ->afterStateUpdated(
                    function ($state, Closure $set, ImportInlineInput $component): void {

                        $validator = $component->validator();

                        // Try to import JSON from given state
                        try {
                            $importedData = Import::jsonString($state);
                        } catch (\Exception $e) {
                            $validator->setValidationError($e->getMessage());
                        }

                        // Validate imported data.
                        $validatedData = $validator->validate(
                            data: $importedData,
                            rules: [
                                'title' => [
                                    'required',
                                ],
                                'slug' => [
                                    'required',
                                ],
                                'content' => [
                                    'required',
                                ],
                            ],
                            messages: [
                                'title.required' => 'title is required',
                                'slug.required' => 'slug is required',
                                'content.required' => 'content is required',
                            ]
                        );

                        // Set fields with validated data
                        $set('title', $validatedData['title']);
                        $set('slug', $validatedData['slug']);
                        $set('content', $validatedData['content']);

                        $component->statusMessage('Data imported <strong>successful!</strong>');

                    }
                )
                ->dataHelperHtml('Example JSON: {"title":"Lorem","slug":"ipsum","content":"Hello"}')
                ->dataHelperLink('https://www.camya.com/', 'Help')

    }
}
The output looks like this: (Watch » Demo Video «)
Features
- Import and validate any type of machine readable string data.
- Direct import "on paste" event for a content editing productivity boost.
- Importers for JSON and CSV included.
- Validation of the structure using Laravel's validation rules.
- All texts customizable and translatable.
- Dark mode supported.
- Fully configurable, see all-available-parameters.
Support us
You can support my work with a donation.
Follow me on Twitter for DEV updates.
Support the package: Please give it a ⭐ Star on GitHub and on the official Filament plugin page, if it's helpful for you.
Table of contents
Installation
You can install the package via composer:
composer require camya/filament-import-inline
If needed, you can publish the config file with:
php artisan vendor:publish --tag="filament-import-inline-config"
Translation
If needed, you can publish the translation files with:
php artisan vendor:publish --tag="filament-import-inline-translations"
You'll find the published translations here: trans/vendor/filament-import-inline
This package is translated to:
You translated it too? Share your translation on our GitHub discussions page.
Usage & examples
Import and validate data - step-by-step guide.
The user input text is sent to the component's afterStateUpdated() method and is contained in the $state parameter.
Explanation of the code below:
- First set the validator for this component to a variable.
- Import the incoming data. If necessary, you can raise a validation error using the
$validator->setValidationError()method. - Add the imported data + validation rules to the
$validator->validate($data, $rules, $messages)method. - After validation:
- Validation fails: If validation fails, the template displays the validation errors.
- Valid data: If valid, you can set any form field using Filament's
$set('title', $validatedData['title'])closure method.
- Use the
$component->statusMessage()method of the component to set a success message below the form. (You can use Filament's notification system withFilament::notify('success', 'Data imported');)
The JSON data for the example looks like this. Import/paste this data into you newly added component form field.
{
    "title": "How to develop Filament plugins!"
}
Implementation
ImportInlineInput::make('Import')
    ->afterStateUpdated(
        function ($state, Closure $set, ImportInlineInput $component): void {

            // 1.
            $validator = $component->validator();

            // 2.
            try {
                $importedData = Import::jsonString($state);
            } catch (\Exception $e) {
                $validator->setValidationError($e->getMessage());
            }

            // 3.
            $validatedData = $validator->validate(
                data: $importedData,
                rules: [
                    'title' => [
                        'required',
                    ],
                ].
                messages: [
                    'title.required' => 'The title is required!',
                ],
            );

            // 4.
            $set('title', $validatedData['title']);
            $set('slug', $validatedData['slug']);
            $set('content', $validatedData['content']);

            // 5.
            $component->statusMessage('Data imported <strong>successful!</strong>');

        }
    )
How to import & validate array data? Example: Tags, Category IDs
You can read the documentation for CSV import with csvString() here.
- We import the CSV data with the method
Import::csvString(). We set the min/max values per line to 3 to avoid wrong input usingcsvPerRow:. All parameters & return format explained here. - We pass only the first row of the result to the validation.
- We set rules for the
tags, but also for thetags.*to validate the array elements. - We set messages for
tagsand thetags.*. - Finally, we
$set()the$dataValidated['tags']array into the target form field in the filament resource. (Here it is the tags field).
The CSV data for the example looks like this. Import/paste this data into you newly added component form field.
1,2,3
Implementation
ImportInlineInput::make('Tag Importer')
    ->afterStateUpdated(
        function ($state, Closure $set, ImportInlineInput $component): void {

            $validator = $component->validator();

            // 1.
            try {
                $dataInput = Import::csvString(
                    input: $state,
                    csvPerRow: 3,
                );
            } catch (\Exception $e) {
                $validator->setValidationError($e->getMessage());
            }

            $dataValidated = $validator->validate(
                data: [
                    // 2.
                    'tags' => $dataInput['rows'][0] ?? [],
                ],
                // 3
                rules: [
                    'tags' => [
                        'array',
                        'min:2',
                        'max:3',
                    ],
                    'tags.*' => [
                        'integer'
                    ],
                ],
                // 4.
                messages: [
                    'tags.min' => 'Min 2 tags',
                    'tags.max' => 'Max 3 tags',
                    'tags.*.integer' => 'Only add Tag IDs.'
                ],
            );

            // 5.
            $set('tags', $dataValidated['tags'] ?? []);

            $component->statusMessage('Tags imported <strong>successful!</strong>');

        }),
JSON importer - Import::jsonString()
This package provides a simple JSON importer whose main purpose is to set some necessary default values for the underlying PHP function. Additionally, it throws an ImportException in case of an error.
\Camya\Laravel\Importer\Facades\Import::jsonString($input);

jsonString(
    string|null $input
): array
input:String input
Input data
Use this method to import JSON data like:
{
    "title": "Lorem Ipsum",
    "slug": "lorem-ipsum",
    "tags": [1,2,3,4]
}
Implementation
$output = Import::jsonString(
    data: $input,
);
Output
This generates the following array structure:
[
    'title' => 'Lorem Ipsum',
    'slug' => 'lorem-ipsum',
    'tags' => [
        0 => 1,
        1 => 2,
        2 => 3,
        3 => 4,
    ],
]
Handle ImportException
If the import fails, one of the following ImportExceptions is thrown. Use the error message or code constants in your implementation.
// Attempt to import JSON from the specified state.
try {
    $importedData = Import::jsonString($state);
} catch (\Exception $e) {
    $validator->setValidationError($e->getMessage());
}
Available exception codes:
The validation error message is "Invalid JSON data" for all exceptions ($e->getMessage()).
You can use the provided error code to distinguish the errors and set your own message. ($e->getCode())
// Incorrect input format, not a valid JSON string.
Import::JSON_ERROR_INVALID_INPUT

// Valid JSON, but result is not an array.
// If the input is an integer, it's technically a valid JSON object.
// We throw an exception nevertheless, because importing integers
// is not the use case of the importJSON method.
Import::JSON_ERROR_INVALID_RESULT
CSV importer (for Comma Separated Values)
Import comma-separated values using the Import::csvString() method.
\Camya\Laravel\Importer\Facades\Import::csvString($input);

csvString(
    string|null $input,
    null|int $csvPerRow = null,
    bool $hasHeader = false,
    string $separator = ',',
    string $enclosure = '"',
    string $escape = '\\',
    bool $csvPerRowAutodetect = true,
): array
- Input:` String input
csvPerRow:Specifies the number of values per row. If a row has more or less columns than specified, an exception is triggered.hasHeader:First row serves as header if true.separator:Separator between values. (v1, v2, v3)Enclosure:Enclosure character for values. ("v - 1", "v2", "v3")escape:Escape character.csvPerRowAutodetect:Automatic detection of the number of values per row (set from first row). If a following row has more or less columns, an exception is triggered.
Input data
Use this method to import comma separated CSV data as below, e.g. to populate tag IDs in repeat fields. Set hasHeader:
"Title", "TagID1", "TagID2", "CategoryID"
"Hello", "1", "2", "21"
"World", "5", "6", "65"
Implementation
$output = Import::csvString(
    data: $input,
    csvPerRow: 4,
    hasHeader: true,
);
Output
This generates the following array structure:
[
    'header' => [
        0 => 'Title',
        1 => 'TagID1',
        2 => 'TagID2',
        4 => 'CategoryID',
    ],
    'rows' => [
        [
            0 => 'Hello',
            1 => '1',
            2 => '2',
            4 => '21',
        ],
        [
            0 => 'World',
            1 => '5',
            2 => '6',
            4 => '65',
        ],
    ],
]
Implementation with "hasHeader"
If you set hasHeader: false, it parses all lines as rows.
$output = Import::csvString(
    data: $input,
    csvPerRow: 4,
    hasHeader: false,
);
Output with "hasHeader"
It generates the following array structure:
[
    'header' => []
    'rows' => [
        [
            0 => 'Title',
            1 => 'TagID1',
            2 => 'TagID2',
            4 => 'CategoryID',
        ],
        [
            0 => 'Hello',
            1 => '1',
            2 => '2',
            4 => '21',
        ],
        [
            0 => 'World',
            1 => '5',
            2 => '6',
            4 => '65',
        ],
    ],
]
Handle ImportException
If the import fails, one of the following ImportExceptions is thrown. Use the error message or code constants in your implementation.
// Attempt to import CSV from the specified state.
try {
    $importedData = Import::csvString($state);
} catch (\Exception $e) {
    $validator->setValidationError($e->getMessage());
}
Available exception codes:
The validation error message is "Invalid JSON data" for all exceptions ($e->getMessage()).
You can use the provided error code to distinguish the errors and set your own message. ($e->getCode())
// Empty input data
Import::CSV_ERROR_INVALID_INPUT

// Value count does not matche the value count set in $valuePerRow.
Import::CSV_ERROR_INVALID_CVS_PER_ROW_COUNT
How to show a form error, if the import fails?
The build in importers throw an \Exception on failure. Add a try/catch block around them and use the $validator->setValidationError() method of the $component to set the form errors.
You can use the the same mechanism, if you write your own importer.
try {
    $dataInput = Import::jsonString($importData);
} catch (\Exception $e) {
    $validator->setValidationError($e->getMessage());
}
You can use a provided error code to distinguish the errors and set your own message. ($e->getCode())
Available error codes are:
JSON importer:
// Incorrect input format, not a valid JSON string.
Import::JSON_ERROR_INVALID_INPUT

// Valid JSON, but result is not an array.
// If the input is an integer, it's technically a valid JSON object.
// We throw an exception nevertheless, because importing integers
// is not the use case of the importJSON method.
Import::JSON_ERROR_INVALID_RESULT
CSV importer:
// Empty input data
Import::CSV_ERROR_INVALID_INPUT

// Value count does not matche the value count set in $valuePerRow.
Import::CSV_ERROR_INVALID_CVS_PER_ROW_COUNT
Write your own importer
You can write your own importer. Feel free to share your importer with our GitHub community.
A good starting point is the Import and validate data - "Step by Step guide".
Laravel Validation Rules
You can use the official Laravel Validation Rules.
All available parameters
This plugin offers many parameters to configure it's behavior.
HINT: Read the "Step by Step guide" - How to import and validate data.
ImportInlineInput::make('Import')

    // Import / Validate / Set your data here.
    ->afterStateUpdated(
        function ($state, Closure $set, ImportInlineInput $component): void {
            // ...
        }
    )

    // Sets the label above the form element.
    ->label('Inport Data')

    // Hide the label above the form element.
    ->disableLabel()

    // Help text for the detail panel.
    ->dataHelperHtml('Help <strong>text</strong>')

    // Link URL and Title for the detail panel.
    ->dataHelperLink('https://www.camya.com/', 'Specs')

    // Form field placeholder text for the "detail input" field.
    ->dataPlaceholder('Insert data here.')

    // Form field placeholder text for the "paste input" field.
    ->placeholder('Paste or insert valid data.')

    // Deactive listening for "on paste" on "paste input" field.
    ->insertOnPaste(false)

    // Default count of rows of the "paste input" field.
    ->dataInputRows(2)
Changelog
Please see the release changelog for more information on what has changed recently.
Contributing
Want to implement a feature, fix a bug, or translate this package? Please see contributing for details.
Security Vulnerabilities
Please review our security policy on how to report security vulnerabilities.
Credits
- Andreas Scheibel (camya) (Developer at camya.com / epicbundle.com)
FilamentPHP is based on Laravel, Livewire, AlpineJS, and TailwindCSS. (aka Tall Stack)
This package was inspired by a package by awcodes and the work of spatie. Thanks also to ralphjsmit for his blueprint that I used to implement the Filament Component Pest Tests.
License
The MIT License (MIT). Please see License File for more information.
Tooling - Development tools I use
- PHPStorm IDE (
- Laravel Idea Plugin)
- Laravel with Valet and Lambo
- GitHub Desktop
- Translations with DeepL and LanguageTool
- Markdown TOC Generator
- SVG Icons by Heroicons
- iTerm2 Terminal
- Regex101 - Build, text, debug regex.
- Affinity Photo & Designer
- VSCode


