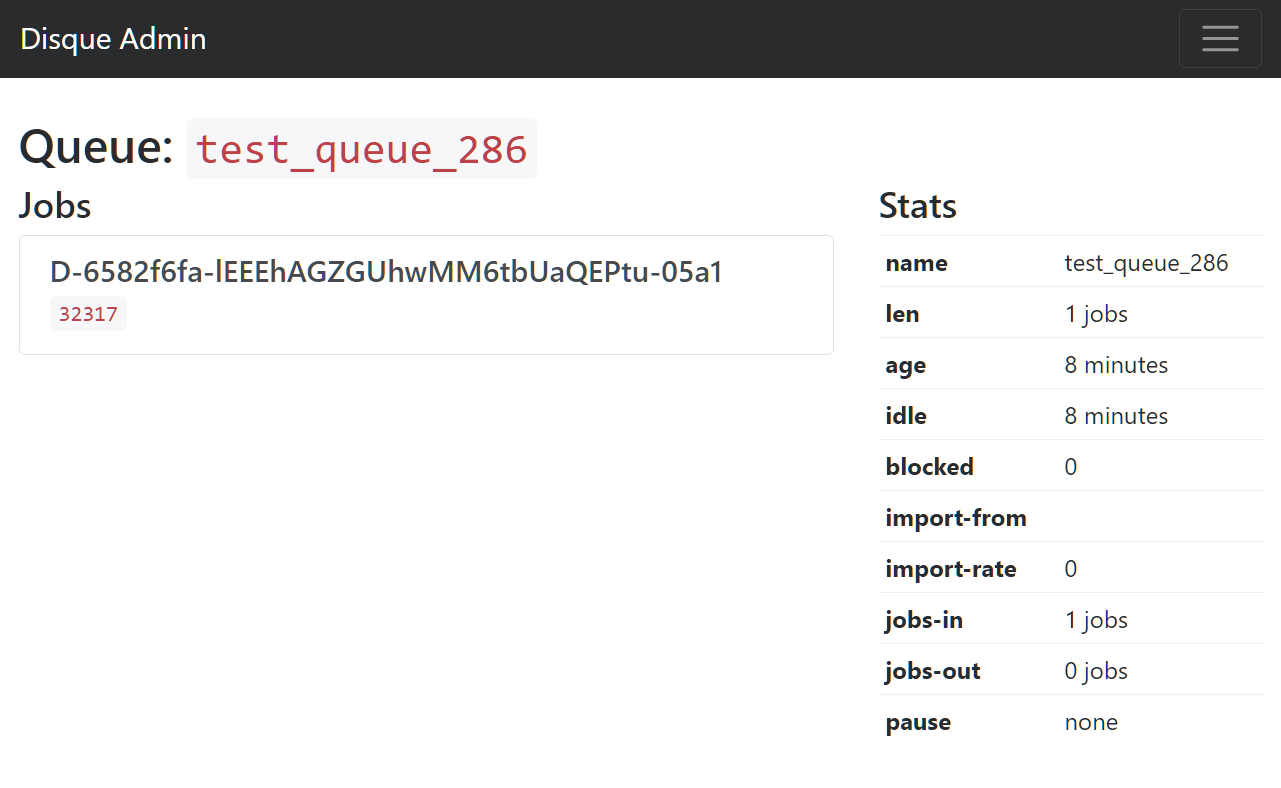
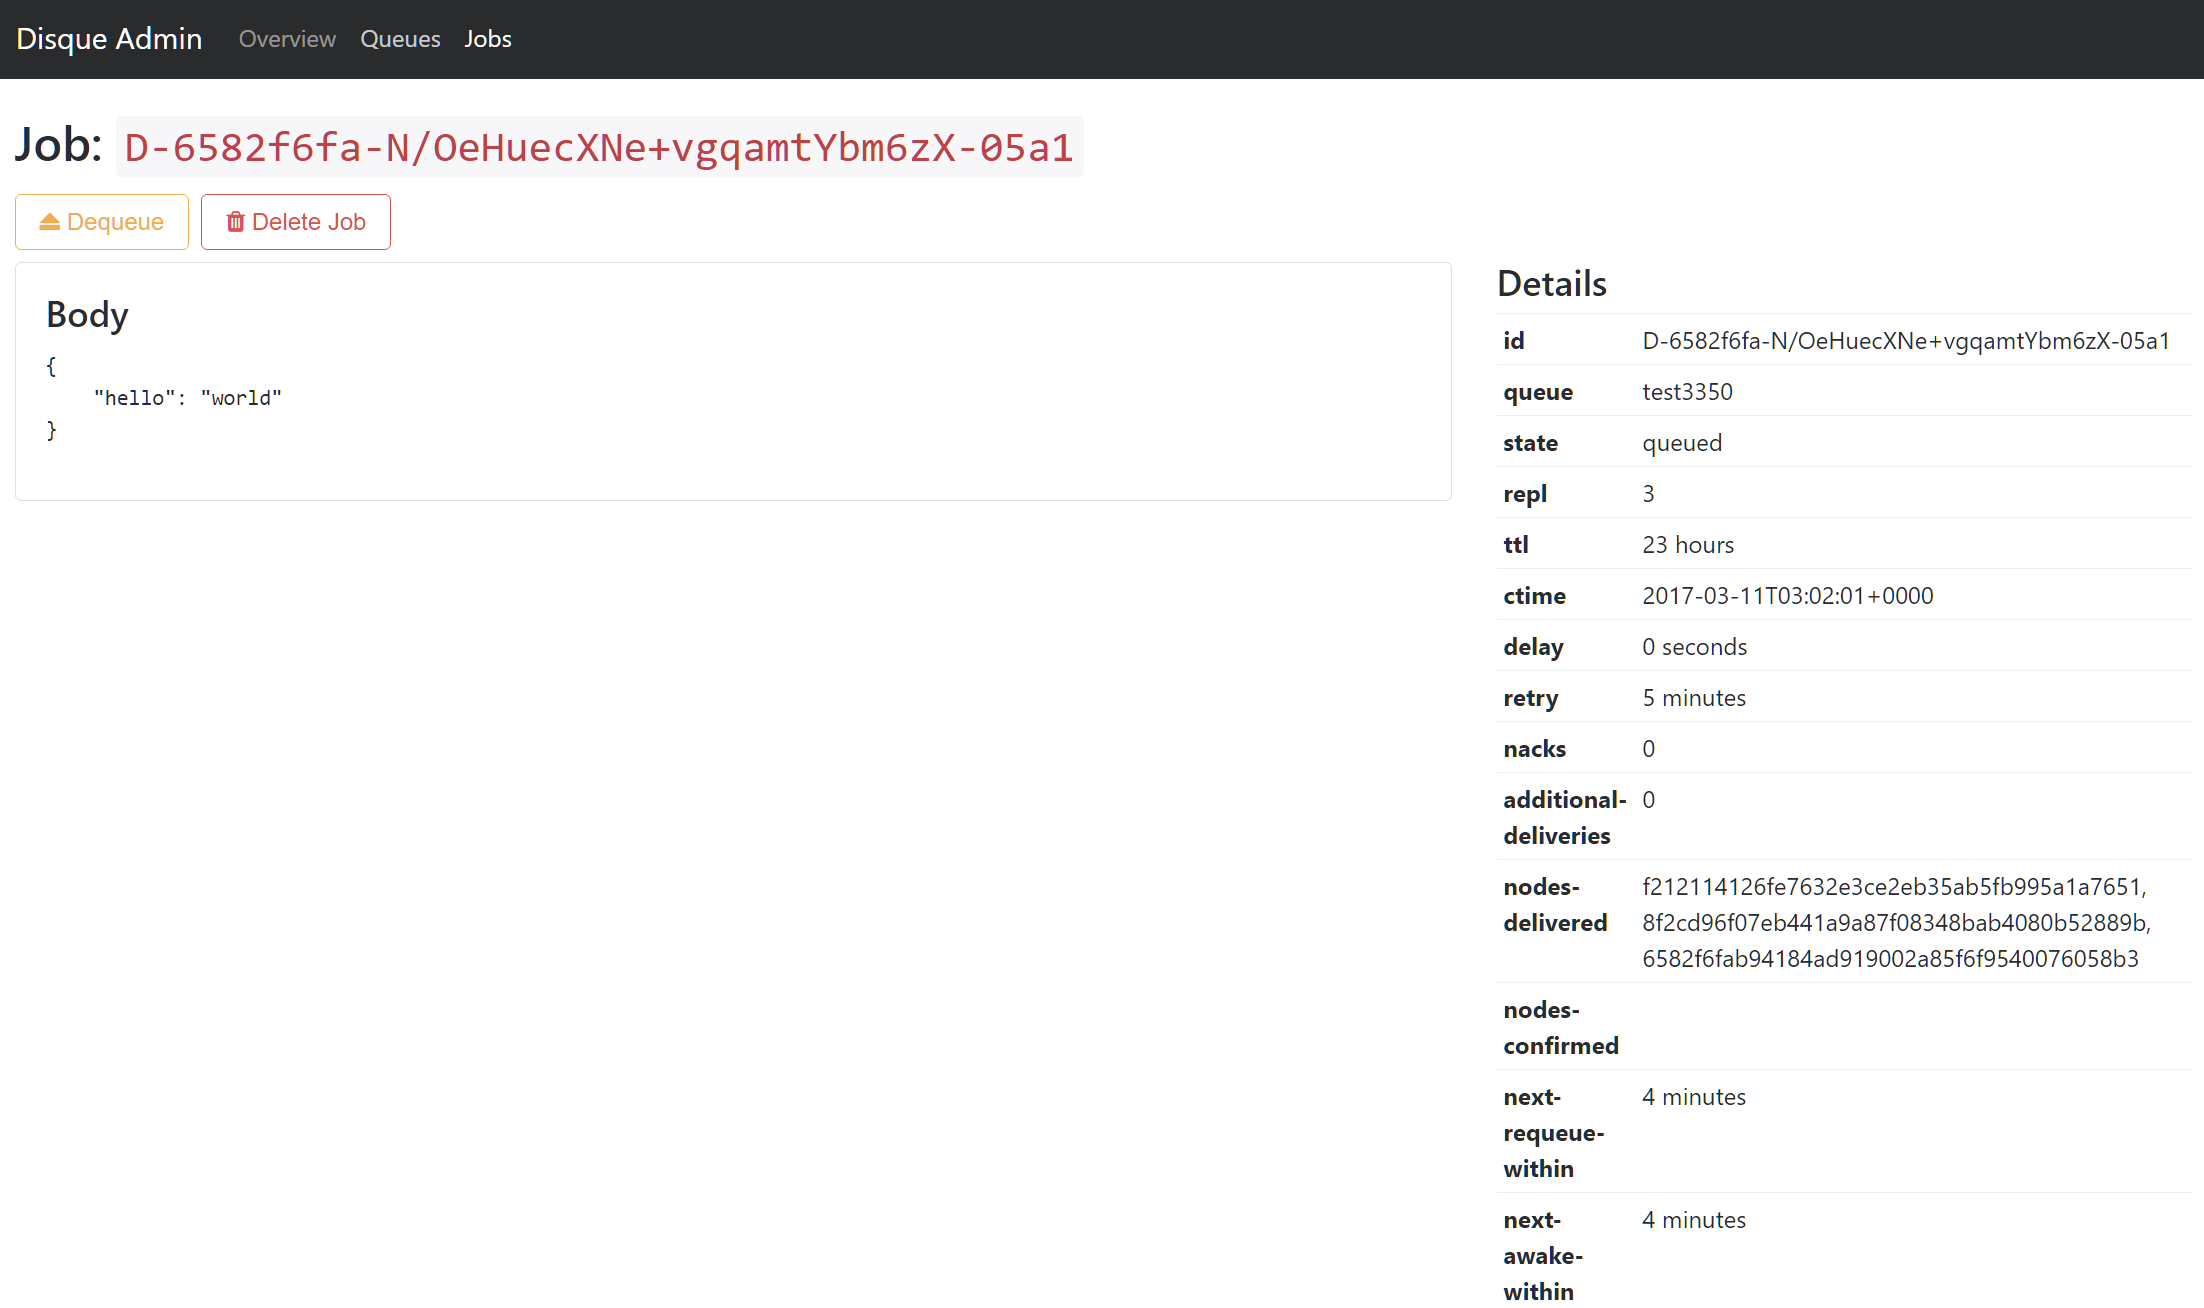
varspool / disque-admin-provider
Web-based Disque administration and monitoring tool, using Silex
Installs: 9 130
Dependents: 0
Suggesters: 0
Security: 0
Stars: 3
Watchers: 0
Forks: 2
Open Issues: 1
pkg:composer/varspool/disque-admin-provider
Requires
- mariano/disque-php: dev-master as 3.0.x-dev
- psr/log: ~1.0
- silex/silex: ~2.0
- symfony/twig-bridge: *
Requires (Dev)
- phpunit/phpunit: ^5.7
- symfony/browser-kit: ~3.2.4
- symfony/css-selector: ^3.2
- symfony/debug: ~3.2.4
- symfony/twig-bridge: ~3.2.4
This package is auto-updated.
Last update: 2026-01-09 23:36:33 UTC
README
A web-based management/monitoring GUI for Disque
Dependencies
- Silex 2
- Twig support, with the twig bridge
- Service Controller support
- HTTP Fragment support
Getting Started
Install and register the provider
composer require varspool/disque-admin-provider- Register the provider on your
$app. The routes will be mounted for you at a configurable prefix:$app->register(new \Varspool\DisqueAdmin\DisqueAdminProvider(), [ // A prefix at which the admin routes will be mounted 'disque_admin.mount_prefix' => '/_disque', ]);
- Link (or serve, using your webserver configuration) the
resources/publicdirectory at the same prefix (usingtry_filesfor example, so we still fall back to PHP for missing paths). e.g.cd web && ln -s ../vendor/varspool/disque-admin-provider/resources/public _disque
Configure connection
Configure single connection
You can use the following simple properties to configure a single connection:
disque_admin.host: string, default '127.0.0.1'disque_admin.port: int, default 7711disque_admin.password: ?string, default null
Configure multiple connections
You can optionally configured multiple connections. Extend the disque_admin.credentials service
and replace it with an array of Disque\Connection\Credentials instances.
$app->extend('disque_admin.credentials', function (Application $app) {
   return [
       new Credentials(
           '127.0.0.1,
           7711,
           $app['disque_admin.password'],
           $app['disque_admin.connect_timeout'],
           $app['disque_admin.timeout']
       ),
       new Credentials(
           '10.1.1.1',
           7712,
           $app['disque_admin.password'],
           $app['disque_admin.connect_timeout'],
           $app['disque_admin.timeout']
       ),
   ];
});


