tapp / laravel-uppy-s3-multipart-upload
Multipart Uploads using Laravel, AWS S3, and Uppy
Maintainers
Package info
github.com/TappNetwork/laravel-uppy-s3-multipart-upload
pkg:composer/tapp/laravel-uppy-s3-multipart-upload
Requires
- php: ^7.4|^8.0
- illuminate/contracts: ^8.0|^9.0|^10.0|^11.0|^12.0
- league/flysystem-aws-s3-v3: ^3.0
- spatie/laravel-package-tools: ^1.1
Requires (Dev)
- laravel/framework: 12.*
- mockery/mockery: ^1.3.2
- orchestra/testbench: 10.*
- phpstan/extension-installer: ^1.1
- phpstan/phpstan-deprecation-rules: ^1.0
- phpstan/phpstan-phpunit: ^1.0
- spatie/laravel-ray: ^1.9
- vimeo/psalm: ^4.4 || ^5.0 || ^6.0 || ^7.0
README
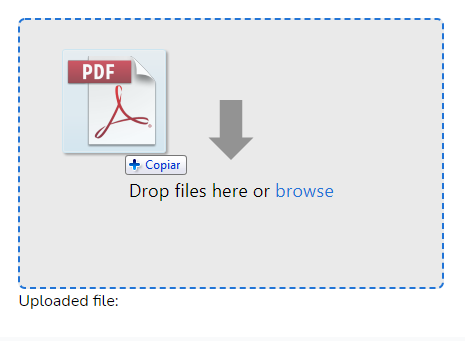
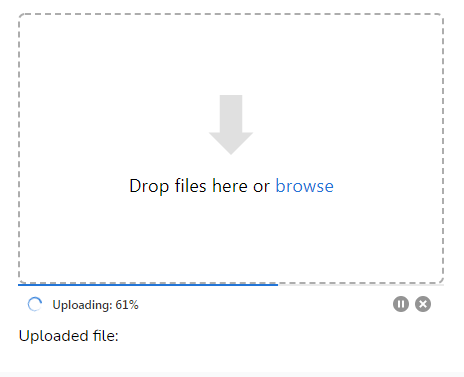
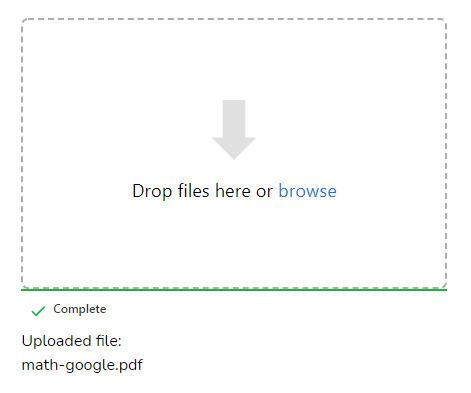
![]()
Upload large files directly to AWS S3 using Laravel (backend) and Uppy (frontend).
Appearance
Installation
Install the package via Composer
composer require tapp/laravel-uppy-s3-multipart-upload
Add required JS libraries
Add on your package.json file the Uppy JS libraries and AlpineJS library:
    ...
    "devDependencies": {
        "alpinejs": "^3.11.1",
        ...
    },
    "dependencies": {
        "@uppy/aws-s3-multipart": "^3.1.2",
        "@uppy/core": "^3.0.5",
        "@uppy/drag-drop": "^3.0.1",
        "@uppy/status-bar": "^3.0.1"
        ...
    }
    ...
Add in your resources/js/bootstrap.js file:
...

require('@uppy/core/dist/style.min.css')
require('@uppy/drag-drop/dist/style.min.css')
require('@uppy/status-bar/dist/style.min.css')

import Uppy from '@uppy/core'
import DragDrop from '@uppy/drag-drop'
import StatusBar from '@uppy/status-bar'
import AwsS3Multipart from '@uppy/aws-s3-multipart'

window.Uppy = Uppy
window.DragDrop = DragDrop
window.StatusBar = StatusBar
window.AwsS3Multipart = AwsS3Multipart
Add in your resources/js/app.js:
...
import Alpine from 'alpinejs';

window.Alpine = Alpine;

Alpine.start();
Install the JS libraries:
for Mix:
npm install
npm run dev
for Vite:
npm install
npm run build
Publish config file
Publish the config file with:
php artisan vendor:publish --tag=uppy-s3-multipart-upload-config
This is the contents of the published config file:
return [
    's3' => [
        'bucket' => [
            /*
             * Folder on bucket to save the file
             */
            'folder' => '',
        ],
        'presigned_url' => [
            /*
             * Expiration time of the presigned URLs
             */
            'expiry_time' => '+1 hour',
        ],
    ],
];
Publish view file
php artisan vendor:publish --tag=uppy-s3-multipart-upload-views
AWS S3 Setup
This package installs the AWS SDK for PHP and use Laravel's default s3 disk configuration from config/filesystems.php file.
You just have to add your S3 keys, region, and bucket using the following env vars in your .env file:
AWS_ACCESS_KEY_ID=
AWS_SECRET_ACCESS_KEY=
AWS_DEFAULT_REGION=
AWS_BUCKET=
Warning
The
AWS_URLorAWS_POST_END_POINTenv vars should only be set when using a custom, non-aws endpoint. For more details please refer to this issue: #14.
To allow direct multipart uploads to your S3 bucket, you need to add some extra configuration on bucket's CORS configuration.
On your AWS S3 console, select your bucket.
Click on "Permissions" tab.
On "CORS configuration" add the following configuration:
[
    {
        "AllowedHeaders": [
            "Authorization",
            "x-amz-date",
            "x-amz-content-sha256",
            "content-type"
        ],
        "AllowedMethods": [
            "PUT",
            "POST",
            "DELETE",
            "GET"
        ],
        "AllowedOrigins": [
            "*"
        ],
        "ExposeHeaders": [
            "ETag"
        ]
    }
]
On AllowedOrigins:
"AllowedOrigins": [
    "*"
]
You should list the URLs allowed, e.g.:
"AllowedOrigins": [
    "https://example.com"
]
https://uppy.io/docs/aws-s3-multipart/#S3-Bucket-Configuration
https://uppy.io/docs/aws-s3/#S3-Bucket-configuration
Add S3 Transfer Acceleration
To use S3 transfer acceleration,
enable it by adding a AWS_USE_ACCELERATE_ENDPOINT=true env var on your .env file,
and add 'use_accelerate_endpoint' => env('AWS_USE_ACCELERATE_ENDPOINT') in s3 options on your config/filesystems.php:
       's3' => [
            ...
            'use_accelerate_endpoint' => env('AWS_USE_ACCELERATE_ENDPOINT'),
        ],
Configuration
You can configure the folder to upload the files and the expiration of the presigned URLs used to upload the parts, with the config/uppy-s3-multipart-upload.php file:
return [
    's3' => [
        'bucket' => [
            /*
             * Folder on bucket to save the file
             */
            'folder' => 'videos',
        ],
        'presigned_url' => [
            /*
             * Expiration time of the presigned URLs
             */
            'expiry_time' => '+30 minutes',
        ],
    ],
];
Endpoints added
This package add the following routes:
POST    /s3/multipart
OPTIONS /s3/multipart
GET     /s3/multipart/{uploadId}
GET     /s3/multipart/{uploadId}/{partNumber}
POST    /s3/multipart/{uploadId}/complete
DELETE  /s3/multipart/{uploadId}
Usage
Add a hidden field for the uploaded file url
Add a hidden input form element on your blade template. When the upload is finished, it will receive the url of the uploaded file:
E.g.:
<input type="hidden" name="file" id="file" />
Add the uppy blade component to your blade view:
<x-input.uppy />
Passing data to the uppy blade component
Hidden field name
Use the hiddenField attribute to provide the name of the hidden field that will receive the url of uploaded file:
$hiddenField = 'image_url';
<x-input.uppy :hiddenField="$hiddenField" />
The file name will be used if none is provided.
Uppy Core Options
https://uppy.io/docs/uppy/#Options
You can pass any uppy options via options attribute:
<x-input.uppy :options="$uppyOptions" />
Uppy core options are in this format:
$uppyOptions = "{
    debug: true,
    autoProceed: true,
    allowMultipleUploads: false,
}";
Default core options if none is provided:
{
    debug: true,
    autoProceed: true,
    allowMultipleUploads: false,
}
Uppy Status Bar Options
https://uppy.io/docs/status-bar/#Options
You can pass any uppy status bar options via statusBarOptions attribute:
<x-input.uppy :statusBarOptions="$uppyStatusBarOptions" />
Uppy Status Bar options are in this format:
$uppyStatusBarOptions = "{
    target: '.upload .for-ProgressBar',
    hideAfterFinish: false,
}";
Default status bar options if none is provided:
{
    target: '.upload .for-ProgressBar',
    hideAfterFinish: false,
}
Uppy Drag & Drop Options
https://uppy.io/docs/drag-drop/#Options
You can pass any uppy drag & drop options via dragDropOptions attribute:
<x-input.uppy :dragDropOptions="$uppyDragDropOptions" />
Uppy Drag & Drop options are in this format:
$uppyDragDropOptions = "{
    target: '.upload .for-DragDrop',
}";
Default drag & drop options if none is informed:
{
    target: '.upload .for-DragDrop',
}
Upload Element Class
Use the uploadElementClass attribute to provide the class of the HTML element used for upload:
$imageClass = 'images';
<x-input.uppy :uploadElementClass="$imageClass" />
The upload class will be used if none is provided.
Multiple Uppy Instances
If you want to use multiple Uppy instances, add a different uploadElementClass attribute to each instance. E.g.:
<!-- First Uppy instance for image uploads -->
<div>
    <input type="hidden" name="images" id="images" />
    <x-input.uppy :options="$imageOptions" :hiddenField="$imageField" :uploadElementClass="$imageClass" />
</div>


<!-- Second Uppy instance for video uploads -->
<div>
    <input type="hidden" name="videos" id="videos" />
    <x-input.uppy :options="$videoOptions" :hiddenField="$videoField" :uploadElementClass="$videoClass" />
</div>
Note from Uppy docs: "If multiple Uppy instances are being used, for instance, on two different pages, an id should be specified. This allows Uppy to store information in localStorage without colliding with other Uppy instances." Learn more here.
Extra JavaScript to onUploadSuccess
If you need to add extra JavaScript code on onUploadSuccess function, use the extraJSForOnUploadSuccess attribute:
E.g.:
$extraJSForOnUploadSuccess = "
    document.getElementById('saveImageButton').removeAttribute('disabled');
    document.getElementById('saveImageButton').click();
"
<x-input.uppy :extraJSForOnUploadSuccess="$extraJSForOnUploadSuccess" />
Default extraJSForOnUploadSuccess value is empty string.
Clear caches
Run:
php artisan optimize
php artisan view:clear
Changelog
Please see CHANGELOG for more information on what has changed recently.
Contributing
Please see CONTRIBUTING for details.
Security Vulnerabilities
If you discover any security-related issues, please email security@tappnetwork.com.
Credits
Libraries used in this package:
License
The MIT License (MIT). Please see License File for more information.