boxblinkracer / shopware-ai-demodata
AI Demo Data
Installs: 1 201
Dependents: 0
Suggesters: 0
Security: 0
Stars: 31
Watchers: 1
Forks: 5
Open Issues: 3
Type:shopware-platform-plugin
pkg:composer/boxblinkracer/shopware-ai-demodata
Requires
- php: >= 8.1
- ext-curl: *
- orhanerday/open-ai: ^5.1
Requires (Dev)
- friendsofphp/php-cs-fixer: ^2.18
- phpstan/phpstan: ^1.10
- phpunit/phpunit: ^10.2
- shopware/administration: >=6.4.0
- shopware/core: >=6.4.0
- shopware/storefront: >=6.4.0
README
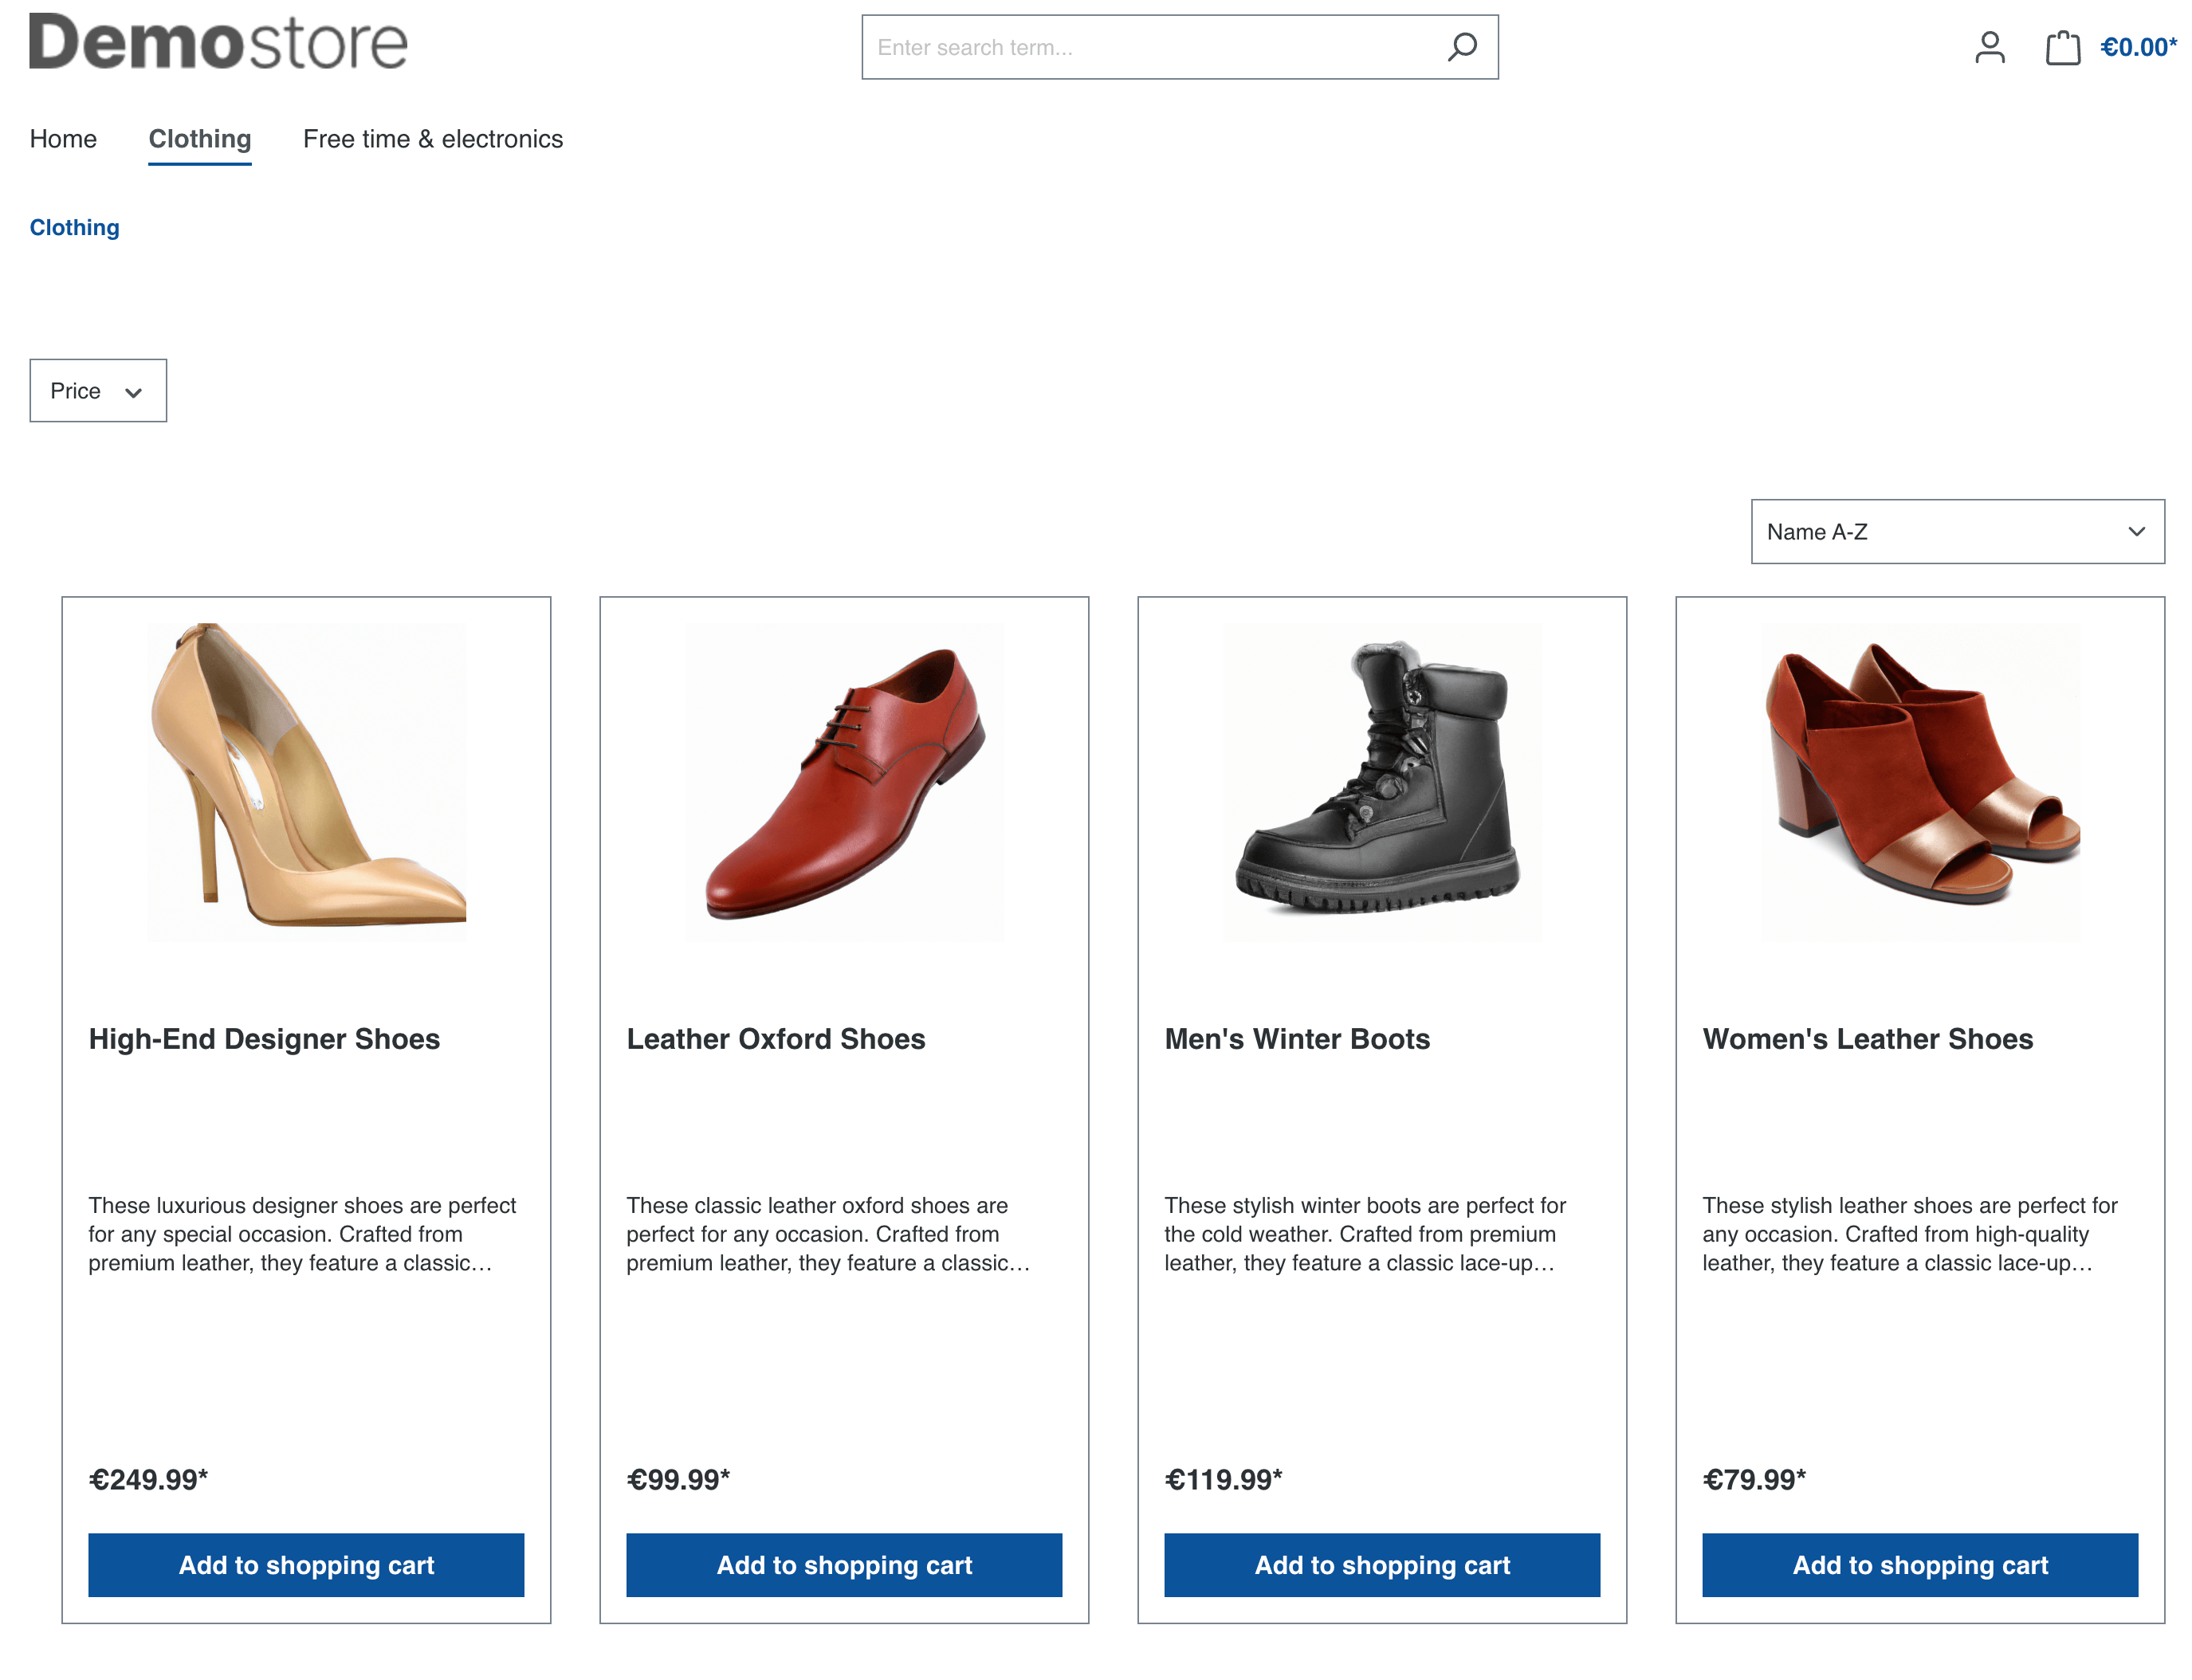
This plugin is designed to generate demo data for Shopware 6 based on artificial intelligence (AI) technology. It allows you to quickly populate your Shopware 6 shop with sample data using AI-generated product information.
Installation
ZIP Files
You can download the stable ZIP file releases from Github. Just download the ZIP file and install it in the Shopware administration.
Composer Installation
You can install the plugin using composer. Just navigate to your Shopware 6 project's root directory and run the following command:
composer require boxblinkracer/shopware-ai-demodata
Manual Installation
Clone this repository to your Shopware 6 project's custom/plugins directory.
Navigate to your Shopware 6 project's root directory and run the following command to install the plugin dependencies:
make prod
Now just install the plugin in the Shopware 6 administration panel and activate it or by using this CLI command.
php bin/console plugin:refresh
php bin/console plugin:install --activate AIDemoData
Configuration
Log in to your Shopware 6 administration panel and navigate to Settings > System > Plugins.
Search for "AI Demo Data" in the plugin list and navigate to the plugin's configuration page and enter your OpenAI API key. This key is required for the AI-generated demo data generation process.
You can also provide your API key using a CLI command of Shopware:
php bin/console system:config:set AIDemoData.config.apiKey 123
There are various things that you can configure in the plugin, such as the used text and image models, styles of images and way more.
Some of these settings can also be adjusted directly when running the CLI commands.
Usage
Once the plugin is activated and configured with your OpenAI API key, you can use the command-line interface (CLI) to generate demo data.
To generate demo data, open your terminal, navigate to your Shopware 6 project's root directory, and run the following commands.
Generate Products
php bin/console ai-demodata:generate:products --keywords=''

# Sample
php bin/console ai-demodata:generate:products --keywords='baseball gloves, right and left, leather, high quality' --count=2
OpenAI will automatically figure out, if it makes sense to create product variants. If the product can be used as variant, then the plugin will read your configuration for the "Property for Product Variants". All options of this property will be used to create variants. I recommend using a property like "Color" or "Size" for this.
| Feature | Argument | Description |
|---|---|---|
| Keywords | --keywords | Specifies the keywords or topics related to the desired demo data. You can play around with these values to generate different demo data and improve your results |
| Count | --count | Indicates the number of demo data entries to generate (default: 1) |
| Category | --category | The optional name of the category if you would like to automatically assign the generated demo data to a category in the Storefront. |
| Sales Channel | --saleschannel | If you provide a category, you can also provide the sales channel name in case you have multiple ones. |
| Images | --images | Indicates whether the generated demo data should contain images (default: plugin-configuration) |
| Images Size | --images-size | Specifies a size for the images of allowed OpenAI sizes like 1024x1024, 512x512 (default: plugin-configuration) |
After running the command, the plugin will use the specified keywords and AI technology to generate demo data based on your Shopware 6 shop's configured product structure.
Generate Media Images
php bin/console ai-demodata:generate:media --keywords=''

# Sample
php bin/console ai-demodata:generate:media --keywords='advertisement banner with shoes, woman standing in a city on a square, presenting her white leather high heels, focus on shoes, sun is shining, bright colors, suitcase next to shoes, grass in the background' --count=1
| Feature | Argument | Description |
|---|---|---|
| Keywords | --keywords | Specifies the keywords or topics related to the desired demo data. You can play around with these values to generate different demo data and improve your results |
| Count | --count | Indicates the number of demo data entries to generate (default: 1) |
| Size | --size | Specifies a size for the images of allowed OpenAI sizes like 1024x1024, 512x512 (default: plugin-configuration) |
Please note that the generated demo data will be based on AI predictions and may not reflect actual product information. It is recommended to review and adjust the generated data before using it in a production environment.
Contribution
Contributions are always welcome! Please create a pull request to contribute to this project.
You can simply start a development environment with Docker. Just open the devops folder and run the following command:
make run
After a few seconds your development environment should be up and running. You only need to provide your OpenAI API key and that's it.


