Search by 
autoidle / laravel-heroku
This package is abandoned and no longer maintained.
No replacement package was suggested.
Latest Laravel with best practices for deployment on Heroku.
Maintainers
v5.8.35
2019-10-13 17:20 UTC
Requires
- php: 7.3.*
- fideloper/proxy: ^4.0
- laravel/framework: 5.8.*
- laravel/tinker: ^1.0
- predis/predis: ^1.1
Requires (Dev)
- beyondcode/laravel-dump-server: ^1.0
- filp/whoops: ^2.0
- fzaninotto/faker: ^1.4
- mockery/mockery: ^1.0
- nunomaduro/collision: ^3.0
- phpunit/phpunit: ^8.2
This package is auto-updated.
Last update: 2024-09-30 01:34:34 UTC
README
Laravel with best practices for deployment on Heroku. Our articles on Medium
Works out of the box
Features
Heroku Postgres(for Database)Heroku Redis(for Cache, Queue and Session)- Migrate Database automatically on deploy
- Logging
- With Scheduler
Deploy to Heroku
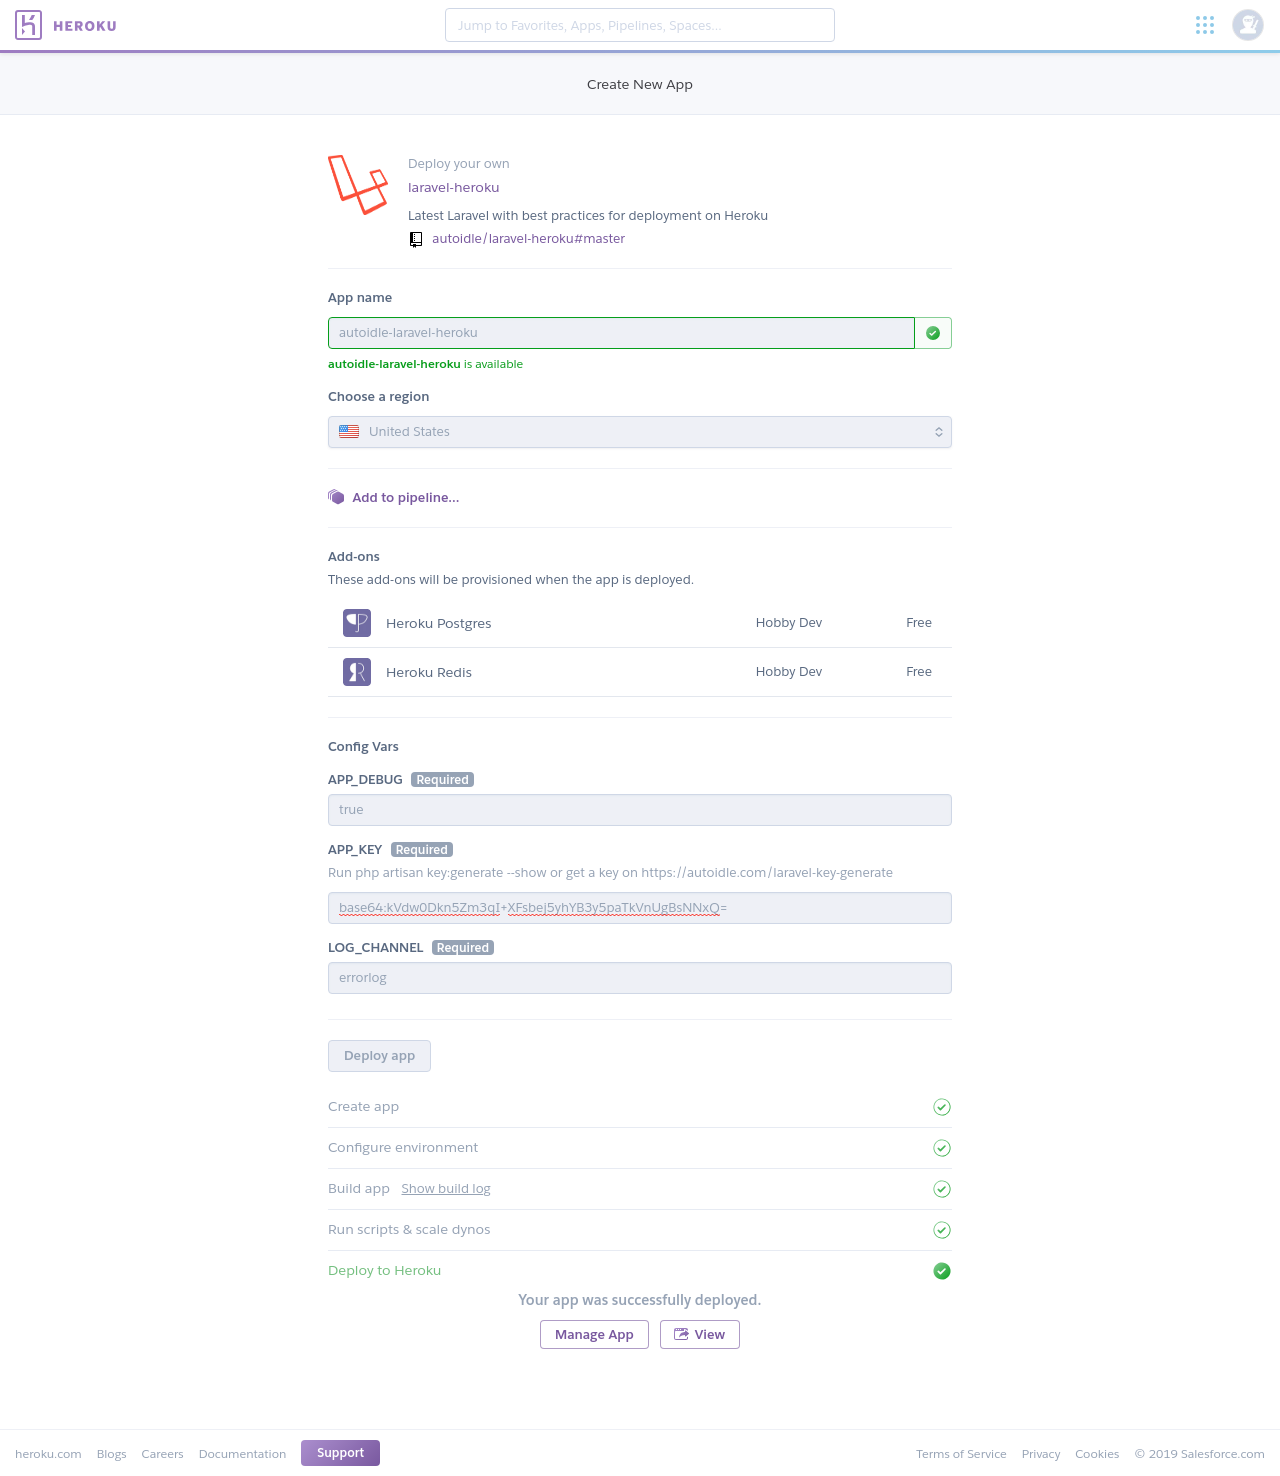
Setup locally and deploy to Heroku
1. Install Heroku CLI
https://devcenter.heroku.com/articles/heroku-cli
2. Create a new project
composer create-project autoidle/laravel5-heroku my-laravel-heroku
3. Tracking your app in Git
cd my-laravel-heroku
git init
git add .
git commit -m 'Fresh Laravel installation'
4. Add Heroku app
heroku create my-laravel-heroku --region eu --addons=heroku-postgresql:hobby-dev,heroku-redis:hobby-dev
5. Set ENV variables
heroku config:set APP_DEBUG=true
heroku config:set APP_KEY=$(php artisan --no-ansi key:generate --show)
6. Push your code to laravel
git push heroku master
7. Checkout your Laravel installation on Heroku
heroku open
8. Checkout the log (Optional)
heroku logs -t
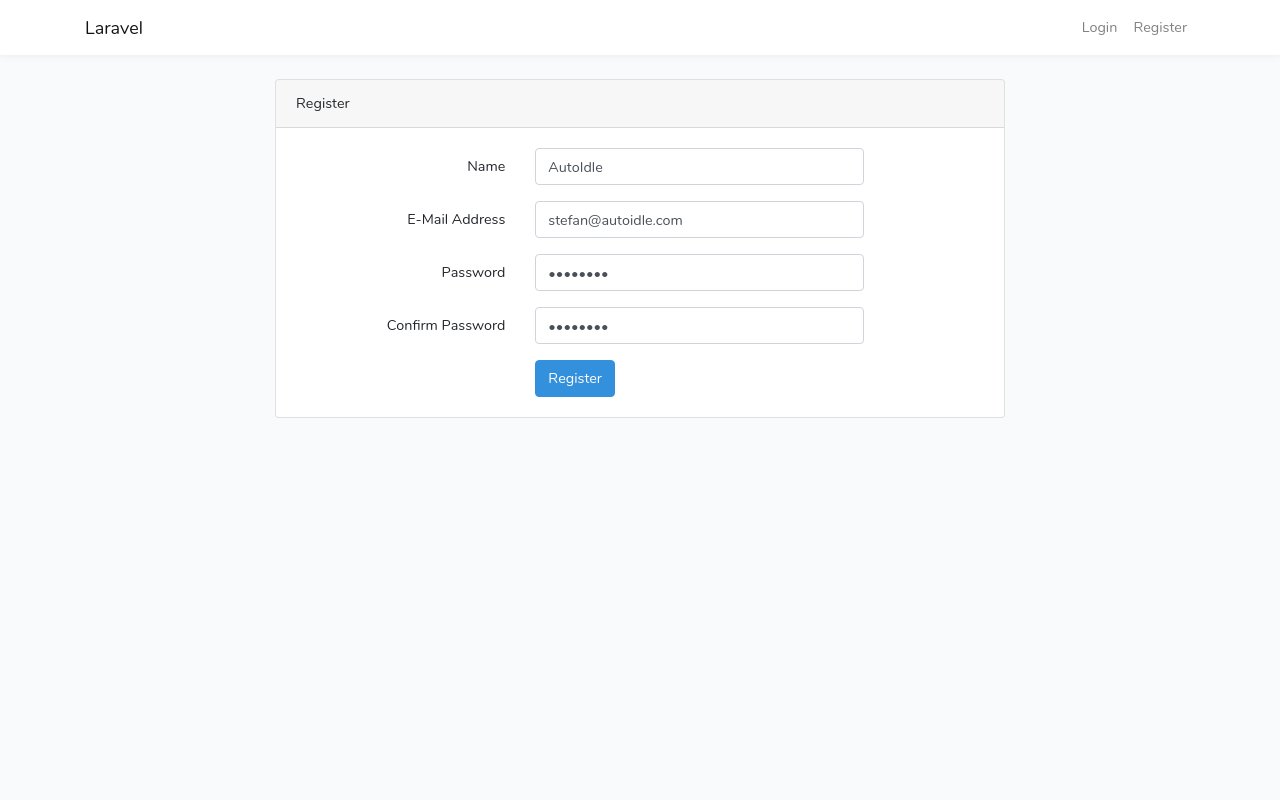
Extend with Laravel Auth (Optional)
1. Laravel provides a quick way to scaffold all of the routes and views you need for authentication using one simple command:
php artisan make:auth
2. Add changes to Git
git add .
git commit -m 'Add Laravel Auth'
3. Deploy to Heroku
git push heroku master
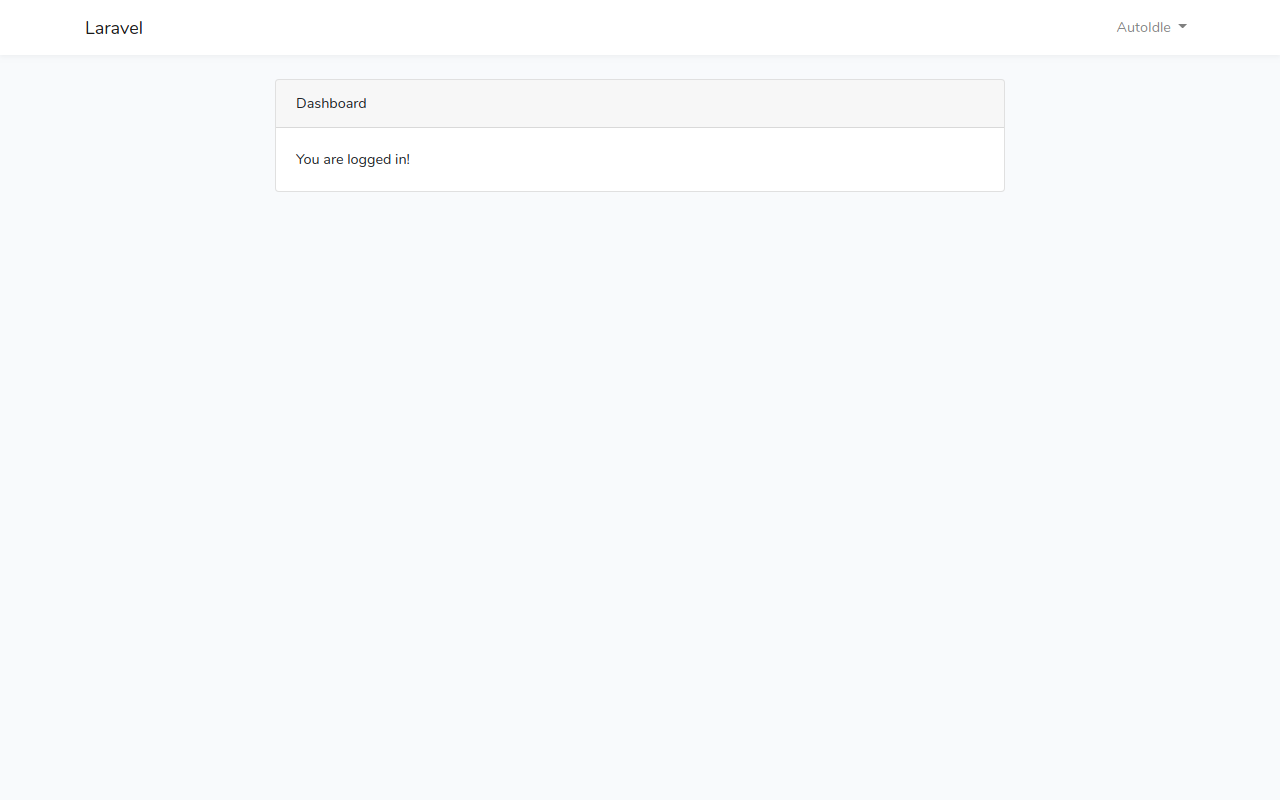
4. Checkout your Laravel installation on Heroku with Auth
heroku open
Code difference between Laravel and Laravel on Heroku
We are building a Heroku Add-on that helps you save money by automatically putting your non-critical apps to sleep after a period of inactivity.