wpbones / wptables
A fluent implementation of WordPress WP List Table for WP Bones
Maintainers
README
A fluent implementation of WordPress WP List Table for WP Bones
Requirements
This package works with a WordPress plugin written with WP Bones framework library.
Installation
You can install third party packages by using:
php bones require wpbones/wptables
I advise to use this command instead of composer require because doing this an automatic renaming will done.
You can use composer to install this package:
composer require wpbones/wptables
You may also to add "wpbones/wptables": "^1.0" in the composer.json file of your plugin:
  "require": {
    "php": ">=7.4",
    "wpbones/wpbones": "~0.8",
    "wpbones/wptables": "~1.0"
  },
and run
composer install
How to
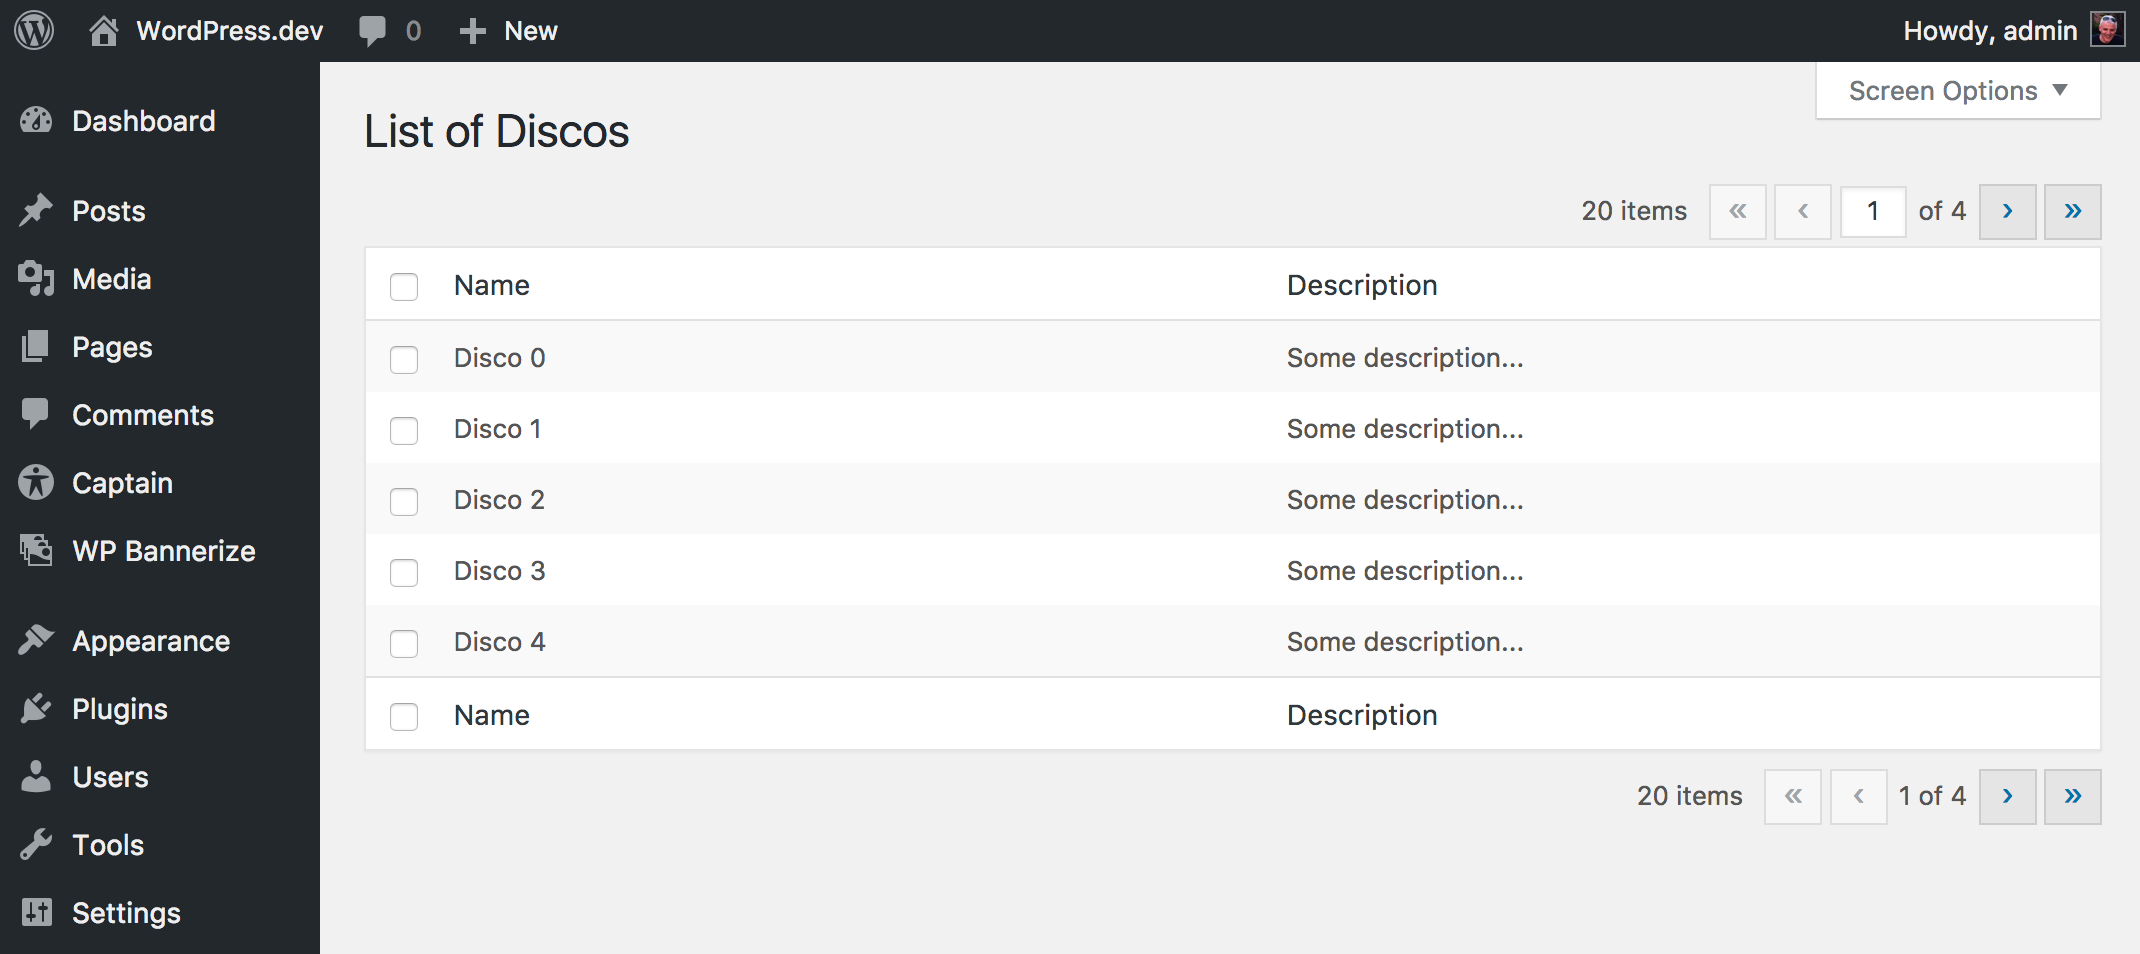
You can use WP Tables either like subclass or like fluent class instance.
Subclassing
As subclass class instance you may create a your own class as show below:
<?php

namespace WPKirk\Http\Controllers;

use WPKirk\WPTables\Html\WPTable;

class ExampleTable extends WPTable
{

  protected $name = 'Discos';

  public function getColumnsAttribute()
  {
    return [
      'id'          => 'Name',
      'description' => 'Description',
    ];
  }

  public function getItems( $args = [] )
  {

    $fake = [];

    for( $i = 0; $i < 20; $i++ ) {
      $fake[] = [
        'id' => "Example {$i}",
        'description' => 'Some description...'
      ];
    }

    return $fake;

  }
}
In your view controller you have to use the load method in order to register the screen options:
...
  public function load()
  {
    ExampleTable::registerScreenOption();
  }

  public function index()
  {
    $table = new ExampleTable();

    return WPKirk()
      ->view( 'dashboard.table' )
      ->with( 'table', $table );
  }
...
In your ExampleTable you may override:
public function getCheckBoxValueAttribute( $item )
{
   return $item[ 'my_colum' ];
}

// or

public function getCheckBoxColumnNameAttribute()
{
   return 'my_colum';
}
This will be the value used in the checkbox value.
Fluent
If you like use the WPTable as fluent instance, you have to set the columns twice.
...
  public function loadFluentExample()
  {
    WPTable::name( 'Books' )
           ->columns(
              [
                'id'          => 'Name',
                'description' => 'Description',
              ]
            )
           ->screenOptionLabel( 'Rows' )
           ->registerScreenOption();
  }

  public function indexFluentExample()
  {

    $items = [];

    for ( $i = 0; $i < 20; $i++ ) {
      $items[] = [
        'id'          => "Book {$i}",
        'description' => 'Some description...',
      ];
    }

    $table = WPTable::name( 'Books' )
                    ->singular( 'Book' )
                    ->plural( 'Books' )
                    ->columns(
                      [
                        'id'          => 'Name',
                        'description' => 'Description',
                      ]
                    )
                    ->setItems( $items );

    return WPKirk()
      ->view( 'dashboard.table' )
      ->with( 'table', $table );
  }