Search by 
rtippin / messenger-ui
Laravel messenger suite UI.
Maintainers
Fund package maintenance!
v2.7.2
2023-07-06 01:02 UTC
Requires
- rtippin/messenger: ^1.19
This package is auto-updated.
Last update: 2026-07-06 07:36:53 UTC
README
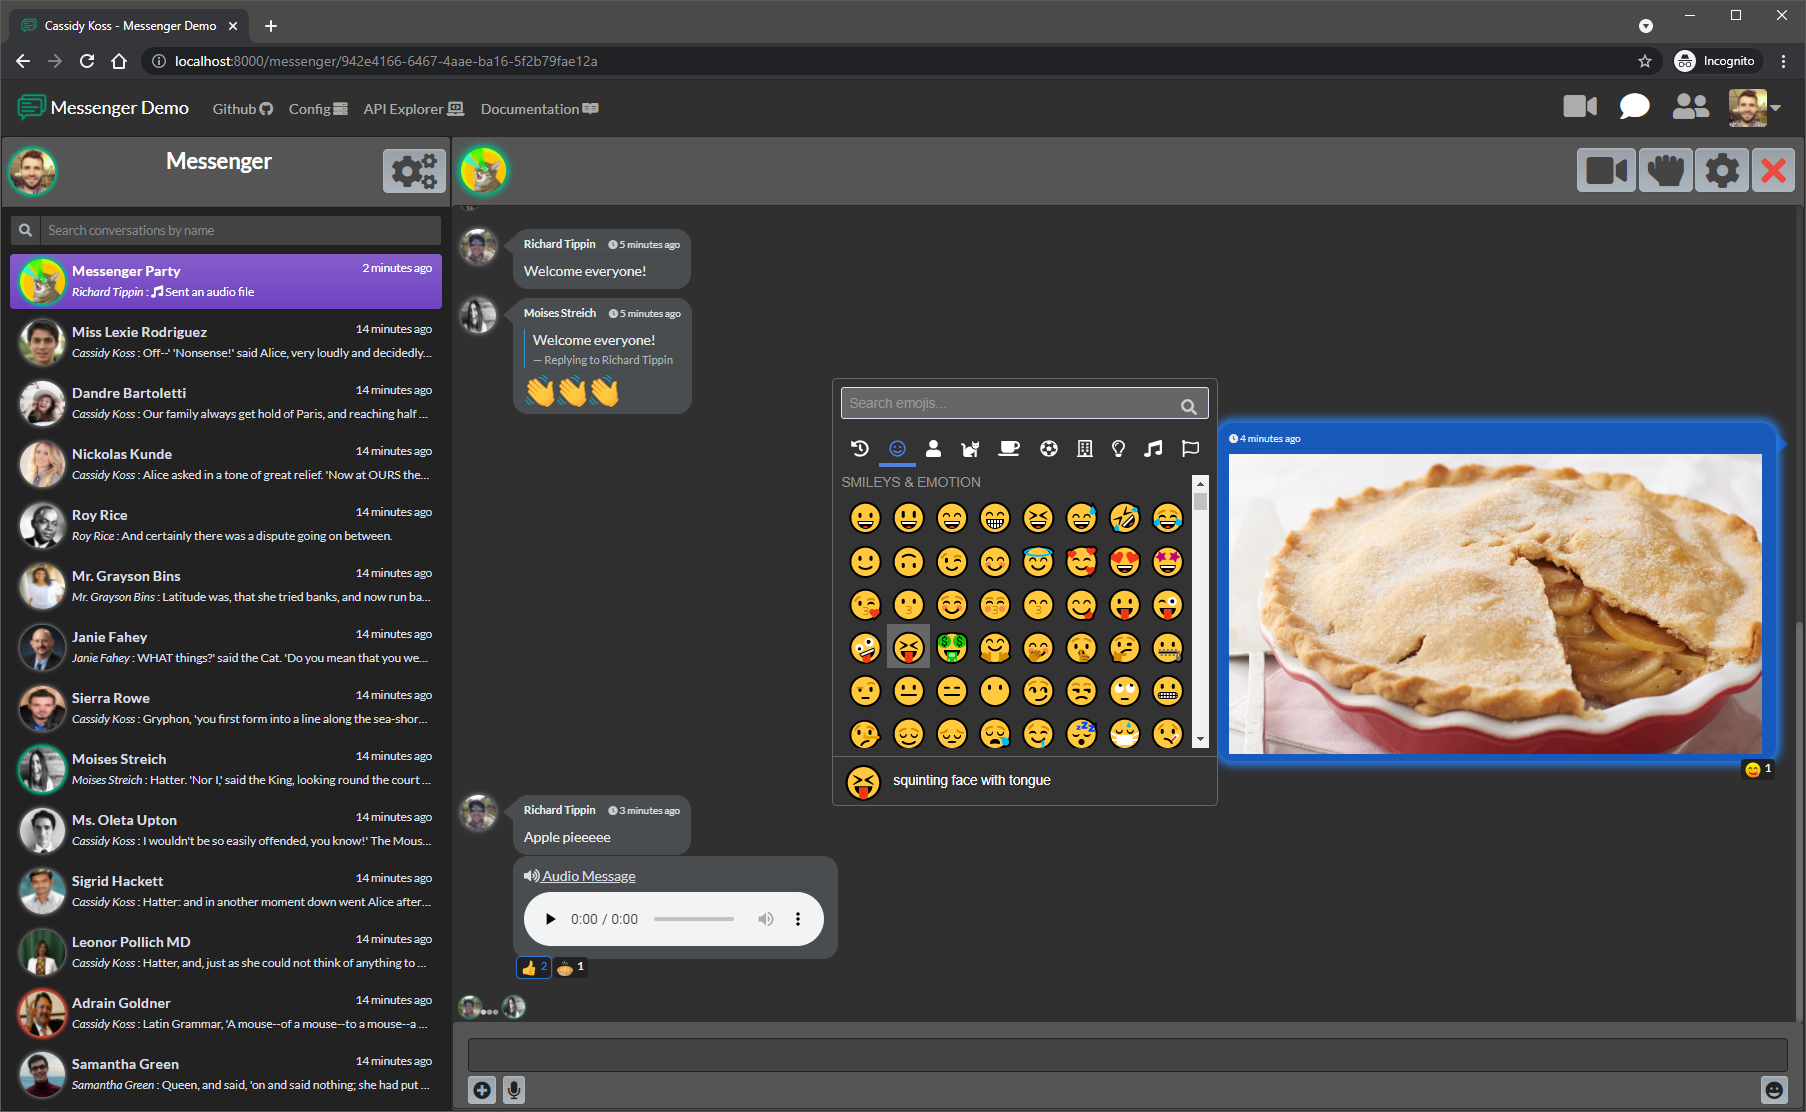
Ready-made UI and web routes for use with rtippin/messenger
Notes
- This package provides web routes and a published UI to consume
messenger'sAPI. No authentication routes/system will be setup for you. - Our compiled
NotifyManager.jsuses laravel echo, with thepusher-jslibrary. - For websockets, this package supports pusher.com directly, or the drop-in replacement laravel-websockets.
- Instructions are located below for setting up the websocket implementation of your choosing.
- After publishing our
views, you may wish to edit them to fit your needs. - Future versions planned will be crafted in
react.
Installation
Via Composer
composer require rtippin/messenger-ui
Publish Assets and Config
- This will publish our JS assets, images, views, and config.
php artisan messenger:ui:publish
- When using composer to update this package, we recommend republishing our JS/CSS assets:
php artisan vendor:publish --tag=messenger-ui.assets --force
Config
Default:
'site_name' => env('MESSENGER_SITE_NAME', 'Messenger'),

'websocket' => [
    'pusher' => env('MESSENGER_SOCKET_PUSHER', false),
    'host' => env('MESSENGER_SOCKET_HOST', 'localhost'),
    'auth_endpoint' => env('MESSENGER_SOCKET_AUTH_ENDPOINT', '/api/broadcasting/auth'),
    'key' => env('MESSENGER_SOCKET_KEY'),
    'port' => env('MESSENGER_SOCKET_PORT', 6001),
    'use_tsl' => env('MESSENGER_SOCKET_TLS', false),
    'cluster' => env('MESSENGER_SOCKET_CLUSTER'),
],

'routing' => [
    'domain' => null,
    'prefix' => 'messenger',
    'middleware' => ['web', 'auth', 'messenger.provider'],
    'invite_middleware' => ['web', 'messenger.provider'],
],
site_nameis used in our views to inject the name in the navbar.websocket:- When using the real
pusher.com, you need to setpushertotrue, add in yourcluster, and yourkey. - When using
laravel-websockets, you leavepushertofalse, ignorecluster, and set yourhost,port, andkey. - The
auth_endpointis for your laravel's backend to authorize access to our messenger channels. The defaultmessenger.phpconfig prefixes the channel routes withapi, hence our default config above uses/api/broadcasting/authwhen not set.
- When using the real
routingyou may choose your desired endpoint domain, prefix and middleware.- Invite join web route you can define separate middleware from the rest of the web routes, as you may want a guest allowed to view that page.
- The default
messenger.providermiddleware is included withmessengerand simply sets the active messenger provider by grabbing the authenticated user from$request->user().
Using Pusher
- After you have your pusher credentials ready, you should install the pusher SDK:
composer require pusher/pusher-php-server
- Once installed, set your
.envvariables:
Default broadcasting.php config
'pusher' => [
    'driver' => 'pusher',
    'key' => env('PUSHER_APP_KEY'),
    'secret' => env('PUSHER_APP_SECRET'),
    'app_id' => env('PUSHER_APP_ID'),
    'options' => [
        'cluster' => env('PUSHER_APP_CLUSTER'),
        'useTLS' => false,
    ],
],
.env keys for both pusher and our UI
BROADCAST_DRIVER=pusher
PUSHER_APP_ID=YourPusherId
PUSHER_APP_KEY=YourPusherKey
PUSHER_APP_SECRET=YourPusherSecret
PUSHER_APP_CLUSTER=YourPusherCluster
MESSENGER_SOCKET_PUSHER=true
MESSENGER_SOCKET_KEY="${PUSHER_APP_KEY}"
MESSENGER_SOCKET_CLUSTER="${PUSHER_APP_CLUSTER}"
- You are all set! Our UI will connect to your pusher account. Be sure to enable
client eventswithin your pusher account if you want our client to client events enabled.
Using laravel-websockets
- First, you need to have installed the websocket package (This package has been tested using laravel-websockets v1.12).
- Ideally, you should follow the official Installation Documentation from
beyondcodeif you are doing a fresh installation.
composer require beyondcode/laravel-websockets "^1.12"
- Once you have installed and configured the websocket package, set your
.envvariables and update the default pusher config:
Updated broadcasting.php config per beyondcode's documentation
'pusher' => [
    'driver' => 'pusher',
    'key' => env('PUSHER_APP_KEY'),
    'secret' => env('PUSHER_APP_SECRET'),
    'app_id' => env('PUSHER_APP_ID'),
    'options' => [
        'cluster' => env('PUSHER_APP_CLUSTER'),
        'encrypted' => true,
        'host' => 'localhost',
        'port' => 6001,
        'scheme' => 'http'
    ],
],
.env keys for both laravel-websockets and our UI
BROADCAST_DRIVER=pusher
PUSHER_APP_ID=MakeYourID
PUSHER_APP_KEY=MakeYourKey
PUSHER_APP_SECRET=MakeYourSecret
MESSENGER_SOCKET_HOST=localhost
MESSENGER_SOCKET_KEY="${PUSHER_APP_KEY}"
- You are all set! Our UI will connect to your server running
php artisan websockets:serve. Be sure to enableclient eventsin yourlaravel-websocketsconfig if you want our client to client events enabled.