pvtl / voyager-frontend
The Missing Front-end for The Missing Laravel Admin.
Installs: 52 247
Dependents: 5
Suggesters: 0
Security: 0
Stars: 208
Watchers: 24
Forks: 79
pkg:composer/pvtl/voyager-frontend
Requires
- pvtl/voyager-blog: ^0.2.10
- pvtl/voyager-pages: ^0.2.13
- spatie/laravel-sitemap: ^5.7
- tcg/voyager: ^1.3
- teamtnt/laravel-scout-tntsearch-driver: ^11.0
Requires (Dev)
- illuminated/testing-tools: ^0.5.5
- orchestra/testbench: ^3.4
- phpunit/phpunit: ^8.5
README
This repository is no longer actively maintained
Voyager Frontend
The Missing Frontend for The Missing Laravel Admin.
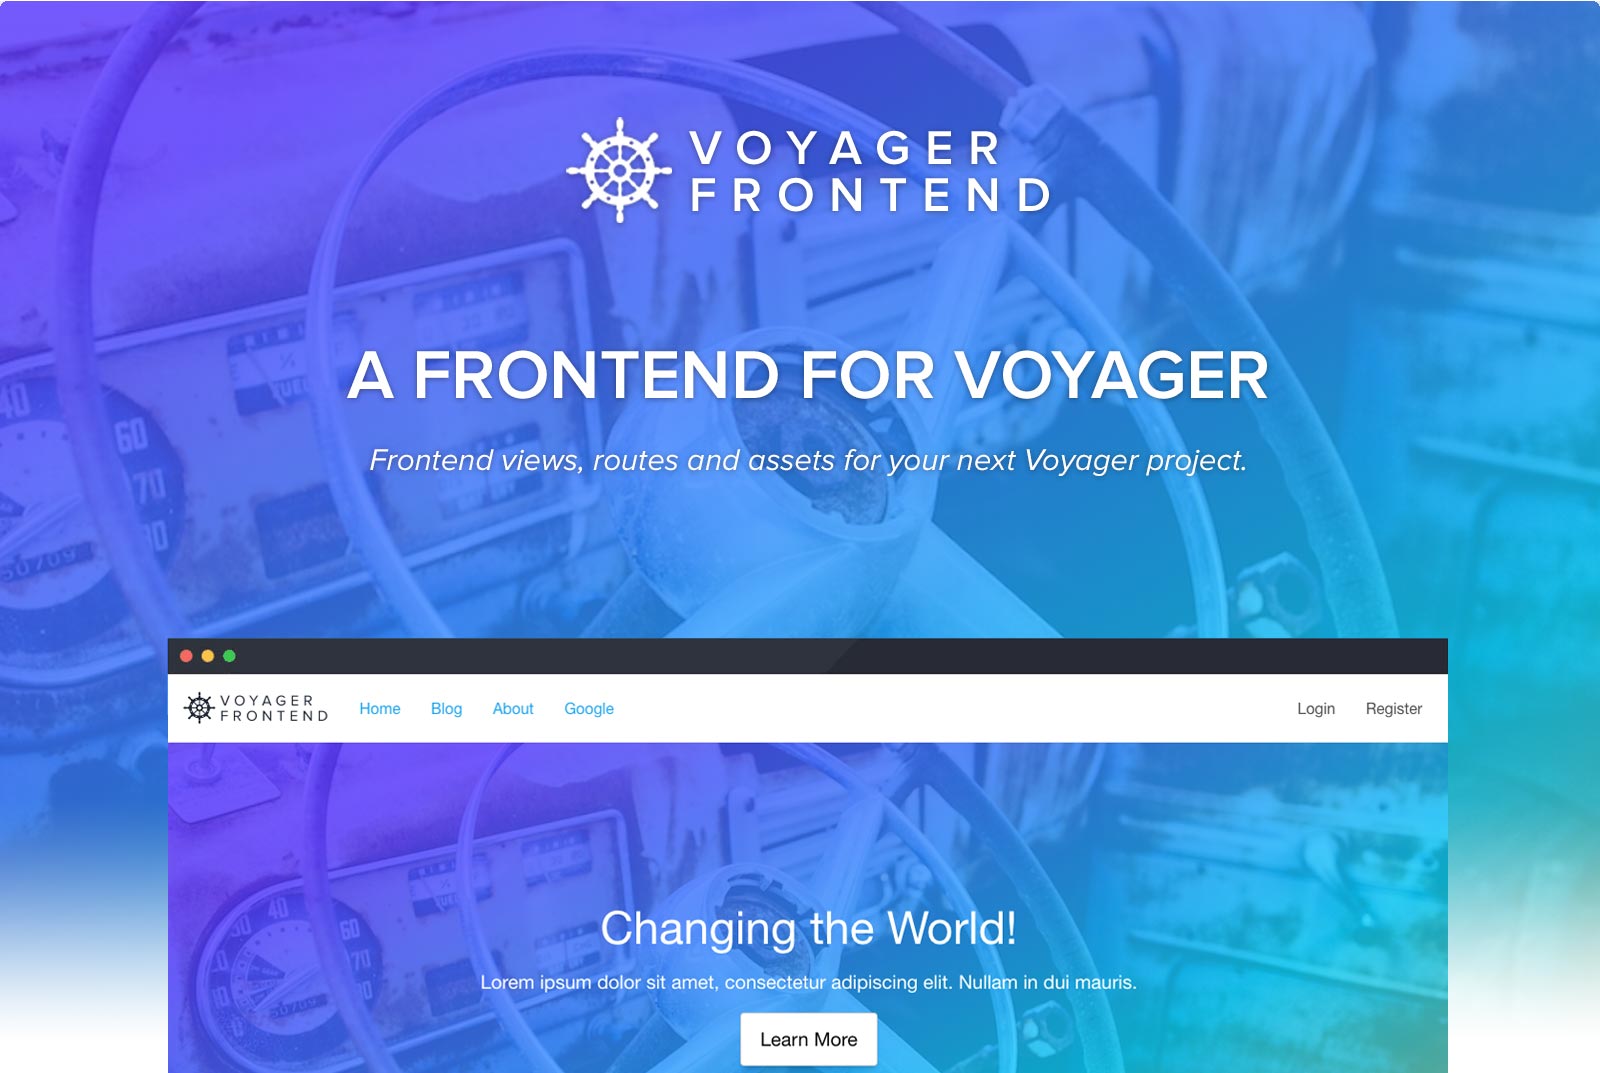
This Laravel package adds frontend views, routes and assets to a Voyager project.
It comes with a basic structure for frontend layouts (eg. header, footer, etc) and theme assets using the Foundation framework.
Built by Pivotal Agency.
Prerequisites
- PHP >= 7.1.3
- PHP extension
sqlite3(required forteamtnt/tntsearch)
- PHP extension
- Node & NPM
- Composer
- Laravel Requirements
Installation
1. Install Laravel + Voyager (Replace the $VARs with your own values)
# 1.0 Install Laravel
composer create-project --prefer-dist laravel/laravel $DIR_NAME

# 1.1 Require Voyager
cd $DIR_NAME && composer require tcg/voyager

# 1.2 Copy .env.example to .env and update the DB & App URL config
cp .env.example .env

# 1.3 Generate a Laravel key
php artisan key:generate

# 1.4 Install Laravel frontend - Only on Laravel 7+
php artisan ui bootstrap --auth

# 1.5 Run the Voyager Installer
php artisan voyager:install

# 1.6 Create a Voyager Admin User
php artisan voyager:admin $YOUR_EMAIL --create
2. Install Voyager Frontend
# 2.0 Require this Package in your fresh Laravel/Voyager project
composer require pvtl/voyager-frontend

# 2.1 Run the Installer
composer dump-autoload && php artisan voyager-frontend:install

# 2.3 Build the front-end theme assets
npm install
npm run dev

# 2.4 Set the Laravel search driver in your .env
echo "SCOUT_DRIVER=tntsearch" >> .env
Any issues? See the troubleshooting section below.
'Got Cron'?
This is a just a reminder to setup the standard Laravel cron on your server. The Voyager Frontend package has a few scheduled tasks, so relies on the cron running.
* * * * * php /path-to-your-project/artisan schedule:run >> /dev/null 2>&1
Theme Development
SCSS & JS
When you're ready to start styling your frontend, you can use the following commands after making updates to SCSS and/or JS files:
| Command | Description |
|---|---|
npm run watch |
Watches your /resources/assets for any changes and builds immediately |
npm run dev |
Builds SCSS/JS on demand |
npm run prod |
Builds SCSS/JS on demand, but this time, outputs minified results |
Overriding Views
Let's say you want to update the layout of the frontend header:
- Create the directory
resources/views/vendor/voyager-frontend- Any files you place in here will replace the default views that comes with this package
- Copy the respective file from
vendor/pvtl/voyager-frontend/resources/views/(in this case, thepartials/header.blade.php) into the matching file structure and update
So now you'll have:
    /resources
        /views
            /vendor
                /voyager-frontend
                    /partials
                        /header.blade.php
And any changes made to header.blade.php reflect automatically on the site.
Thumbnails / Image Resizing
This package comes with an automatic image resize function. When you reference an image in your front-end blade templates, simply call something like:
{{ imageUrl($pathToImage, $width, $height, $config = ['crop' => false, 'quality' => 100] ) ?: '/default.png' }}

<!-- For example for a 300px wide thumbnail scaled down (i.e. no cropping) -->
<img src="{{ imageUrl($blockData->image, 300, null, ['crop' => false]) ?: '/default.png' }}" />

<!-- Or a 200px by 100px cropped thumbnail -->
<img src="{{ imageUrl($blockData->image, 200, 100) ?: '/default.png' }}" />
"CDN" your images
The function will output an absolute URL, where the hostname will be APP_URL - however you can add a ASSET_URL variable to your .env file to use a different hostname.
Search
Generating Indices
This module contains a scheduled job to regenerate indices which will run automatically once you setup jobs for Laravel. If you need to test and re-generate search indices you can manually run the command php artisan voyager-frontend:generate-search-indices.
Configuring Search (Using Laravel Scout)
By default this module includes "searching" the "Pages" and "Posts" Models out-of-the-box once you have defined the following variable in your .env file - check out the Laravel Scout documentation:
SCOUT_DRIVER=tntsearch
You can however extend and define your own "Searchable" Models to include in your search results by attaching the "Searchable" trait to them.
class Page extends Model
{
    use Searchable;

    public $asYouType = false;

    /**
     * Get the indexed data array for the model.
     * @return array
     */
    public function toSearchableArray()
    {
        $array = $this->toArray();

        // customise the searchable array

        return $array
    }
}
Then you'll be able to hook into the search config and merge your "Searchable" Models in with the config key (preferably using a Servie Provider): scout.tntsearch.searchableModels.
$this->mergeConfigFrom(self::PACKAGE_DIR . 'path/to/config/scout.php', 'scout.tntsearch.searchableModels');
Your configuration file should contain values similar to this modules scout.php configuration:
<?php

return [
    '\My\Searchable\Models\Namespace',
];
Testing
You can test the Pvtl/Test package switching to the packages directory and running tests via composer scripts:
  cd packages/pivotal/test;
  composer run test
Toubleshooting
Error: Class VoyagerFrontendDatabaseSeeder does not exist
Simply run php artisan voyager-frontend:install again
Error: The command "npm i ..." failed.
Run npm install and then try php artisan voyager-frontend:install again

