mehadi / laravel-crud-generator
A laravel package to generate CRUD by giving Model and database table column
Installs: 914
Dependents: 0
Suggesters: 0
Security: 0
Stars: 3
Watchers: 1
Forks: 0
Open Issues: 0
pkg:composer/mehadi/laravel-crud-generator
README
Introduction
Welcome to the Laravel CRUD Generator 🖥️🔥! This package provides a convenient way to quickly generate CRUD (Create, Read, Update, Delete) functionality for your Laravel projects.
Installation
To integrate the Laravel CRUD Generator into your Laravel project, follow these steps:
- Open your terminal and navigate to your project's root directory.
- Run the following command to install the package via Composer:
composer require mehadi/laravel-crud-generator
Features
The Laravel CRUD Generator offers the following features:
- Automatically creates the Model, Migration, Controller, and View files for your CRUD operations.
- Adds a menu item to the navigation for easy access to the generated CRUD pages.
- Sets up the necessary routes in the
web.phpfile. - On deletion, it removes all the files generated by the CRUD operations.
- Input fields
[text, textarea, email, number, file] - File uploading
- Deleting old file when updating any model post
- Simple Form validation
Usage
Once you've installed the package and set up the prerequisites, you can use the Laravel CRUD Generator to quickly create CRUD operations for your models. Here's how:
- Open your terminal in the root directory of your Laravel project.
- Use the following command to generate CRUD files for a specific model (e.g.,
Post) along with its columns:
php artisan crud:make Post --data='title:string:input,description:text:textarea,image:text:file'
-
The first parameter (
Postin this example) is the name of the model. -
The second parameter (
--data) specifies the table columns for the model, where each column is defined ascolumn_name:data_type. -
Certainly, let's break down secound parameter (
--data='title:string:input,description:text:textarea,image:text:file'): -
image: This is the name of the column in the database table. It represents a field in the table where you'll store information related to images. -
text: This is the data type assigned to the column in the database. In this case, it's set to "text," which indicates that the column can store a longer text-based content. -
file: This refers to the input type that you would use in the user interface (UI) for uploading files. In the context of HTML forms, this would be an<input>element withtype="file". This allows users to select and upload files, such as images, from their devices.
- After creating a new Model, be sure to execute the following command:
php artisan migrate
Running this command is important to ensure that any database changes related to the new Model are properly applied. This helps keep your database schema synchronized with your application's data structure. 4. To delete all the generated CRUD files and clean up, use the following command:
php artisan crud:delete Post
- To make these uploaded files accessible from the web, you need to create a symbolic link from the public/storage directory to the storage/app/public directory. This can be done using the following Artisan command:
php artisan storage:link
After running this command, Laravel will create a symbolic link that allows files in the storage/app/public directory to be accessed through the URL http://your-app-url/storage.
Prerequisites
Before using the Laravel CRUD Generator, make sure you have the following prerequisites set up in your project:
- Install Laravel Breeze package:
composer require laravel/breeze
- Run the Breeze installation command and choose the Blade template option:
php artisan breeze:install
- Run the migration command to set up the database tables:
php artisan migrate
- Install npm packages:
npm install
- Compile the assets with the following command:
npm run dev
Screenshots
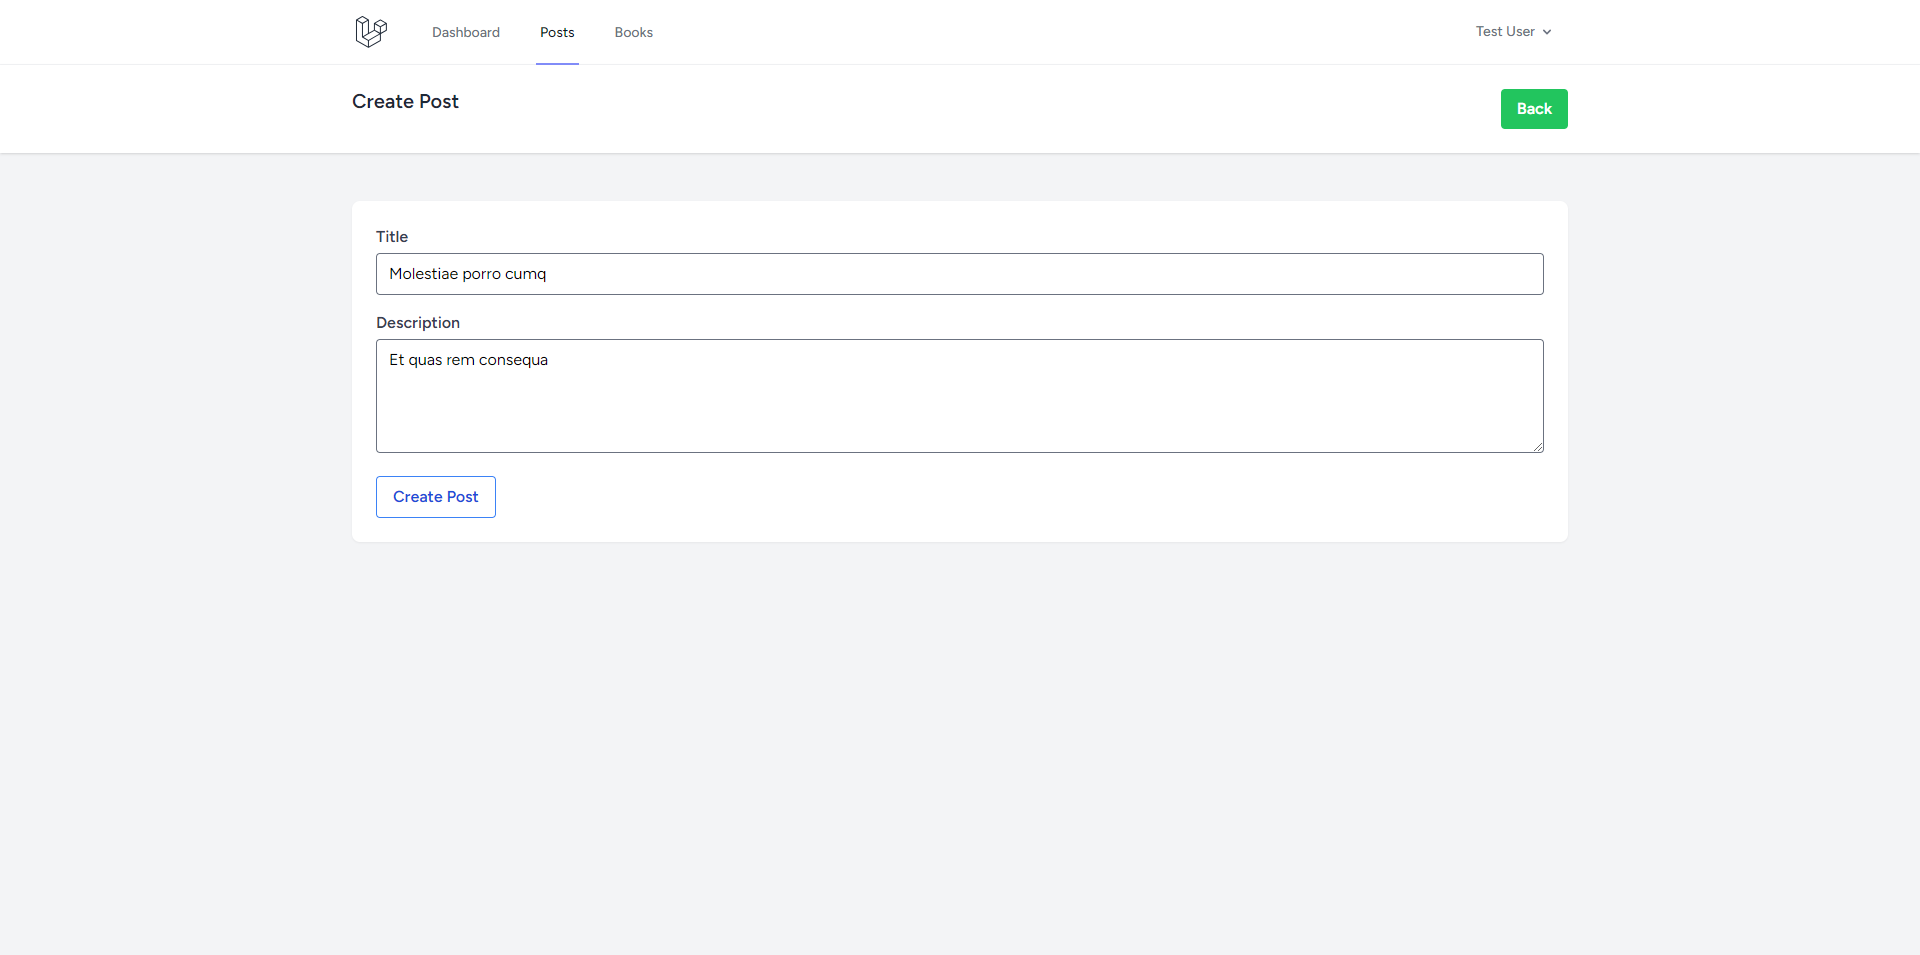
Add new Post form
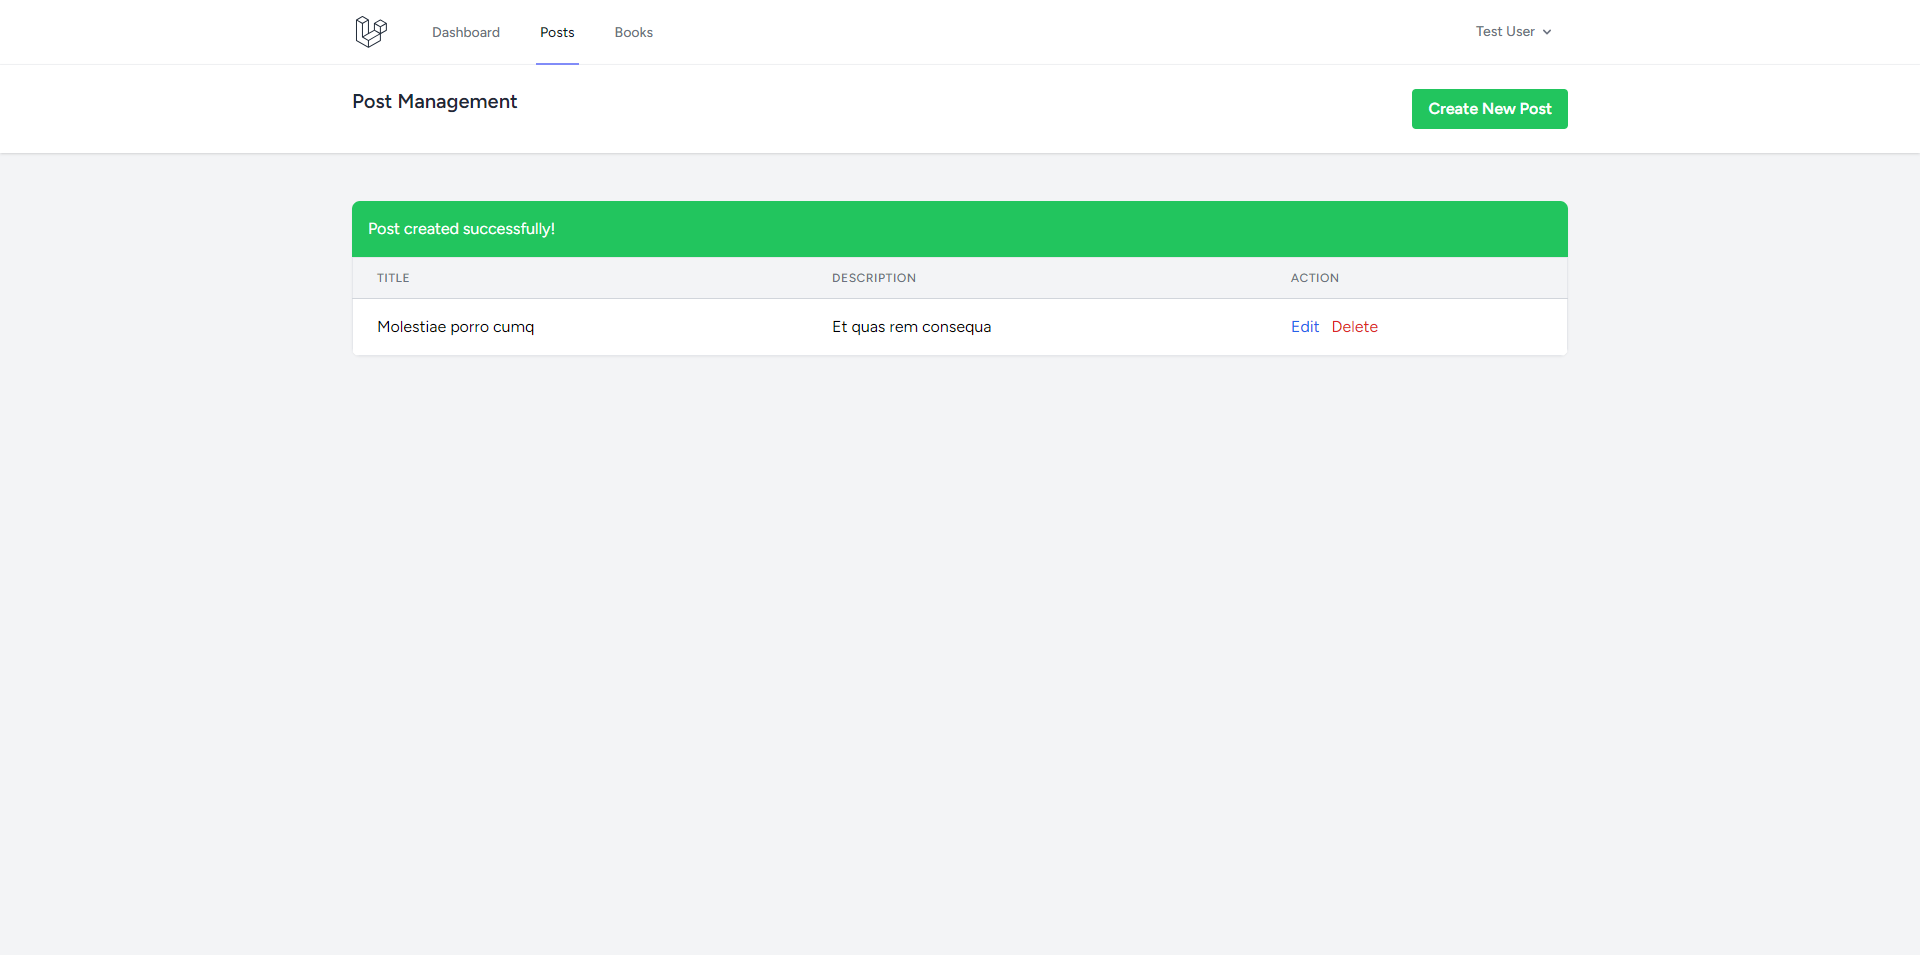
List Post
Notes
- This package helps automate the process of generating CRUD operations for your Laravel models, saving you time and effort.
- Ensure that you have all the prerequisites installed and set up correctly before using the CRUD generator.
For more information, visit the GitHub repository or the Packagist page of the package.


