jeffreyvanrossum / wp-settings
Handy wrapper to make creating WordPress settings pages a breeze.
Fund package maintenance!
jeffreyvr
vanrossum.dev/donate
Installs: 2 521
Dependents: 2
Suggesters: 0
Security: 0
Stars: 89
Watchers: 5
Forks: 8
Open Issues: 0
pkg:composer/jeffreyvanrossum/wp-settings
Requires
- php: ^7.4|^8.0
- adbario/php-dot-notation: ^3.3
Requires (Dev)
- laravel/pint: ^1.4
- phpcompatibility/php-compatibility: *
- spatie/ray: ^1.36
README
WP Settings
This package aims to make it easier to create settings pages for WordPress plugins. Typically, you would use the Settings API or write something custom. While the Settings API works, there is still quite a lot to set up. You still need to write the HTML for your options for example. And it gets quite complicated if you want to add tabs and tab-sections. See this comparison.
Installation
composer require jeffreyvanrossum/wp-settings
Usage
Basic example
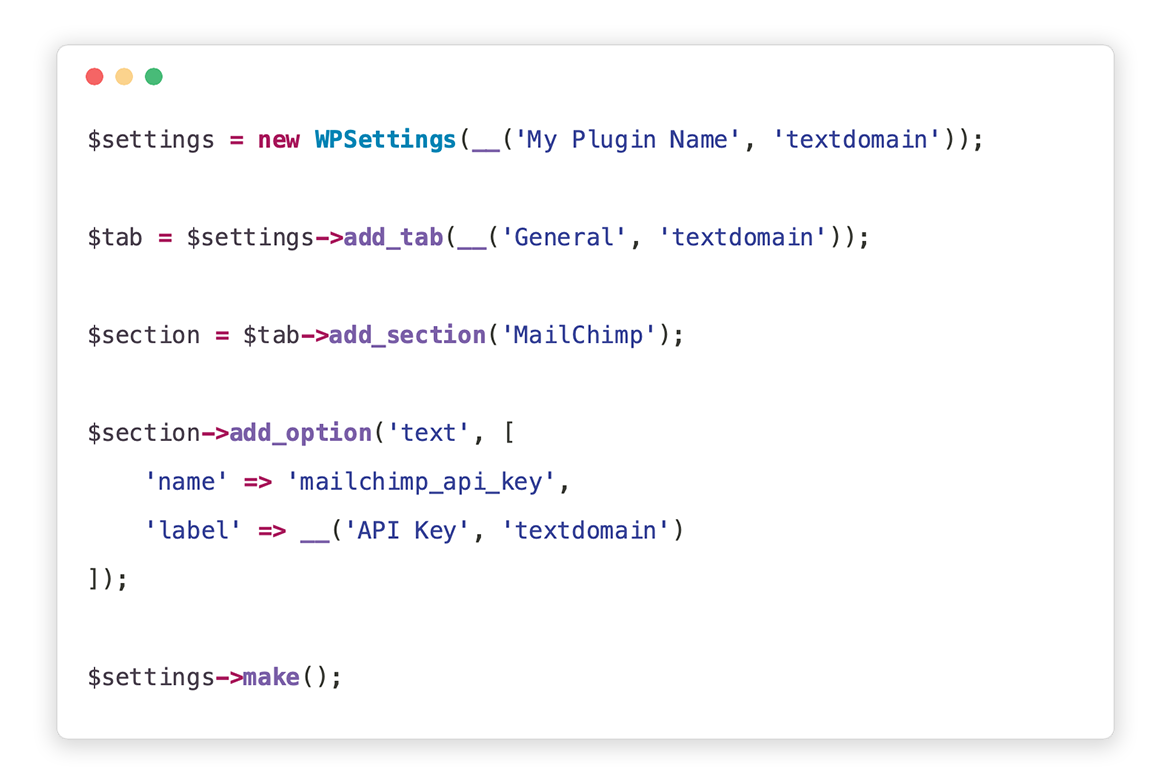
use Jeffreyvr\WPSettings\WPSettings;

$settings = new WPSettings(__('My Plugin Settings'));

$tab = $settings->add_tab(__( 'General', 'textdomain'));

$section = $tab->add_section('MailChimp');

$section->add_option('text', [
    'name' => 'mailchimp_api_key',
    'label' => __('API Key', 'textdomain')
]);

$settings->make();
Creating the settings instance
$settings = new WPSettings(__('My Plugin Settings'));
By default, the page slug is created by sanitizing the title. You may pass a specific slug as the second parameter of the constructor.
Other methods for this class:
$settings->set_capability('manage_options');
$settings->set_option_name('my_plugin_options');
$settings->set_menu_icon('dashicons-admin-generic');
$settings->set_menu_position(5);
$settings->set_menu_parent_slug('options-general.php');
Tabs
Tabs are only displayed when there is more then one.
$settings->add_tab(__( 'General', 'textdomain'));
Sections
You can call the add_section method from an instance of Tab. You can also call it from the WPSettings instance. It will then be added to the last created Tab.
$tab->add_section('Section 1');
If you want sections to be displayed as submenu-items, you can do:
$tab->add_section('Section 1', ['as_link' => true]);
Note that this only has an effect when you have more then one as_link section.
Options
To add an option, you either call the add_option method from an instance of Section. You may also call add_option from the WPSettings instance. The option will then be added to the last created section.
Text
$section->add_option('text', [
    'name' => 'option_1',
    'label' => __('Option 1', 'textdomain')
]);
In addition to name and label, you can also pass type. This makes it possible to set the input type to, for example, password or number.
Textarea
$section->add_option('textarea', [
    'name' => 'option_1',
    'label' => __('Option 1', 'textdomain'),
]);
You may also set the cols and rows attributes.
Checkbox
$section->add_option('checkbox', [
    'name' => 'option_1',
    'label' => __('Option 1', 'textdomain')
]);
Select
$section->add_option('select', [
    'name' => 'option_1',
    'label' => __( 'Option 1', 'textdomain' ),
    'options' => [
        'value_1' => 'Label 1',
        'value_2' => 'Label 2'
    ]
]);
Select Multiple
$section->add_option('select-multiple', [
    'name' => 'option_1',
    'label' => __('Option 1', 'textdomain'),
    'options' => [
        'value_1' => 'Label 1',
        'value_2' => 'Label 2'
    ]
] );
WP Editor
$section->add_option('wp-editor', [
    'name' => 'option_1',
    'label' => __('Option 1', 'textdomain')
] );
Code Editor
$section->add_option('code-editor', [
    'name' => 'option_1',
    'label' => __('Option 1', 'textdomain')
] );
Color
$section->add_option('color', [
    'name' => 'option_1',
    'label' => __('Option 1', 'textdomain')
] );
Media
$section->add_option('media', [
    'name' => 'option_1',
    'label' => __('Option 1', 'textdomain')
] );
For an image specific, you can use:
$section->add_option('image', [
    'name' => 'option_1',
    'label' => __('Option 1', 'textdomain')
] );
For video specific, you can use:
$section->add_option('video', [
    'name' => 'option_1',
    'label' => __('Option 1', 'textdomain')
] );
Validation
You are able to validate an option. You may pass a callback and a feedback message. You can pass multiple validation rules.
$section->add_option('text', [
    'name' => 'mailchimp_api_key',
    'label' => __('API Key', 'textdomain'),
    'validate' => [
        [
            'feedback' => __('Your API key is too short.', 'textdomain'),
            'callback' => function($value) {
                return strlen($value) > 35;
            }
        ]
    ]
]);
Sanitization
You may pass a sanitization callback.
$section->add_option('text', [
    'name' => 'mailchimp_api_key',
    'label' => __('API Key', 'textdomain'),
    'santitize' => function($value) {
        return sanitize_key($value);
    }
]);
Options array structure
By default, the options are stored as a one level array:
[
    'option_1' => 'value 1',
    'option_2' => 'value 2',
]
However, you can add tab and/or section levels in this structure.
$tab = $settings->add_tab(__( 'General', 'textdomain'))
    ->option_level();

$section = $tab->add_section('Example', ['as_link' => true])
    ->option_level();
Which would result in:
[
    'general' => [
        'example' => [
            'option_1' => 'value 1',
            'option_2' => 'value 2',
        ]
    ]
]
Adding a custom option type
To add an custom option type, you can use the wp_settings_option_type_map filter.
add_filter('wp_settings_option_type_map', function($options){
    $options['custom'] = YourCustomOption::class;
    return $options;
});
You will need to create a class for your custom option type.
use Jeffreyvr\WPSettings\Options\OptionAbstract;

class YourCustomOption extends OptionAbstract
{
    public $view = 'custom-option';

    public function render()
    {
        echo 'Your custom option HTML';
    }
}
Once registered, you can then use your option type like so:
$settings->add_option('custom-option', [
    'name' => 'your_option_name',
    'label' => __('Your label')
]);
Contributors
License
MIT. Please see the License File for more information.

