i-ismail / laravel-file-upload
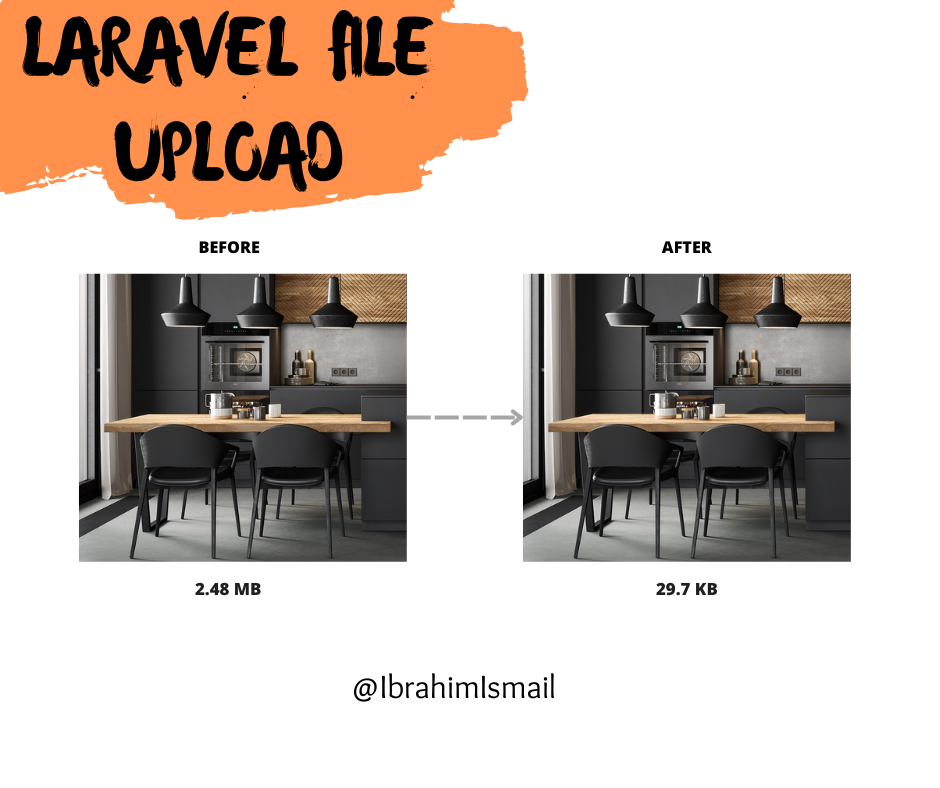
Laravel file upload is a package that allows to you upload a single file or multiple files with auto-optimization and resizing
Installs: 18
Dependents: 0
Suggesters: 0
Security: 0
Stars: 1
Watchers: 1
Forks: 0
Open Issues: 0
pkg:composer/i-ismail/laravel-file-upload
Requires
- php: ^8.2
- illuminate/contracts: ^10.3
- laravel/framework: ^10.48
- nunomaduro/collision: ^6.1
- spatie/laravel-medialibrary: ^10.0
Requires (Dev)
- phpunit/phpunit: ^9.5|^10.1
README
Description
Laravel file upload is a package that allows to you upload a single file or multiple files with auto-optimization, resizing, uses a smart combination of the best optimization and lossy compression algorithms to shrink images to the minimum possible size while keeping the required level of quality.
Installation
composer require i-ismail/laravel-file-upload
Publish Config File
php artisan vendor:publish --tag=file-upload-config
Packages dependency
1- FileUploadService class
This class store file and return file name to store it in your model.
- it provide all methods in intervention image package.
- it provide auto-optimization and resizing.
Here are a few short examples of what you can do:
$post = new Post();
//...
$post->image = FileUpload::make(request('image'))->store();

$post->save();
You can add folder path.
$post = new Post();
//...
$post->image = FileUpload::make(request('image'))
->store('posts');

$post->save();
You can add disk, by default disk is public.
$post = new Post();
//...
$post->image = FileUpload::make(request('image'))
->disk('s3')
->store('posts');

$post->save();
You can add custom file name.
$post = new Post();
//...
$post->image = FileUpload::make(request('image'))
->fileName('my-image')
->store('posts');

$post->save();
You can add custom extension, By default, we will set this value to "webp" for images.
$post = new Post();
//...
$post->image = FileUpload::make(request('image'))
->extension('jpg')
->store('posts');

$post->save();
You can use all methods in intervention image package.
$post = new Post();
//...
$post->image = FileUpload::make(request('image'))
                    ->resize(400, 400)
                    ->crop(100, 100, 25, 25)
                    ->store('posts');
$post->save();
You can delete file
$post = Post::find(1);
//...
$post->image = FileUpload::delete($post->image);
You can use delete old file, for example in update.
$post = Post::find(1);
//...
$post->image = FileUpload::make(request('image'))
                    ->delete($post->image)
                    ->store('posts');
$post->save();
You can get path.
$post = new Post();
//...
$fileUpload = FileUpload::make(request('image'));
$post->image = $fileUpload->store('posts');
$filePath = $fileUpload->getFilePath();

$post->save();
Note: you can clean code by Accessors & Mutators
$post = Post::create([
        //...
]);

//In Post Model
public function setImageAttribute($image)
{
    $this->attributes['image'] = FileUpload::make($image)->store('posts');
}
To get image.
//In Post Model
public function getImgAttribute()
{
    return $this->image ? asset('storage/'. $this->image) : asset('images/post.jpg');
}
Dont forget run this command.
php artisan storage:link
2- MediaUploadService class
This class use media-library package to store media files for your model.
- it provide all methods in intervention image package.
- it provide all methods in media-library package.
- it provide auto-optimization and resizing.
Preparing the database
You need to publish the migration to create the media table:
php artisan vendor:publish --provider="Spatie\MediaLibrary\MediaLibraryServiceProvider" --tag="migrations"
After that, you need to run migrations.
php artisan migrate
Publishing the config file
Publishing the config file is optional:
php artisan vendor:publish --provider="Spatie\MediaLibrary\MediaLibraryServiceProvider" --tag="config"
Preparing your model
use Spatie\MediaLibrary\HasMedia;
use Spatie\MediaLibrary\InteractsWithMedia;

class Post extends Model  implements HasMedia
{
    use InteractsWithMedia;
    ...
}
Here are a few short examples of what you can do:
$post = new Post();
//...
$post->save();
MediaUpload::make(request('images'))->setModel($post)->store();
You can add collection.
$post = new Post();
//...
$post->save();

MediaUpload::make(request('images'))
->setModel($post)
->store('posts');
You can add disk, by default disk is public.
$post = new Post();
//...
$post->save();

MediaUpload::make(request('images'))
->setModel($post)
->disk('s3')
->store('posts');
You can use all methods in intervention image package before setModel method
$post = new Post();
//...
$post->save();
MediaUpload::make(request('images'))
    ->resize(500, 200)
    ->crop(100, 100, 25, 25)
    ->setModel($post)
    ->store('posts');
You can use all methods in media library package after setModel method.
$post = new Post();
//...
$post->save();
MediaUpload::make(request('images'))
    ->resize(500, 200)
    ->setModel($post)
    ->usingName('my-image-name')
    ->withCustomProperties([
        'primaryColor' => 'red',
        'image-code'  => '12458558',
    ])
    ->store('posts');
Retrieving media
$post->getMedia('posts'); // posts is collection name.
This method returns a collection of Media-objects.
retrieving the first media and the URL for the first media.
$post->getFirstMedia('posts');

$post->getFirstMediaUrl('posts');
Delete media
You can remove something from the library by simply calling delete on an instance of Media:
$mediaItem->delete();
Delete Model
$post->delete(); // all associated files will be deleted as well.

$post->deletePreservingMedia(); // all associated files will be preserved.
recommend: read Laravel-media library documentation.

