filoucrackeur / hubic
Cloud system synchronization with hubiC.com
Installs: 34
Dependents: 0
Suggesters: 0
Security: 0
Stars: 0
Watchers: 2
Forks: 0
Open Issues: 0
Type:typo3-cms-extension
pkg:composer/filoucrackeur/hubic
Requires
- php: >=7.0,<8.0-DEV
- typo3/cms: ^8.1
Requires (Dev)
- mikey179/vfsstream: ^1.6
- nimut/testing-framework: ^3.0
- phpunit/phpunit: ^6.0
- satooshi/php-coveralls: ^1.0
Replaces
- filoucrackeur/hubic: 2.0.1
- hubic: 2.0.1
- typo3-ter/hubic: 2.0.1
This package is auto-updated.
Last update: 2026-01-21 05:53:29 UTC
README
This extension lets you connect as many hubiC account as you want with TYPO3. You can manage the accounts in a TYPO3 backend module.
Join the discussion on Slack in channel #ext-hubic! – You don't have access to TYPO3 Slack? Get your Slack invitation by clicking here!
Configure your hubiC account
First of all go to your hubic account in developer section. Add an app with your domain where your TYPO3 is installed. You must give a name and your domain name.
Installation & Configuration
- Install with composer (not required)
composer require filoucrackeur/hubic
orcomposer require typo3-ter/hubic
- Go in TYPO3 extension Manager and activate "hubic" extension if is not already done
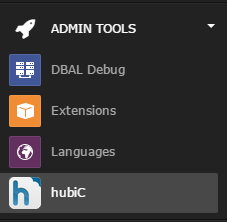
- Go in the new menu "hubiC" in TYPO3 backend
How it works
- First go in your hubiC account hubiC
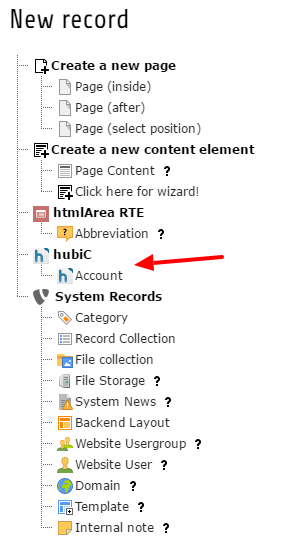
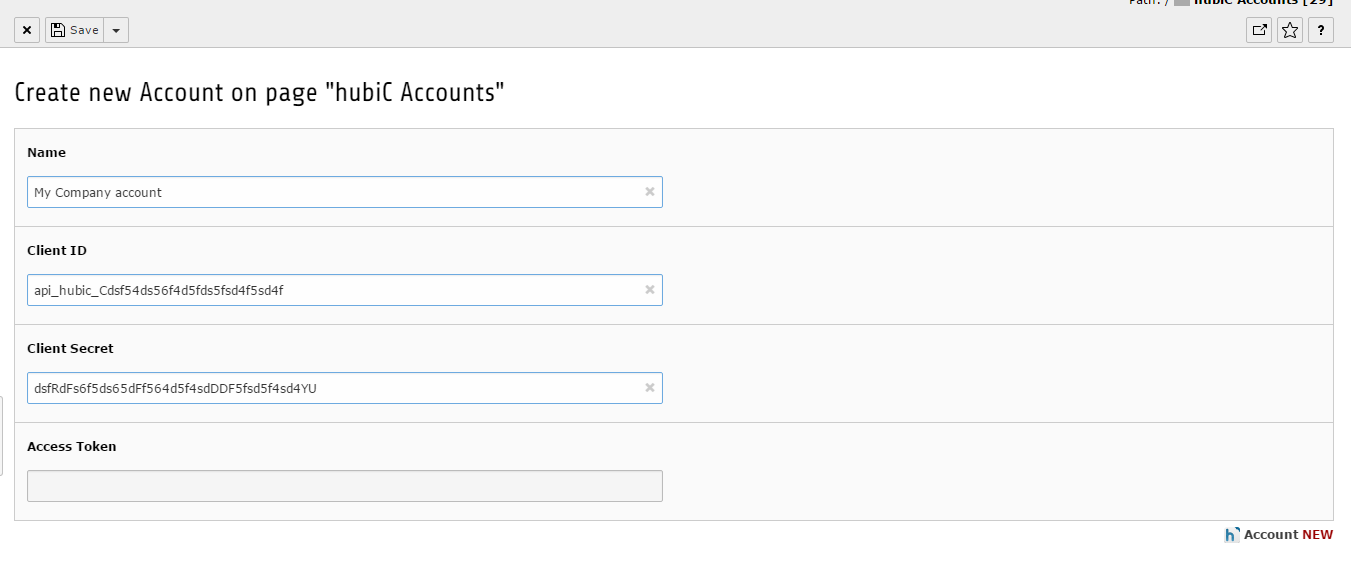
- Go in a page or sysfolder to add an "hubiC > Account"
- Fill required fields
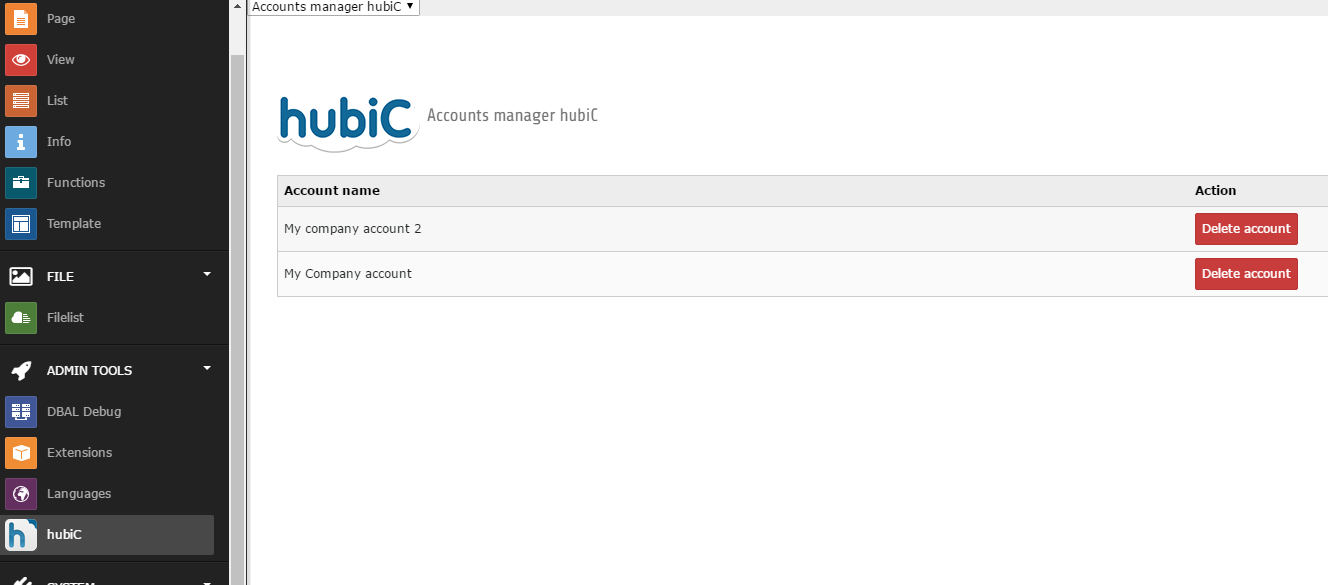
- Go in the Admin tools > hubiC module menu
- Click on the account you want to configure.
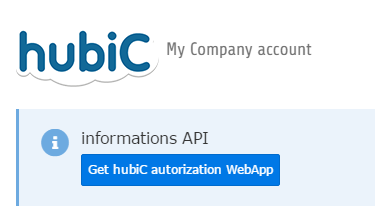
- Click on the button to get hubiC authorization WebApp
- Fill your email and password and click on "Accept"
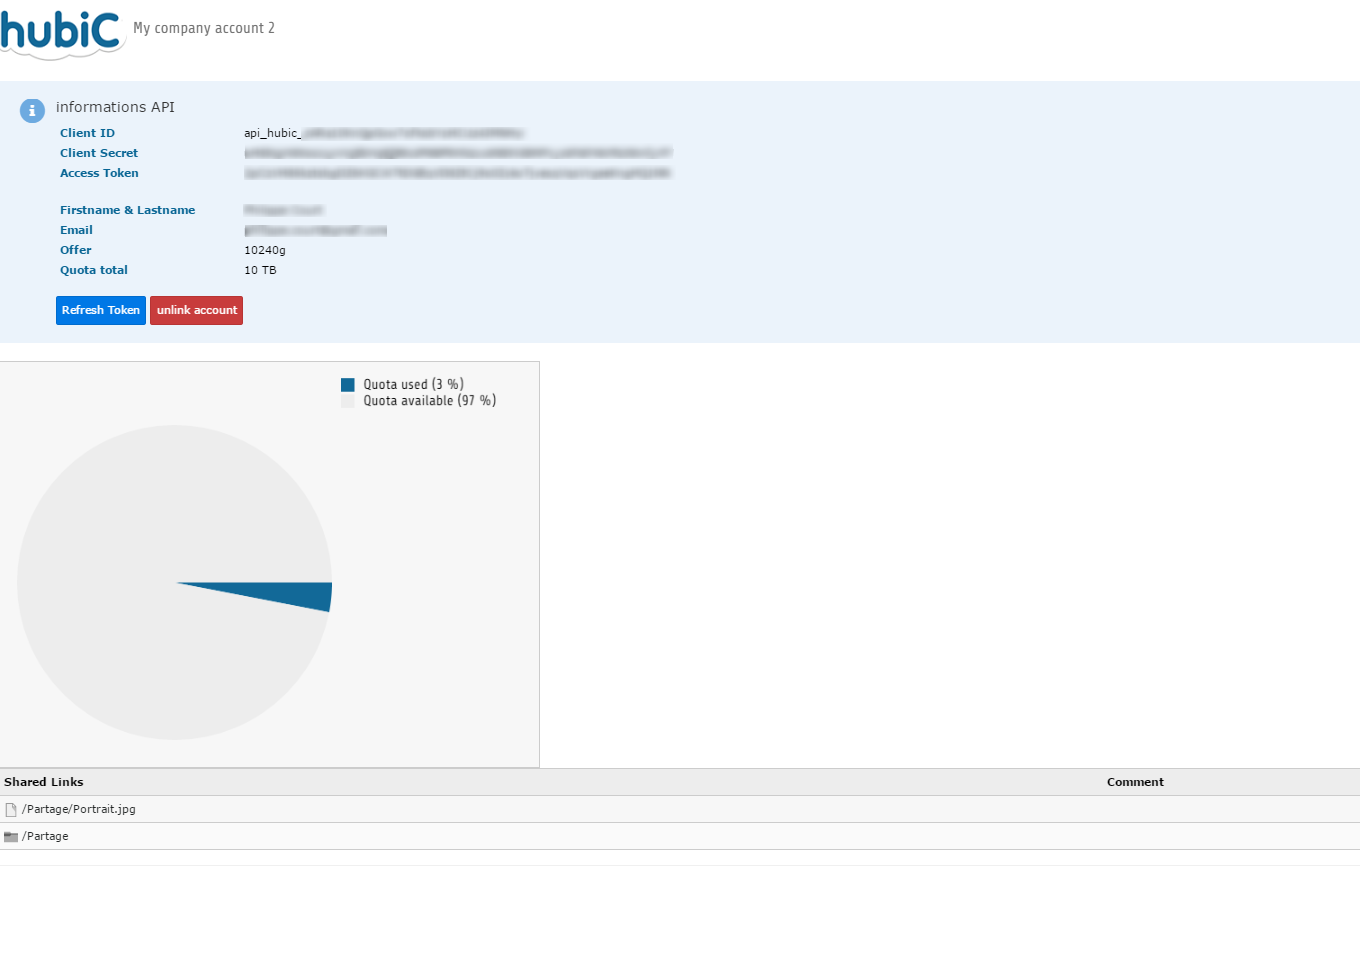
- If you success getting token
- Click in the account to see details
- Add plugin in a page to list shared links
- Go in frontend to view the result

