davidxu / yii2-admin
RBAC Auth manager for Yii2 based on mdm/yii2-admin
Installs: 15
Dependents: 0
Suggesters: 0
Security: 0
Stars: 0
Watchers: 0
Forks: 582
Type:yii2-extension
pkg:composer/davidxu/yii2-admin
Requires
- davidxu/yii2-adminlte4: ^1.0
- yiisoft/yii2: ^2.0.7
Suggests
- yiisoft/yii2-bootstrap5: Used when using layout 'left-menu', 'right-menu' or 'top-menu'
README
GUI manager for RBAC (Role Base Access Control) Yii2. Easy to manage authorization of user 😄.
Documentation
- Authorization Guide. Important, read this first before you continue.
Attention
Before you install and use this extension, then make sure that your application has been using the login authentication to the database. especially for yii basic template. Because without it, this extension will produce error and useless.
Installation
Install With Composer
The preferred way to install this extension is through composer.
Either run
php composer.phar require davidxu/yii2-admin "~5.0"
Or, you may add
"davidxu/yii2-admin": "~5.0"
to the requirement section of your composer.json file and execute php composer.phar update.
Configuration
Once the extension is installed, simply use it in your code by:
in config
'as access' => [
     'class' => '\davidxu\admin\components\AccessControl',
     'allowActions' => [
        // add wildcard allowed action here!
        'site/*',
        'debug/*',
        'admin/*', // only in dev mode
    ],
],
...,
'modules' => [
	'admin' => [
		'class' => '\davidxu\admin\Module',
	],
	...
],
'components' => [
	'authManager' => [
		'class' => 'yii\rbac\DbManager', // only support DbManager
	],
],
Because this extension uses 'yii\rbac\DbManager' as authManager, so You should migrate rbac sql first:
yii migrate --migrationPath=@yii/rbac/migrations
If You use Yii 2.0.6 version or newer, so then migrate custom table for this extension
yii migrate --migrationPath=@davidxu/admin/migrations
Usage
This RBAC manager has four main pages, they are:
Route
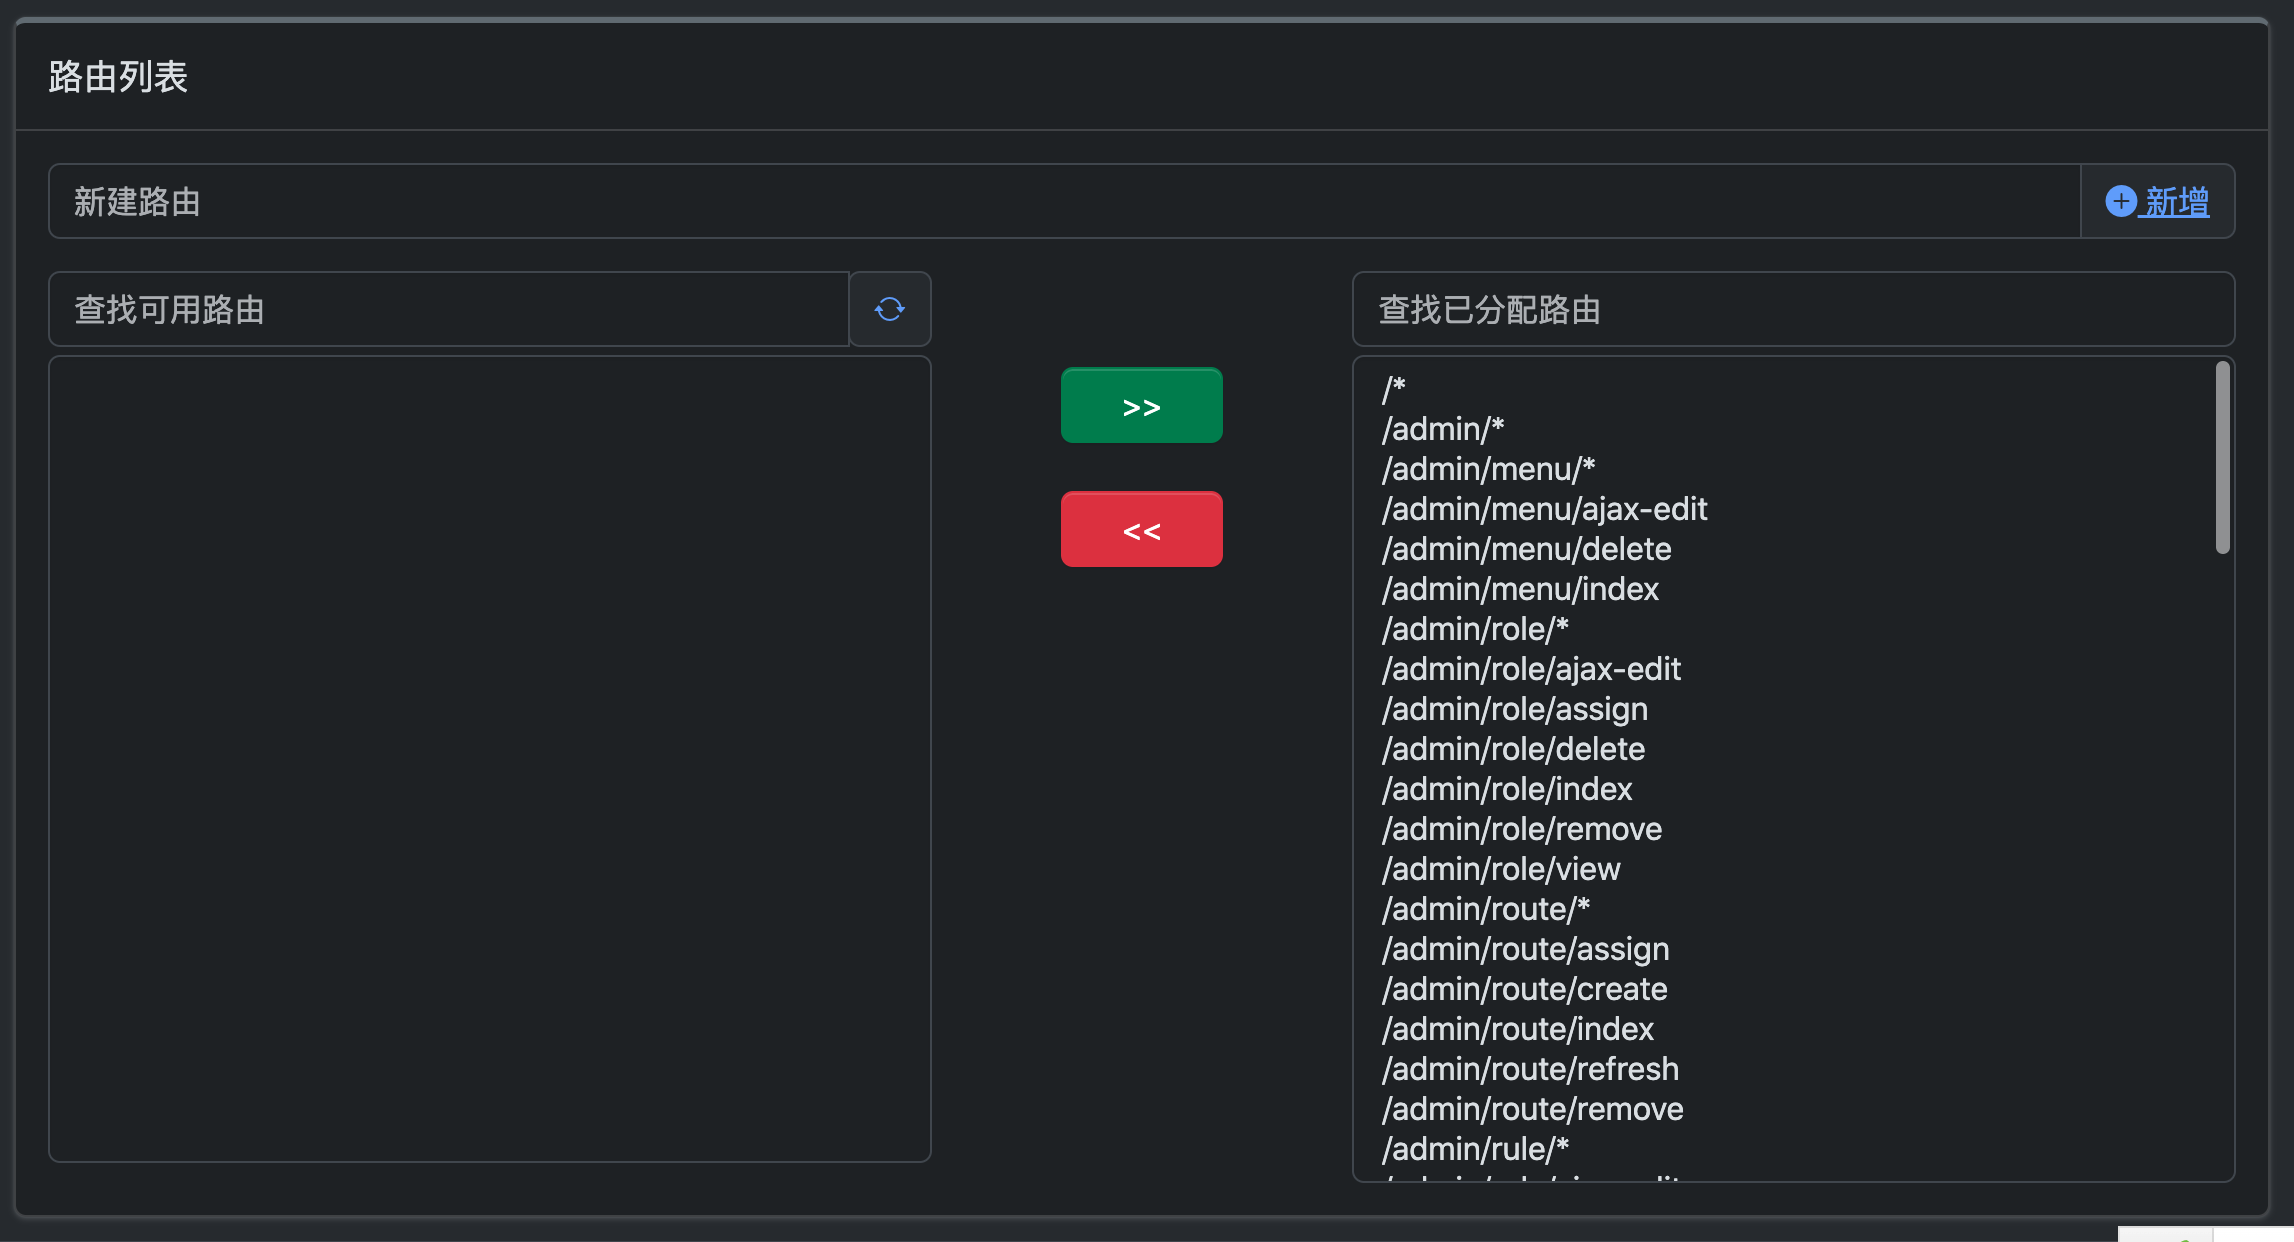
To get all action routes from application. In here, You can on / off permission so not shown in a menu role, rename alias/type of action route, so easy readable by end user.
You can then access Route through the following URL:
http://localhost/path/to/index.php?r=admin/route
Below screenshot of get all routes or add a route

Role
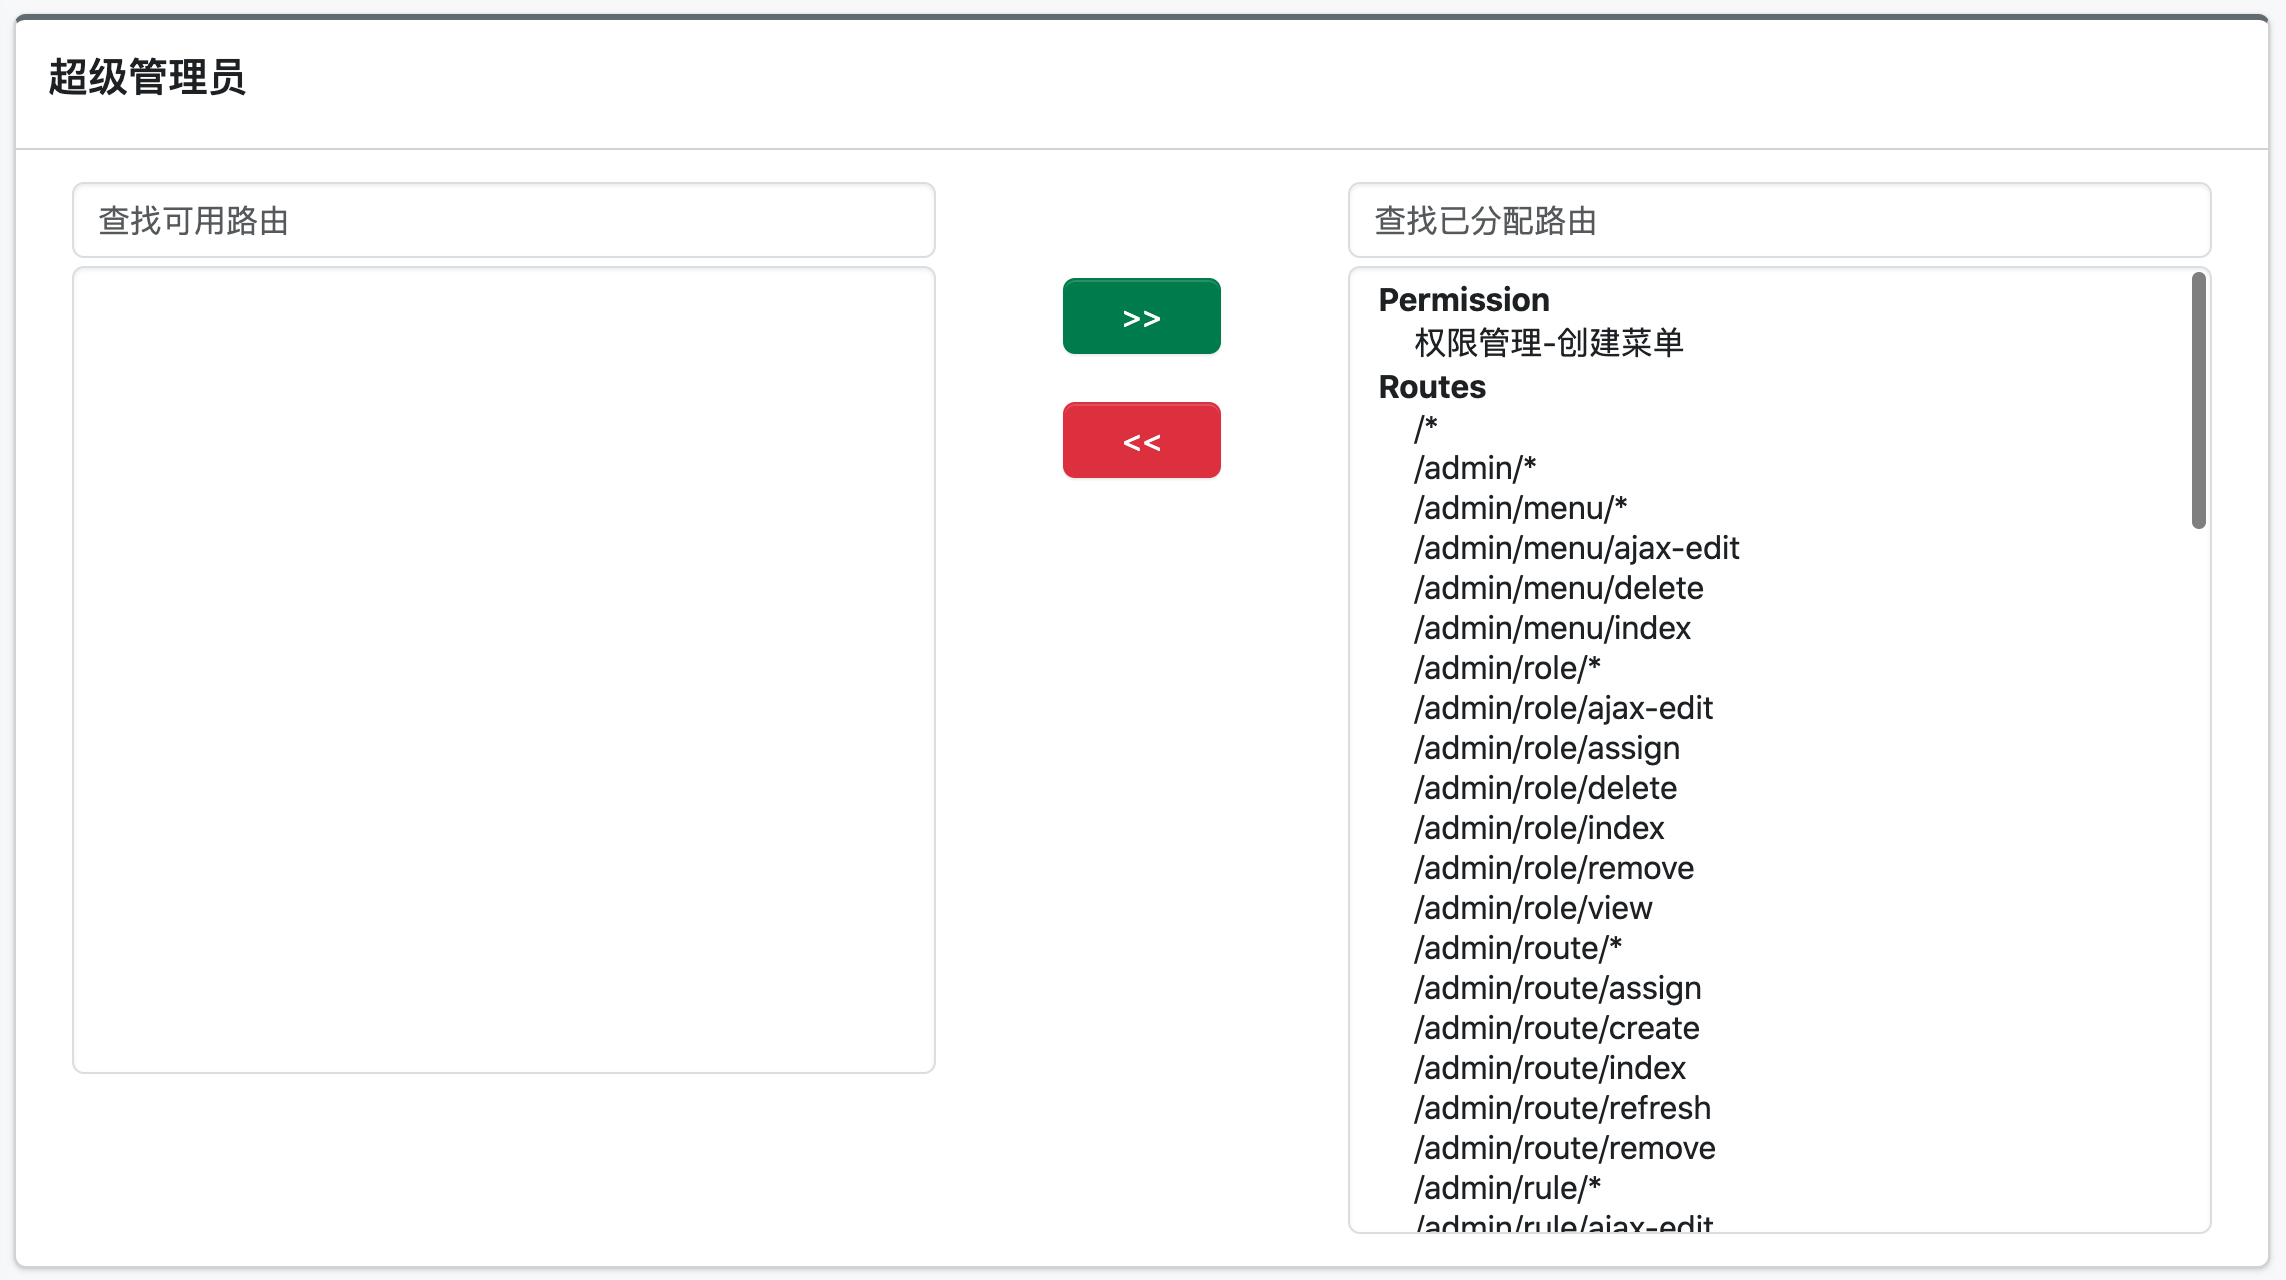
To define levels of access of user, what he super admin?, staff?, cashier? etc. In this menu, You can assign permission / action route (actions in application, they are create, update, delete, etc) to role.
You can then access Role through the following URL:
http://localhost/path/to/index.php?r=admin/role
Below screenshot of route assignment to a role

User
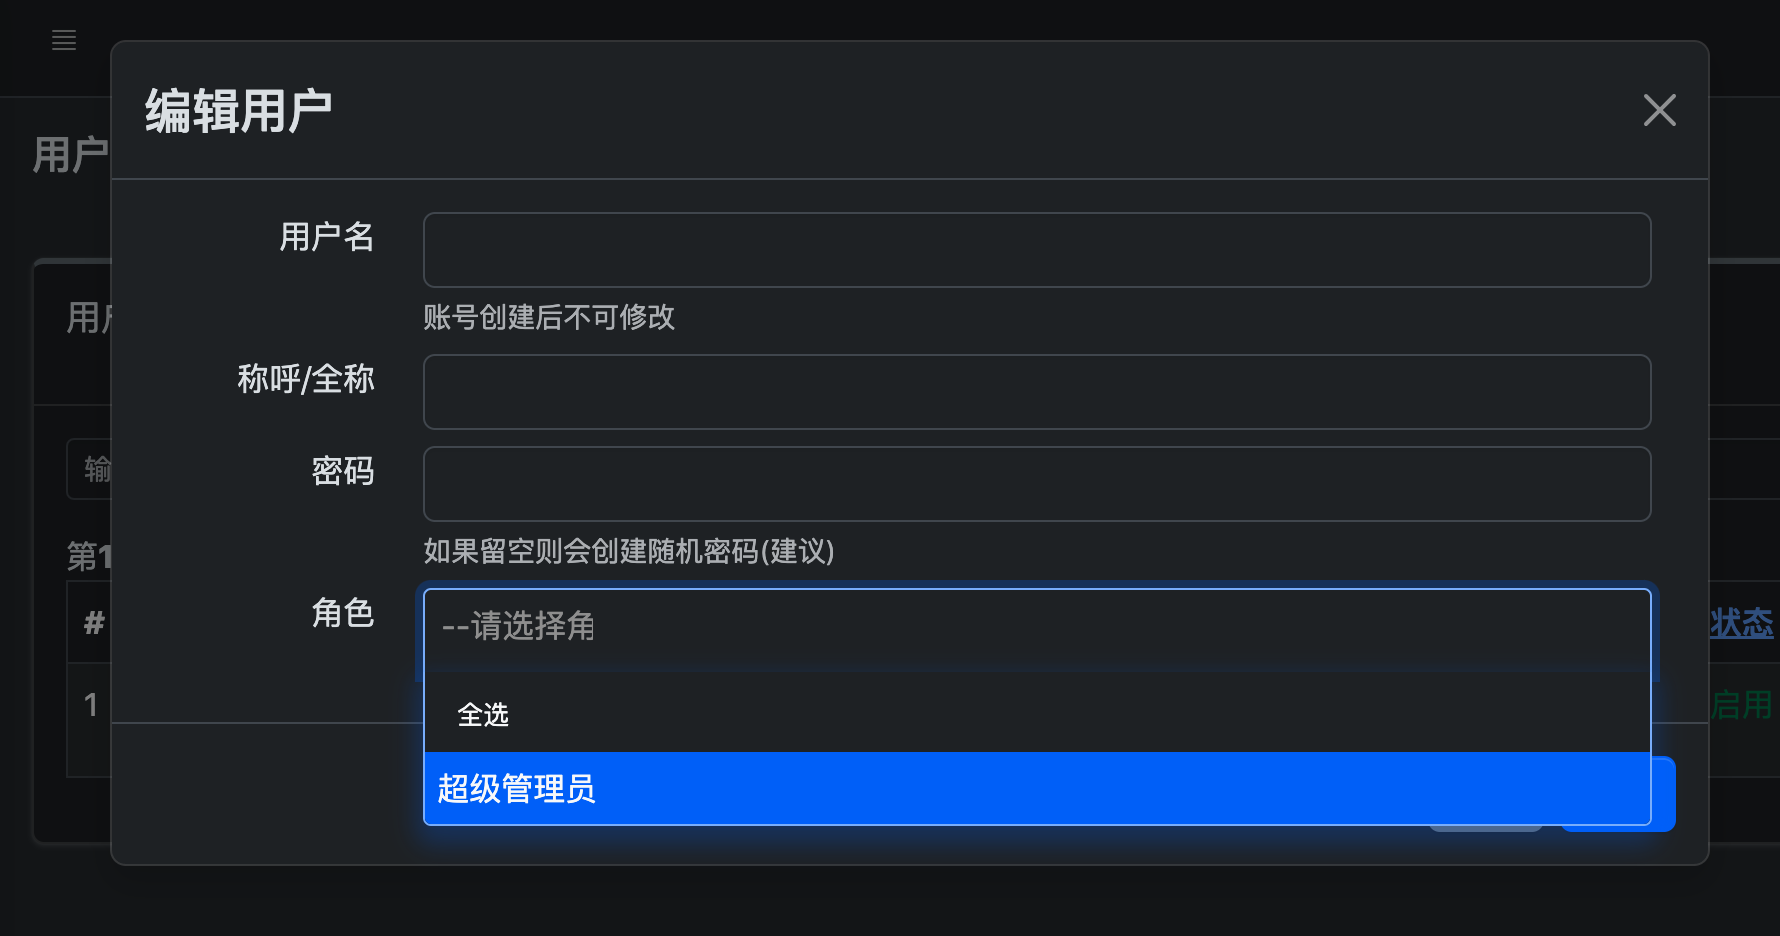
For standard user management, create/update/delete user, and assign role(s) to user.
You can then access User through the following URL:
http://localhost/path/to/index.php?r=admin/user
Below screenshot of user management

Menu
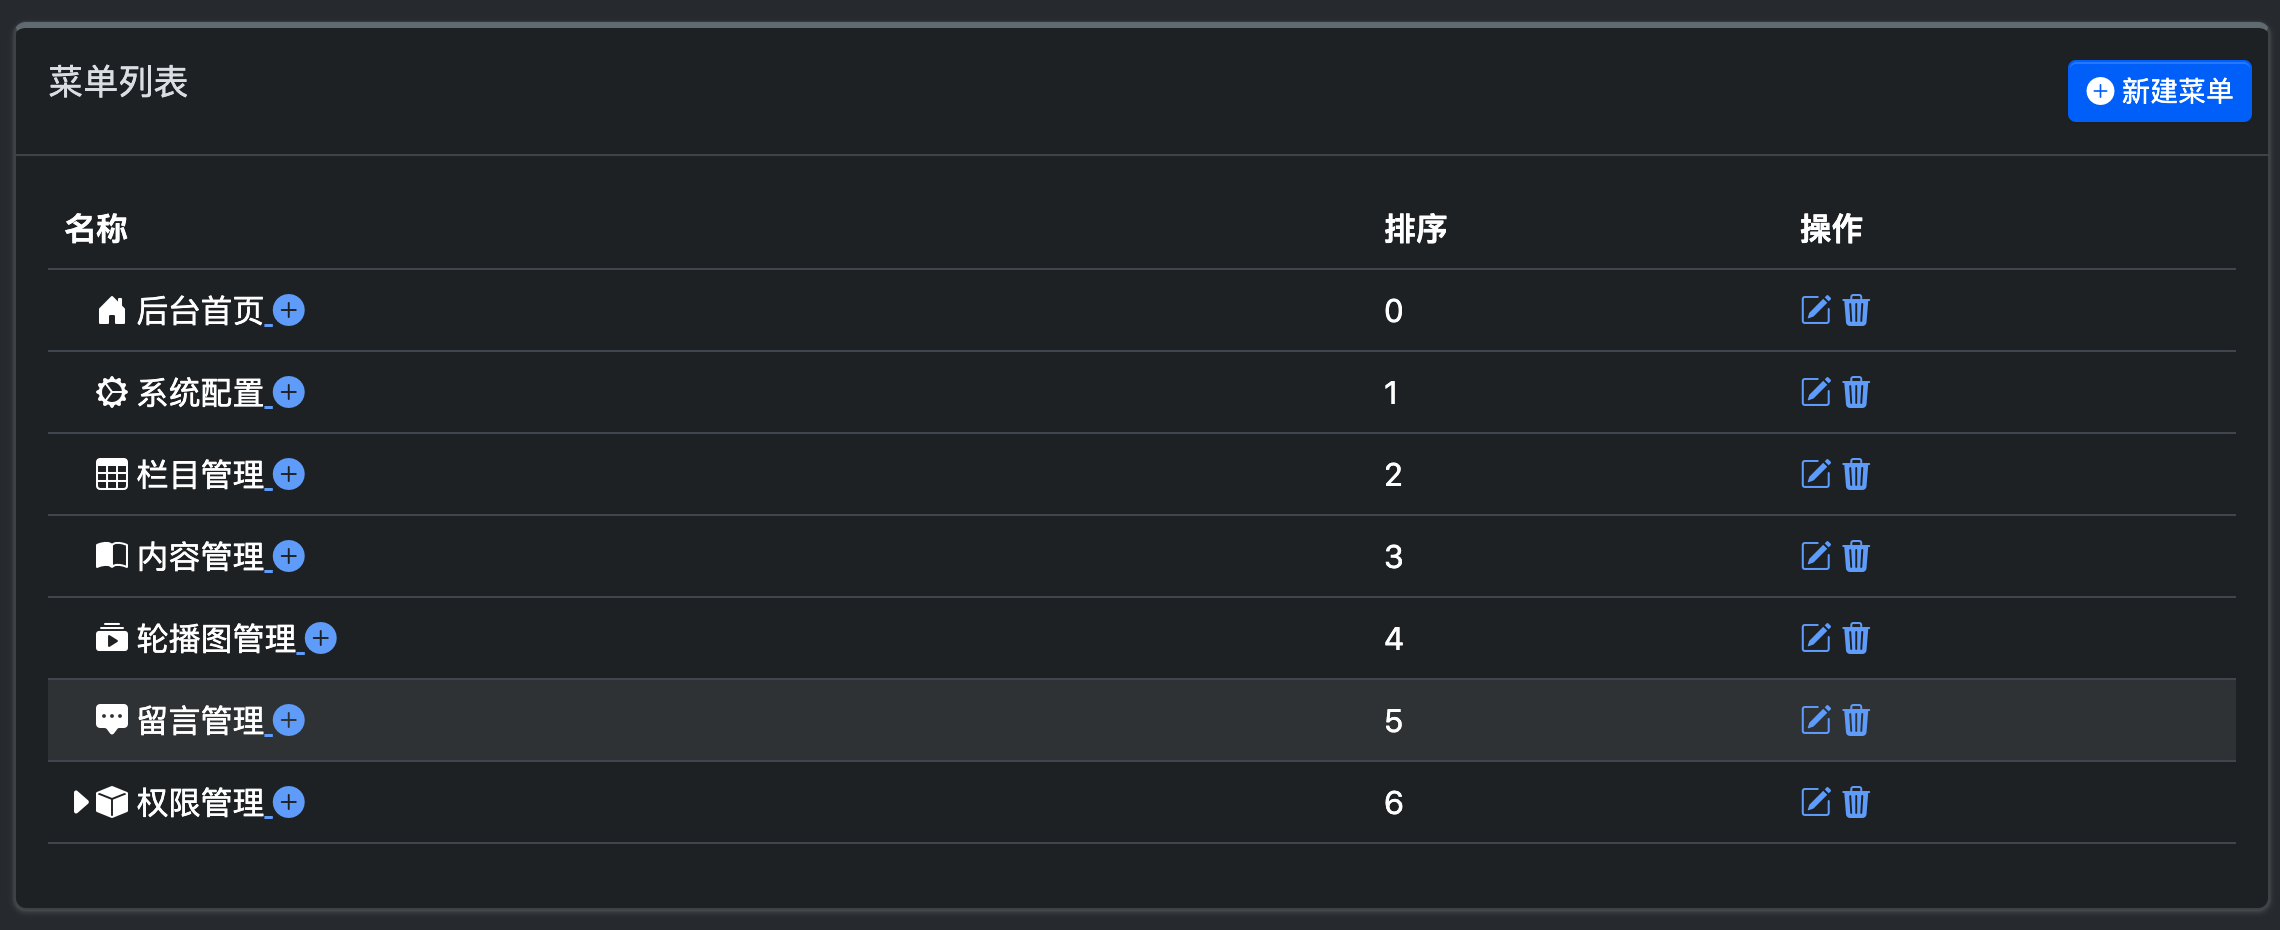
For backend management purpose, we can use sidebar menu.
You can then access Menu through the following URL:
http://localhost/path/to/index.php?r=admin/menu
Below screenshot of menu management

We recommend you to activate pretty URL.
Implementation on Widgets
Example dynamic menu
It is used for filtering the right access menu
use davidxu\admin\components\MenuHelper;
use davidxu\adminlte4\widgets\Menu;
use Yii;
?>
<nav class="mt-2"> <!--begin::Sidebar Menu-->
    <?php try {
        $callback = function($menu) {
            $data = $menu['data'] ? eval($menu['data']) : '';
            Yii::info($data);
            if (!empty($data)) {
                $iconPrefix = count(explode(' ', $data)) > 1 ? '' : 'bi bi-';
            } else {
                $iconPrefix = '';
            }
            if (!empty($menu['data'])) {
                $iconPrefix = count(explode(' ', $menu['data'])) > 1 ? '' : 'bi bi-';
            } else {
                $iconPrefix = '';
            }
            return [
                'label' => $menu['name'],
                'url' => $menu['route'],
                'icon' => $menu['data'] ? $iconPrefix . $menu['data'] : 'bi bi-circle',
                'items' => $menu['children'],
            ];
        };
        $menuItems = MenuHelper::getAssignedMenu(Yii::$app->user->id);
        echo Menu::widget([
            'items' => $menuItems,
        ]);
    } catch (Exception|Throwable $e) {
        if (YII_ENV_DEV) {
            echo 'Exception: ' . $e->getMessage() . ' (' . $e->getFile() . ':' . $e->getLine() . ")\n";
            echo $e->getTraceAsString() . "\n";
        }
    } ?>
    <!--end::Sidebar Menu-->
</nav>
How to Contribute
This tools is an OpenSource project so your contribution is very welcome.
In order to get started:
- Install this in your local (read installation section)
- Clone this repository.
- Check README.md.
- Send pull requests.
Aside from contributing via pull requests you may submit issues.
