cnzaicom / tailwindcss
Laravel frontend preset for Tailwind CSS
Installs: 9
Dependents: 0
Suggesters: 0
Security: 0
Stars: 0
Watchers: 1
Forks: 0
Open Issues: 0
Language:Blade
pkg:composer/cnzaicom/tailwindcss
Requires
- laravel/framework: ^8.0
- laravel/ui: ^3.0
This package is auto-updated.
Last update: 2026-01-28 21:22:48 UTC
README
- Fresh install Laravel >= 7.0 and
cdto your app. - Install this preset via
composer require cnzaicom/tailwindcss --dev. Laravel will automatically discover this package. No need to register the service provider. - Edit tailwindcss.config.js to add
plugins: [ require('@tailwindcss/forms'), require('@tailwindcss/typography'), require('tailwindcss-children'), ] - Edit webpack.mix.js like this
mix.js('resources/js/app.js', 'public/js')
    .postCss('resources/css/app.css', 'public/css', [
        require('tailwindcss'),
        /*自动增加 CSS 前缀词*/
        require("autoprefixer"),
        /*在 CSS 用嵌套的写法*/
        require('postcss-nested'),
        /*在 CSS 里可以 import 其他 CSS*/
        require('postcss-import'),
    ]);
a. For Presets without Authentication
- Use
php artisan ui tailwindcssfor the basic Tailwind CSS preset npm install && npm run devphp artisan serve(or equivalent) to run server and test preset.
b. For Presets with Authentication
- Use
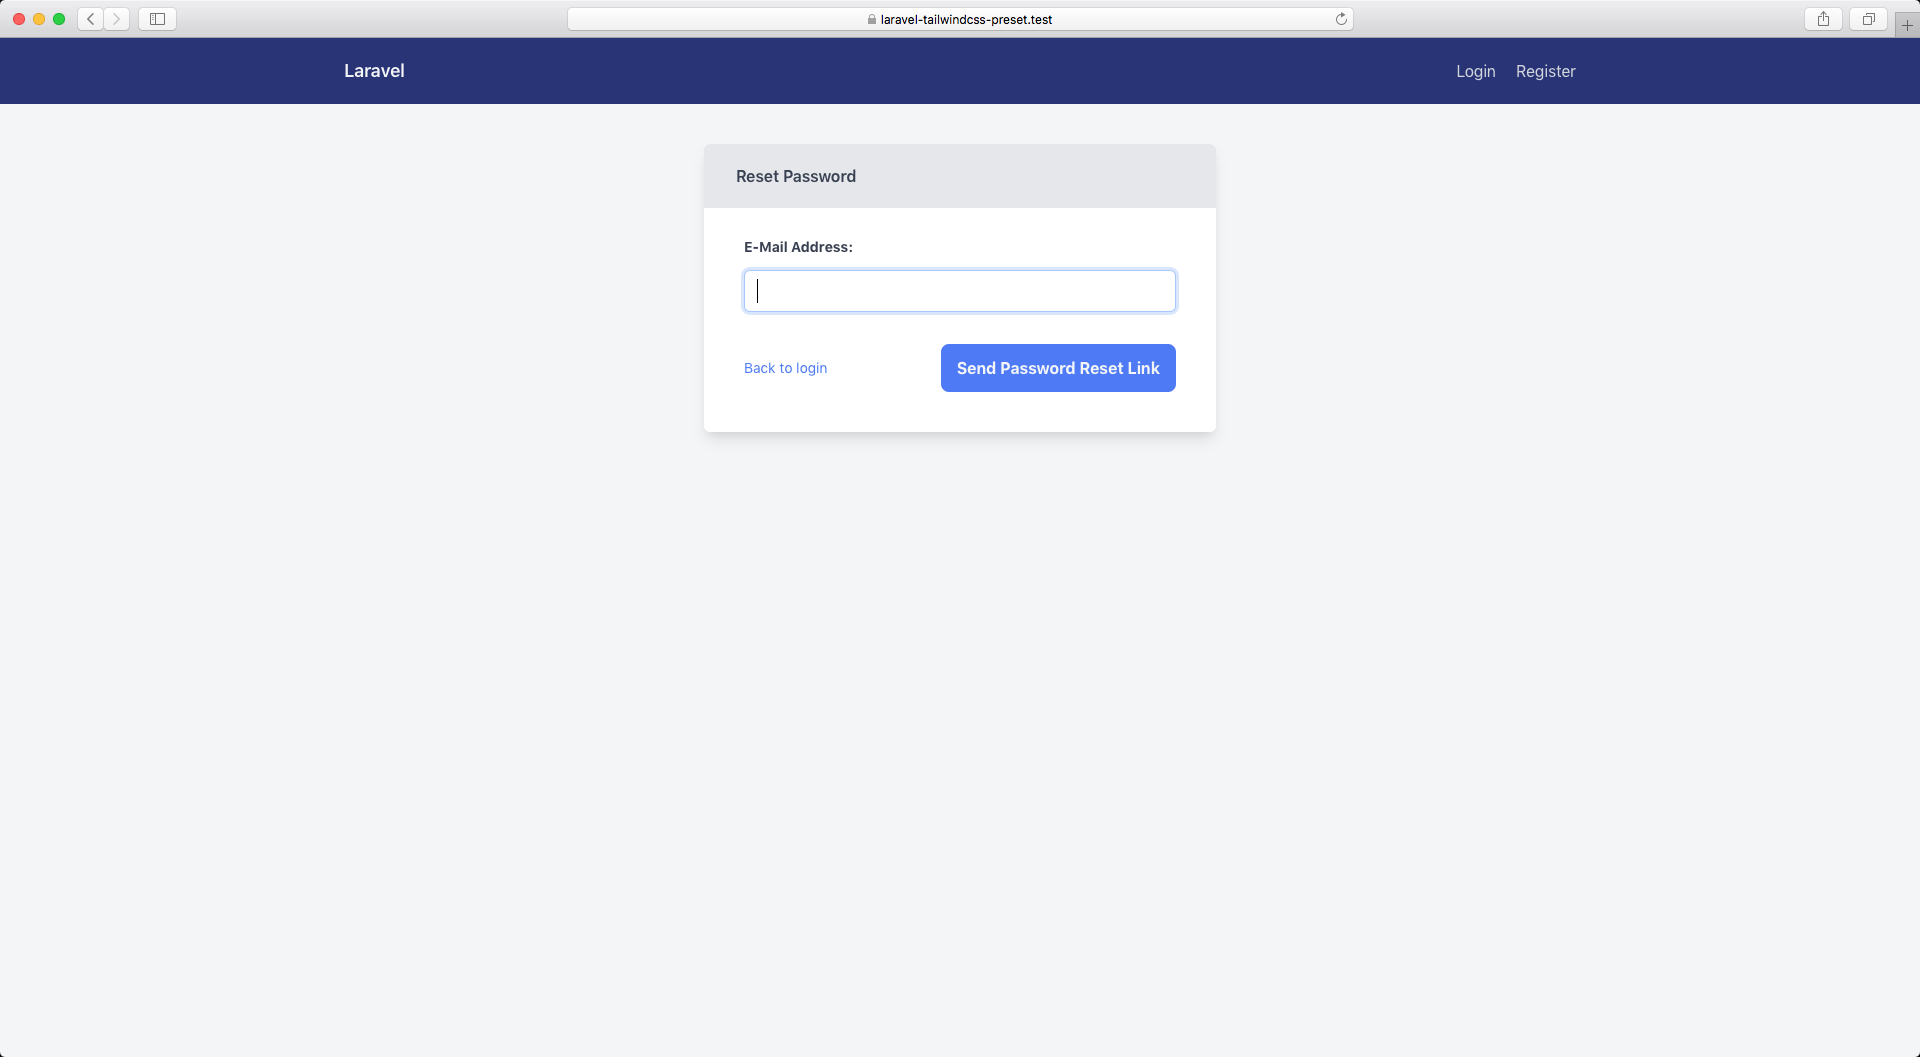
php artisan ui tailwindcss --authfor the basic preset, auth route entry, and Tailwind CSS auth views in one go. (NOTE: If you run this command several times, be sure to clean up the duplicate Auth entries inroutes/web.php) npm install && npm run dev- Configure your favorite database (mysql, sqlite etc.)
php artisan migrateto create basic user tables.php artisan serve(or equivalent) to run server and test preset.


