ys-tools / orocommerce-elfsight-bundle
OroCommerce Elfsight Integration Bundle
Fund package maintenance!
paypal.me/yshyshkin
Installs: 4 927
Dependents: 0
Suggesters: 0
Security: 0
Stars: 1
Watchers: 1
Forks: 1
Open Issues: 0
Type:symfony-bundle
pkg:composer/ys-tools/orocommerce-elfsight-bundle
Requires
- oro/commerce: 6.0.*
README
The bundle adds integration with the Elfsight widget provider and adds multiple content blocks into strategic places all over the application storefront.
Now developers can add custom forms, subscription forms, live chats, various popups, countdown timers, social feeds, and many other types of widgets to the storefront.
Widget Types
Here are the most popular widget types used in Ecommerce that you can add through this integration.
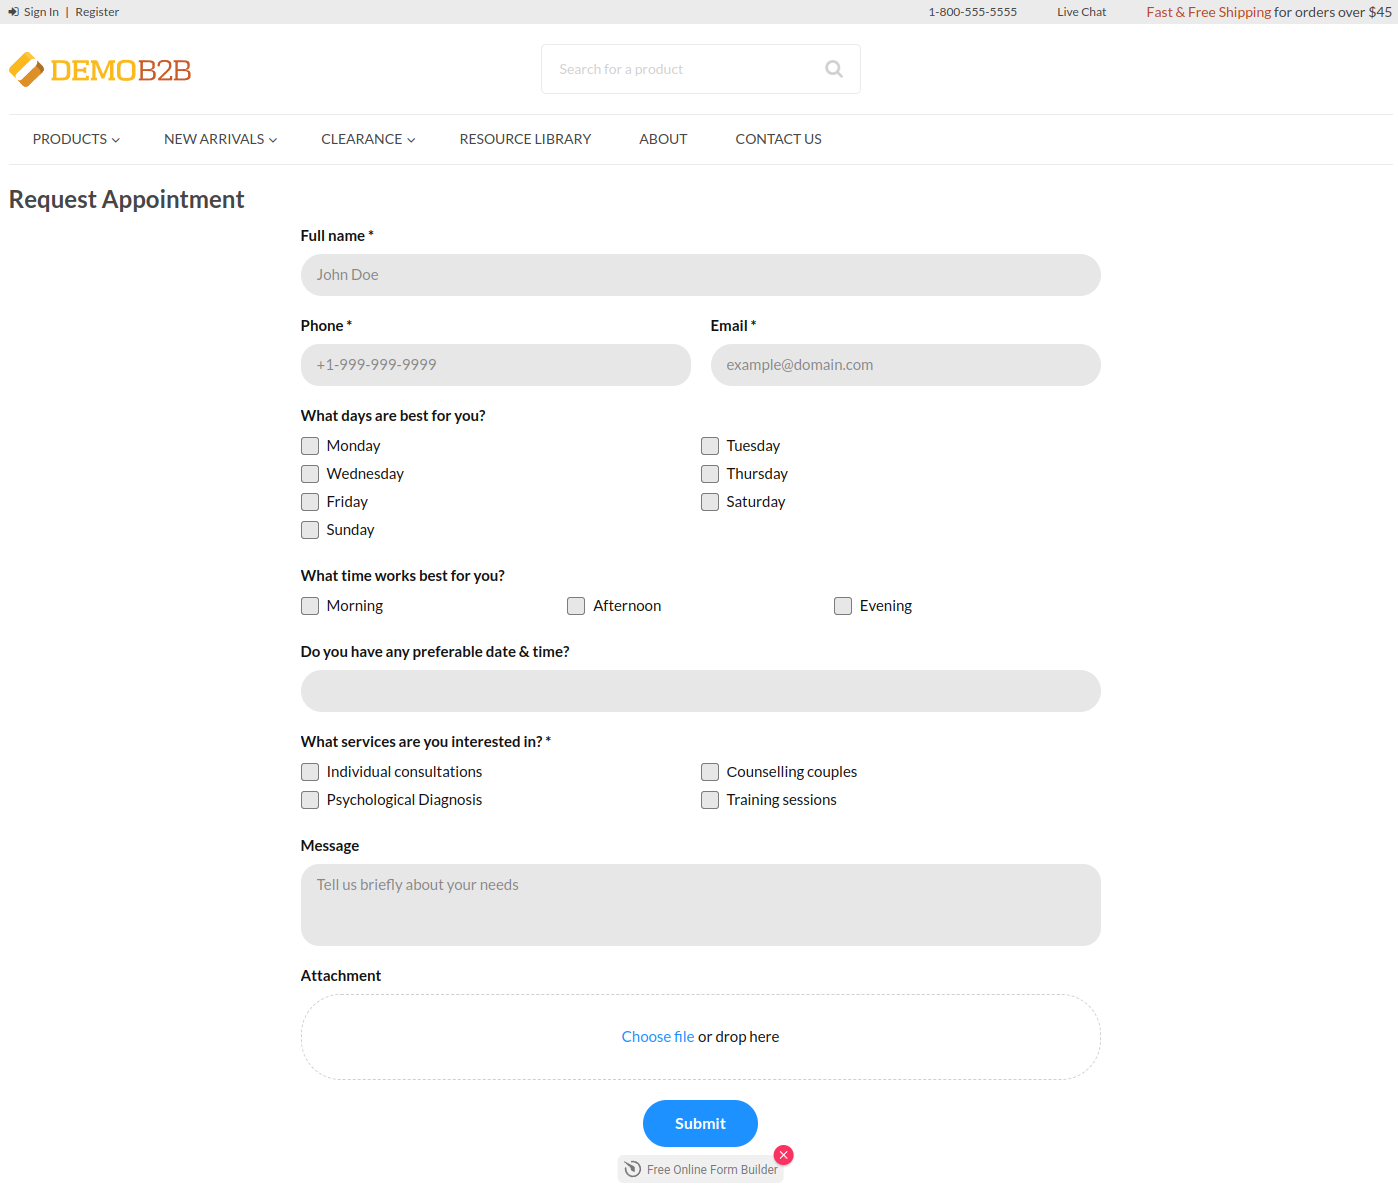
Form Builder
Form builder widget can help you to build a completely custom form from scratch, collect the data, send email notifications, analyze the data, and many other things.
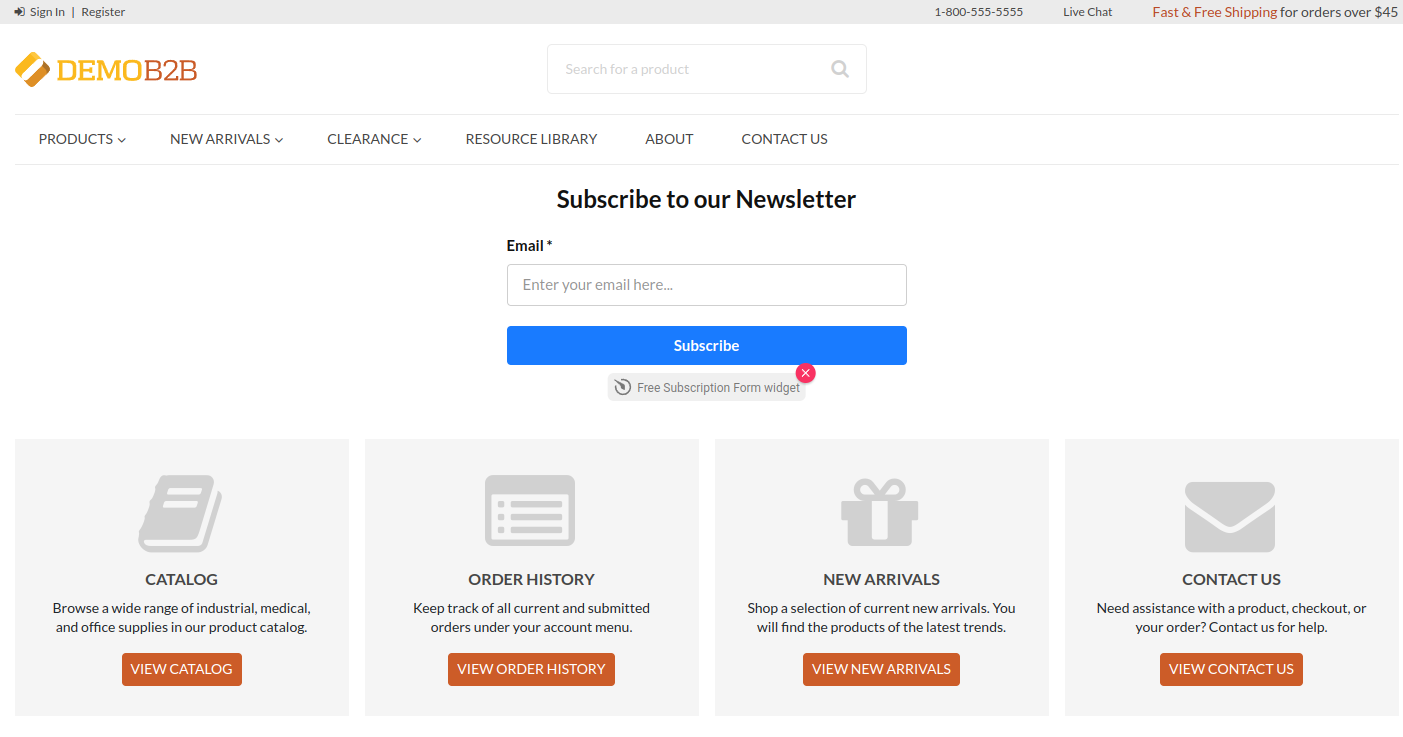
Subscription Form
Subscription form widget lets you collect emails of people who want to be notified when something happens.
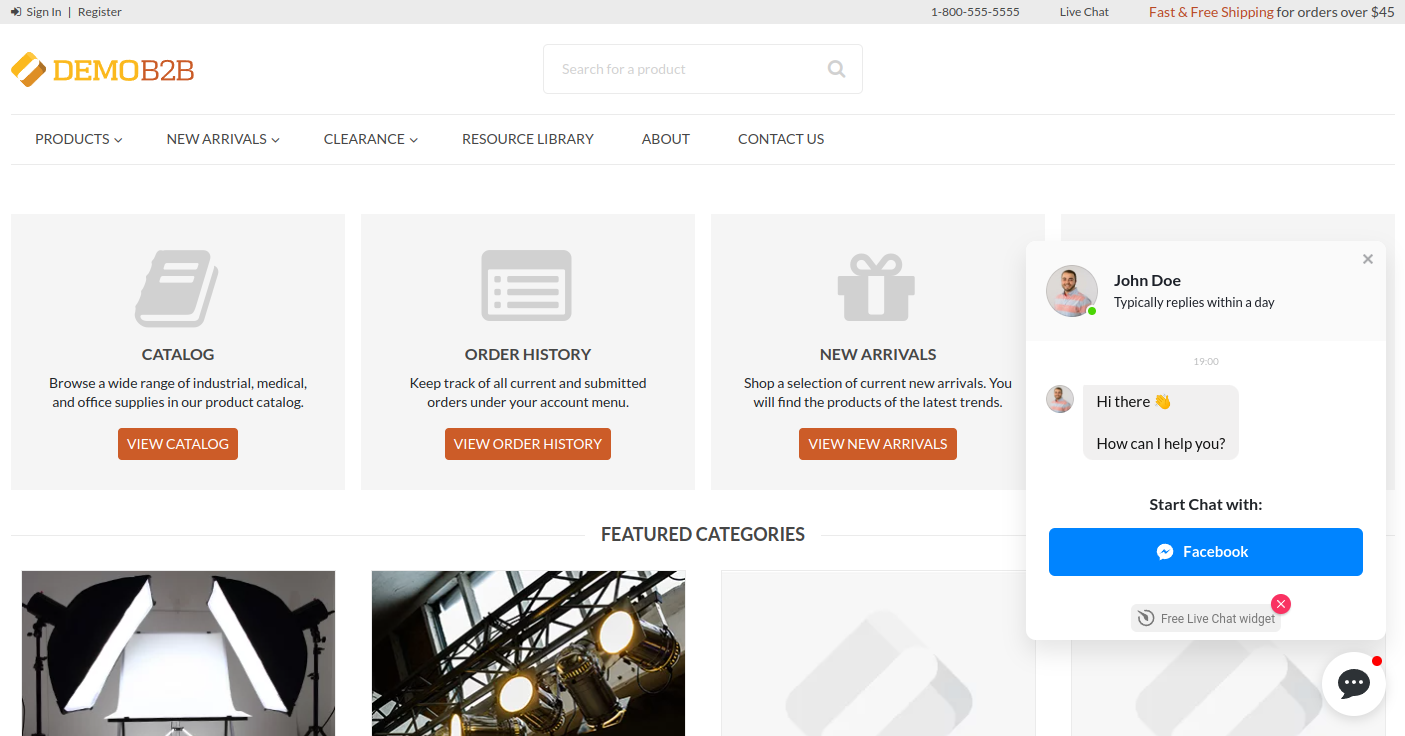
Live Chat
All-in-one chat widget allows you to talk to your customers in real-time and assist them when they need help.
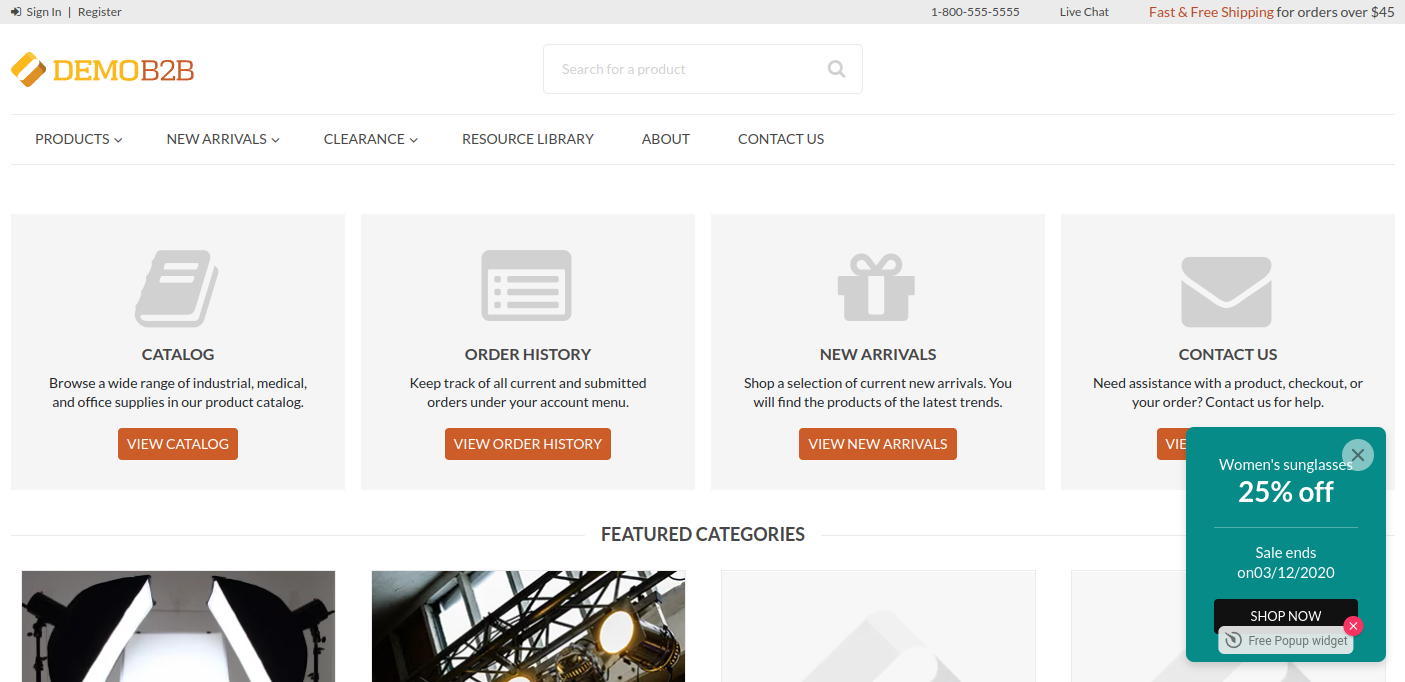
Popup
Popup widget shows a banner with your marketing materials. It is a great tool to notify your customers about events or just say hello.
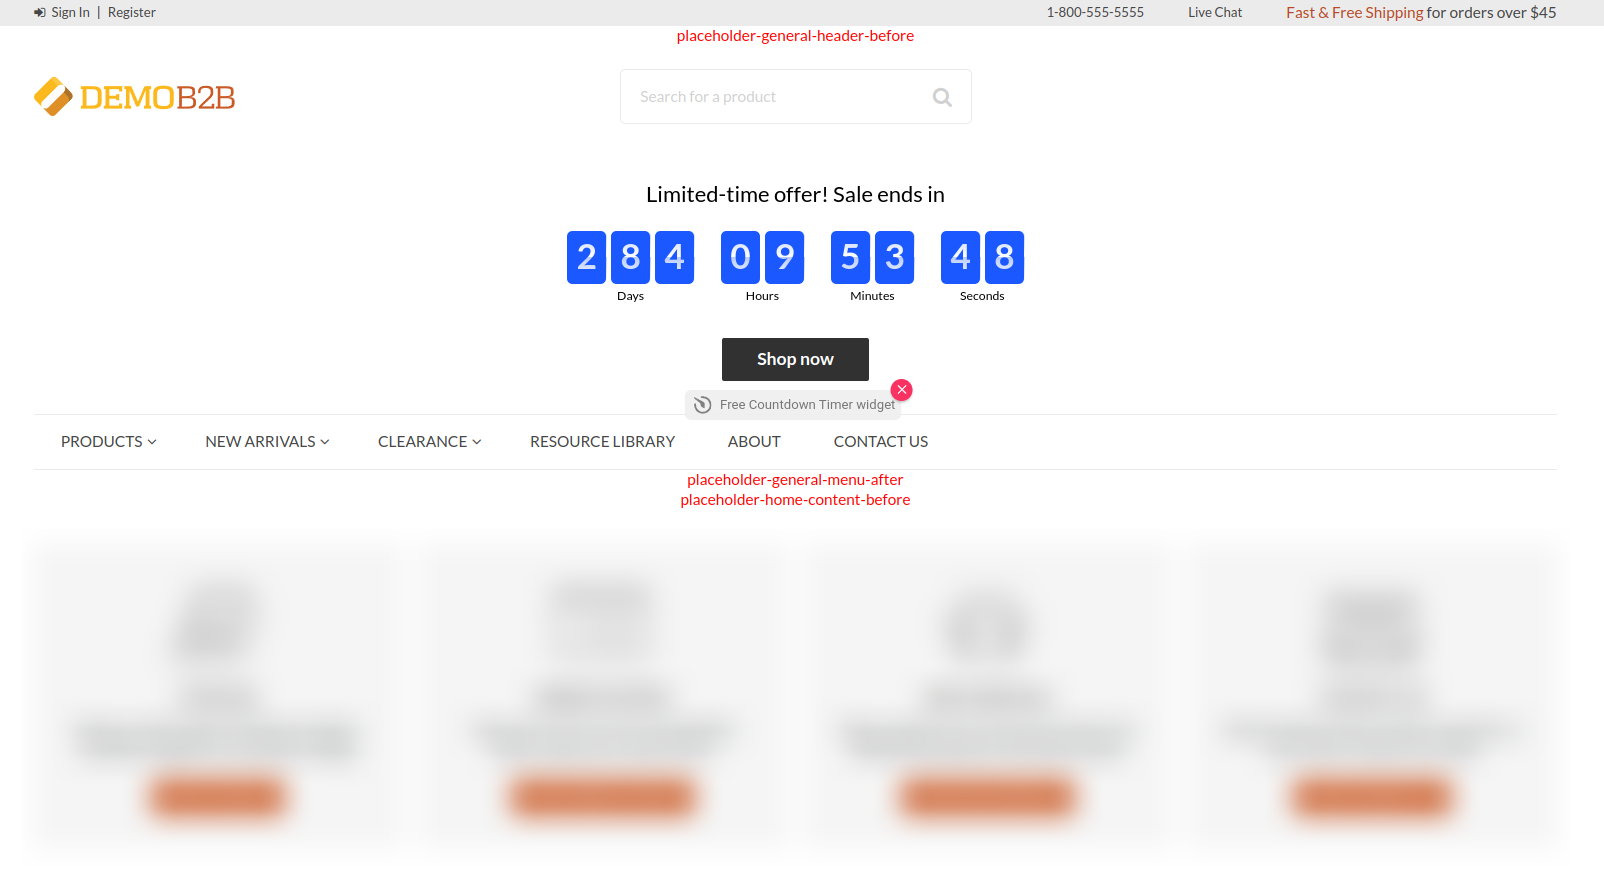
Countdown Timer
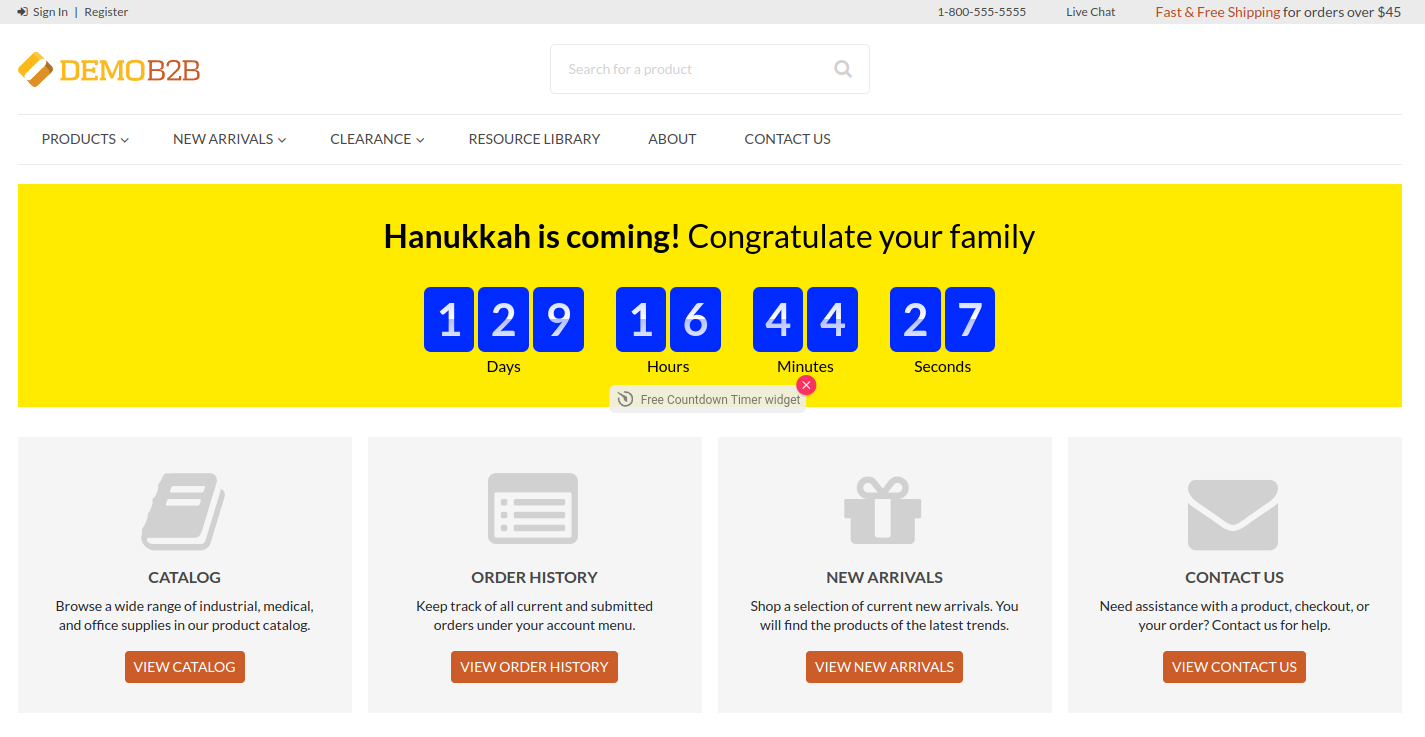
Countdown widget helps you to let customers how much time is left till something important is going to happen.
Social Feed
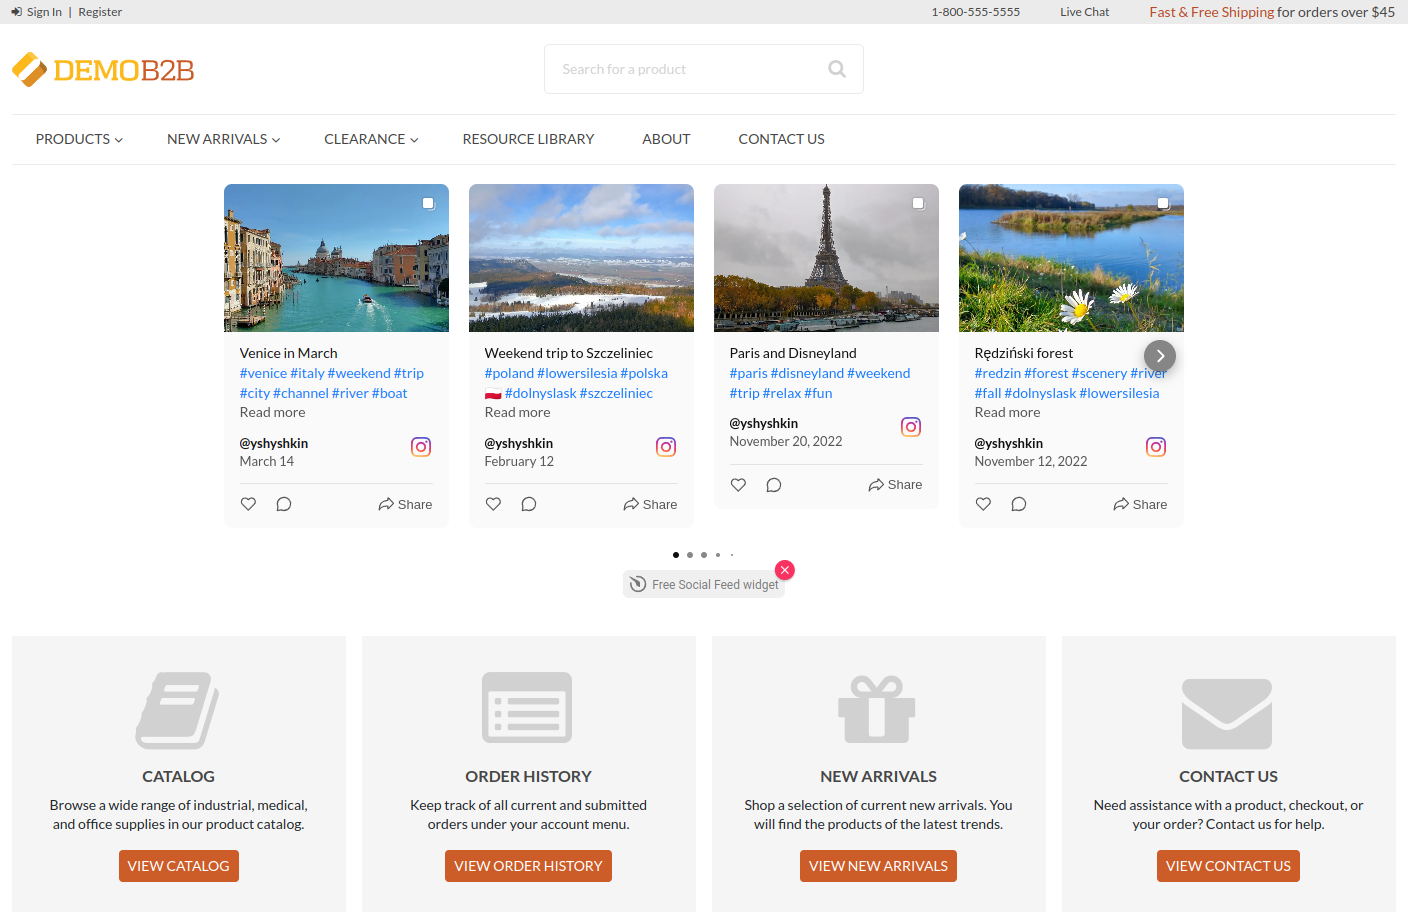
Social feed widget aggregates news from your social networks and shows them in a nice convenient form.
Other Widgets
There are many other widget types that you can add to your website. Check the full list of widgets and find the best widget for you.
Content Blocks
By default, you can add Elfsight widgets to any place that supports content widgets: landing pages, product or category descriptions, and predefined content blocks.
This bundle adds new content blocks to different pages all over the application storefront, so you can add Elfsight widgets to any of that blocks. Some Elfsight widgets that are always presented on the screen (e.g. live chat, popup) can be added to any block. Other widgets that have to be added to the right place on the page (e.g. forms, social feeds) should be added to the right content block.
Here are all pages with new content blocks added to them.
All Pages
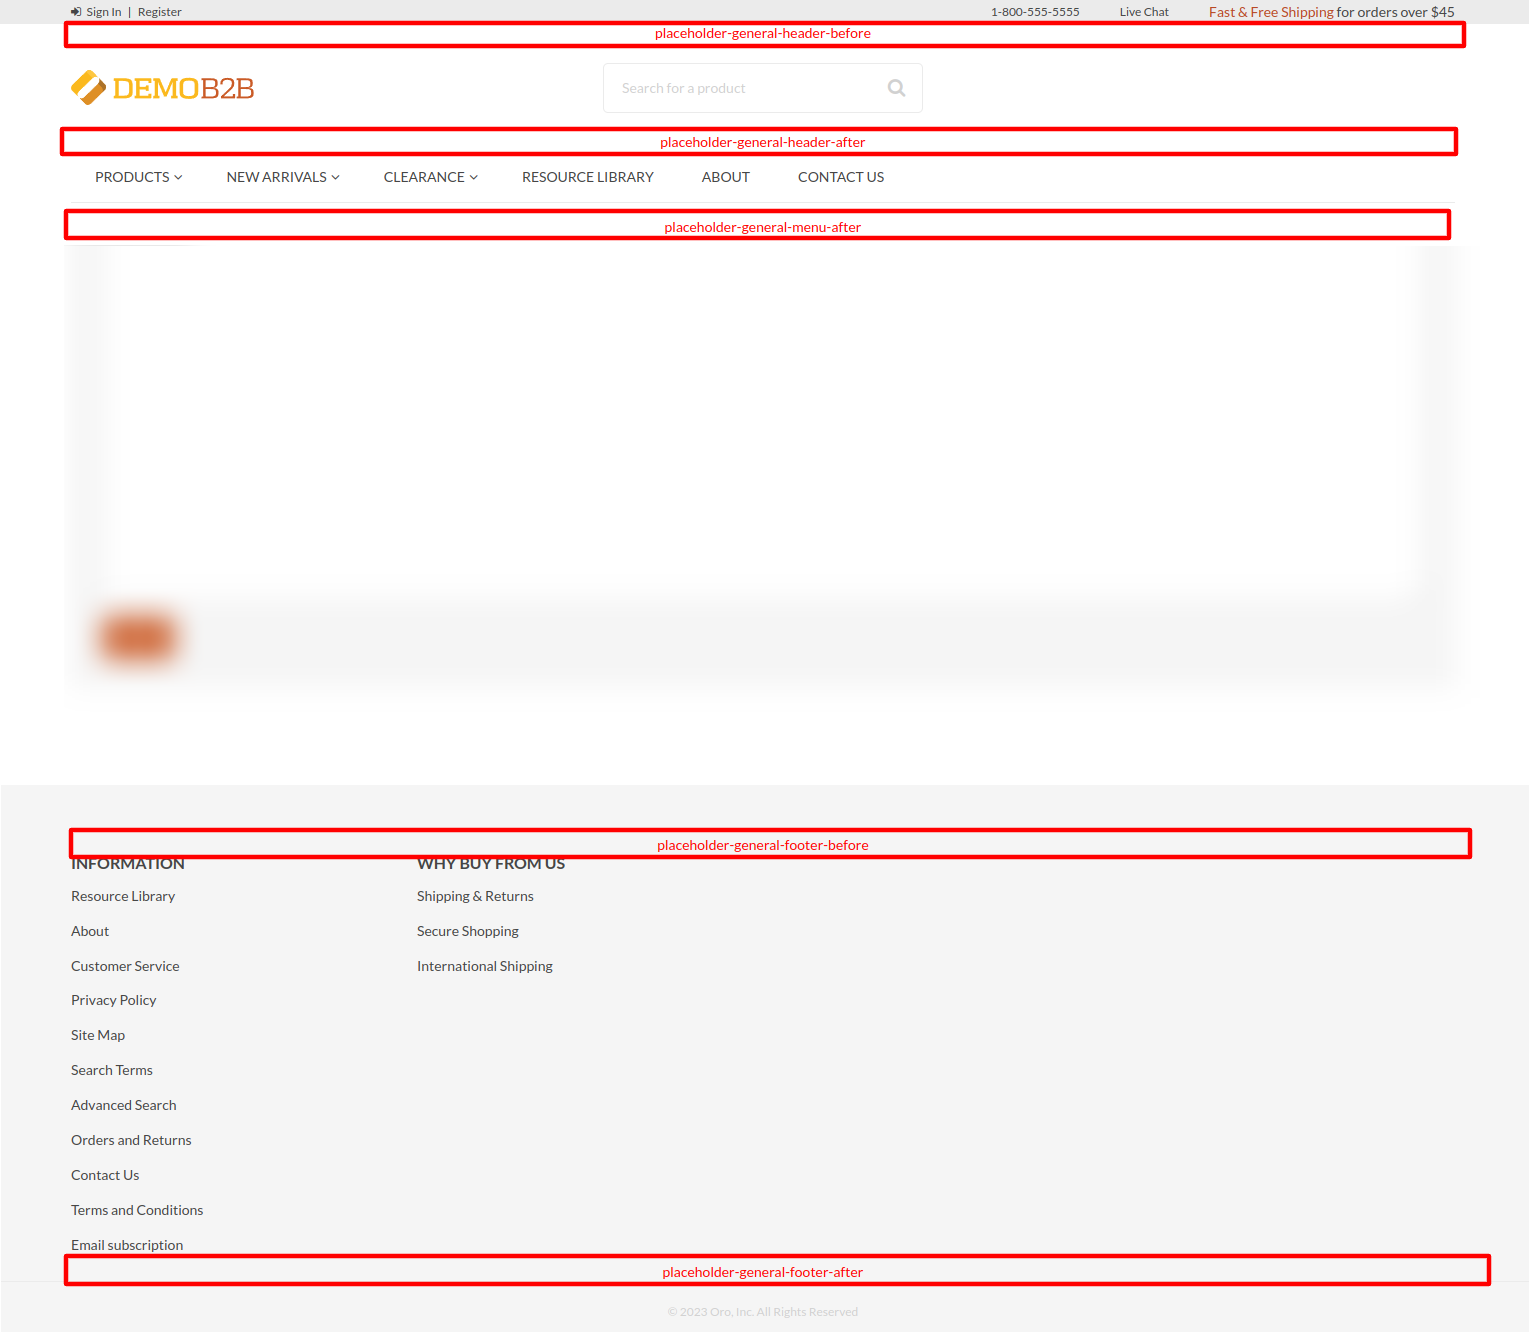
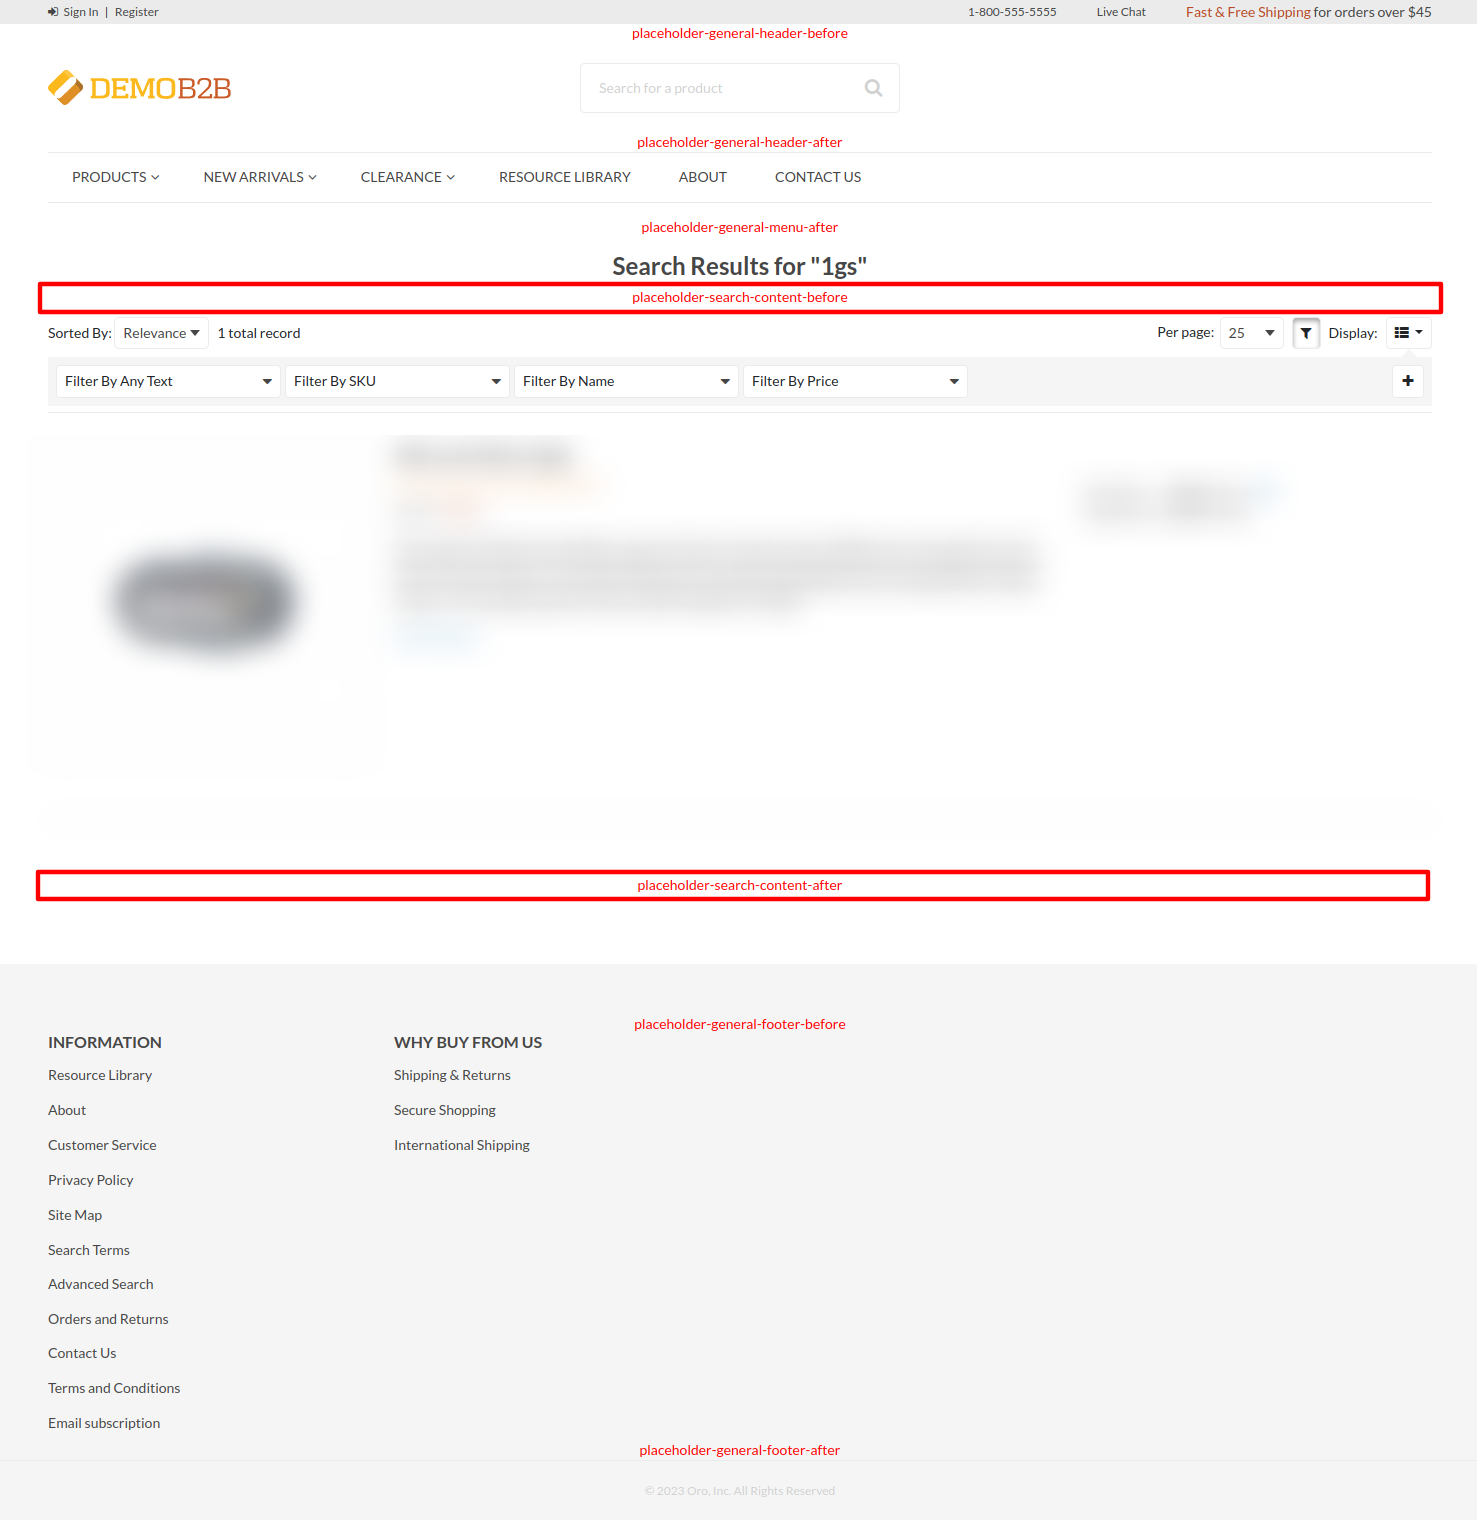
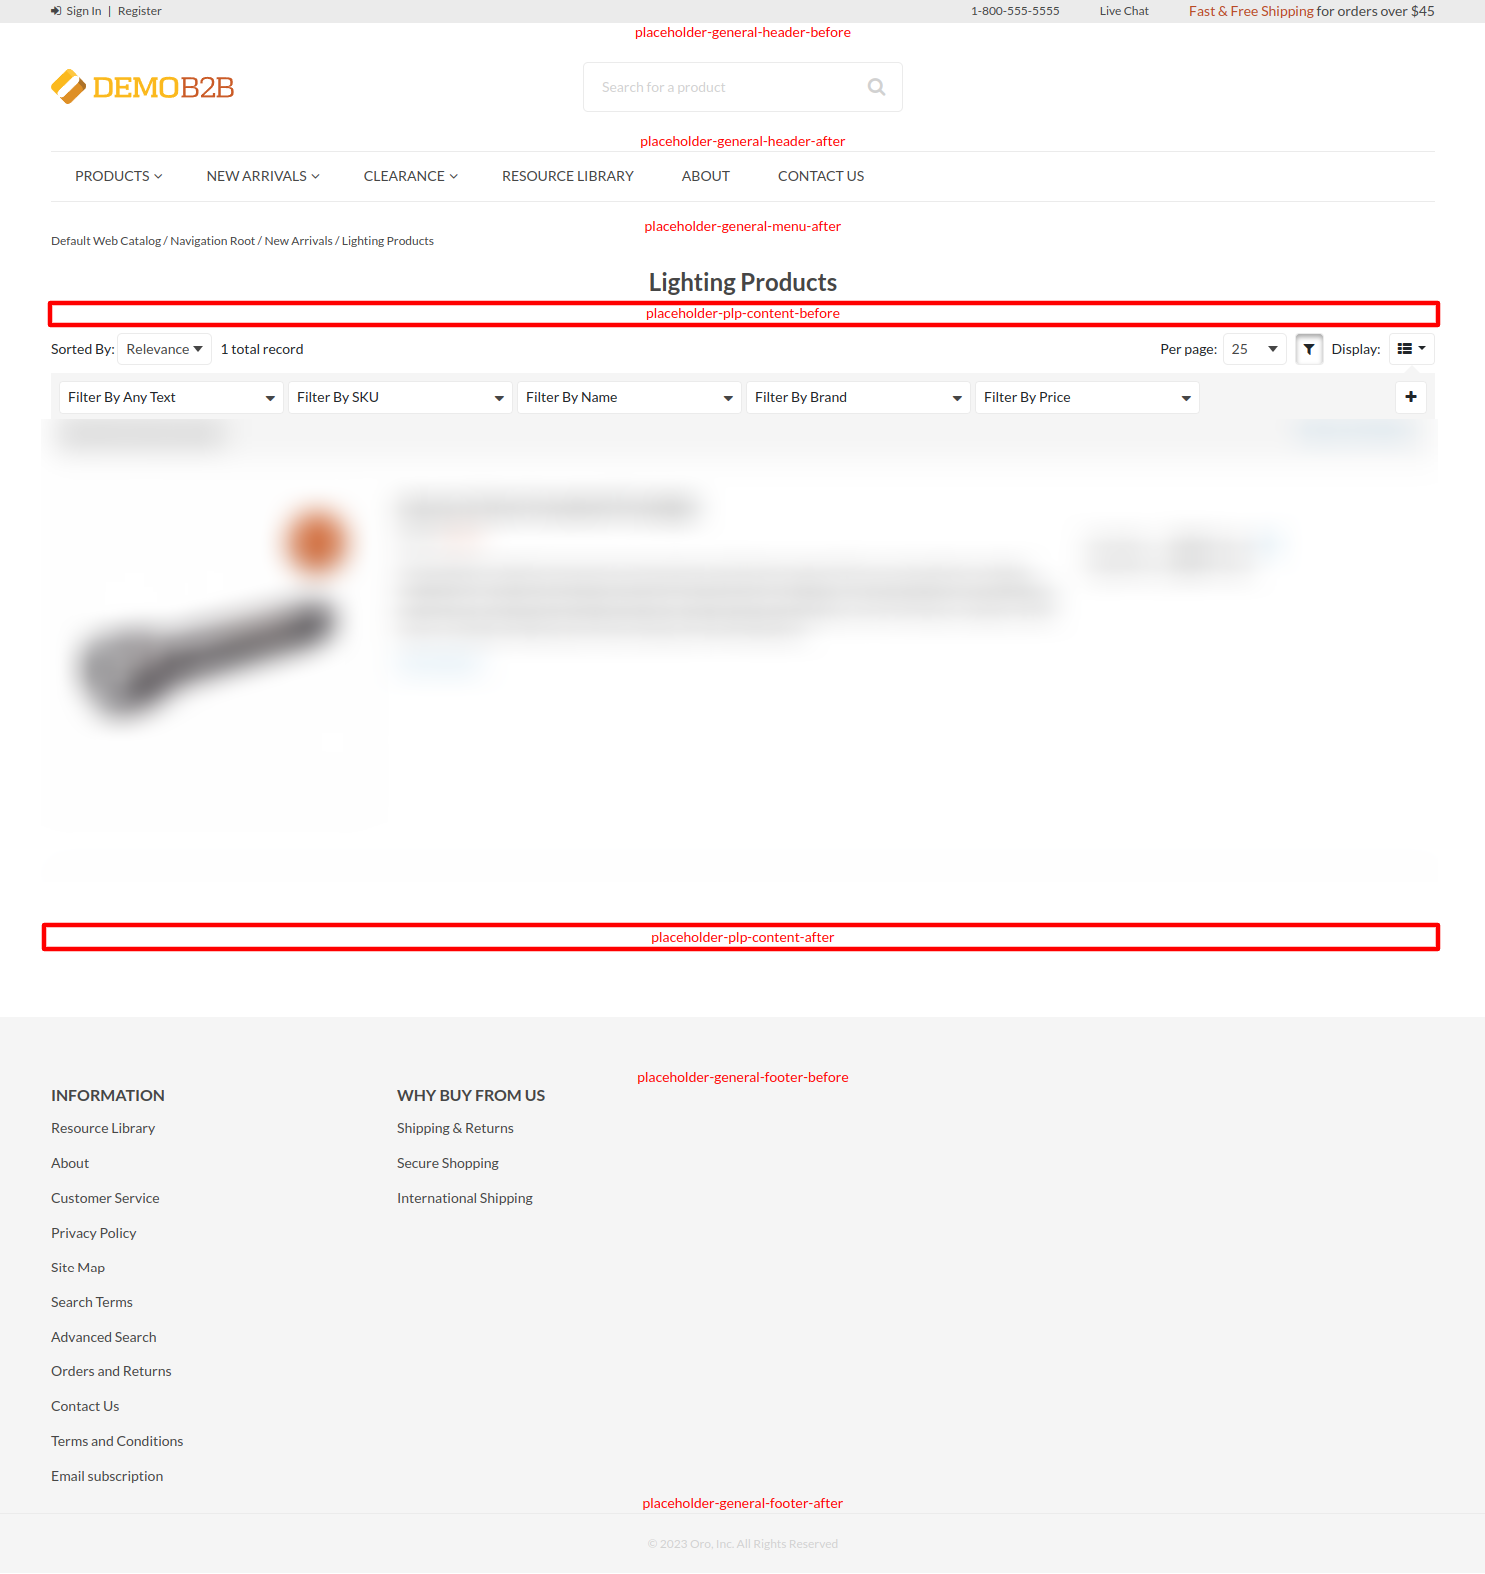
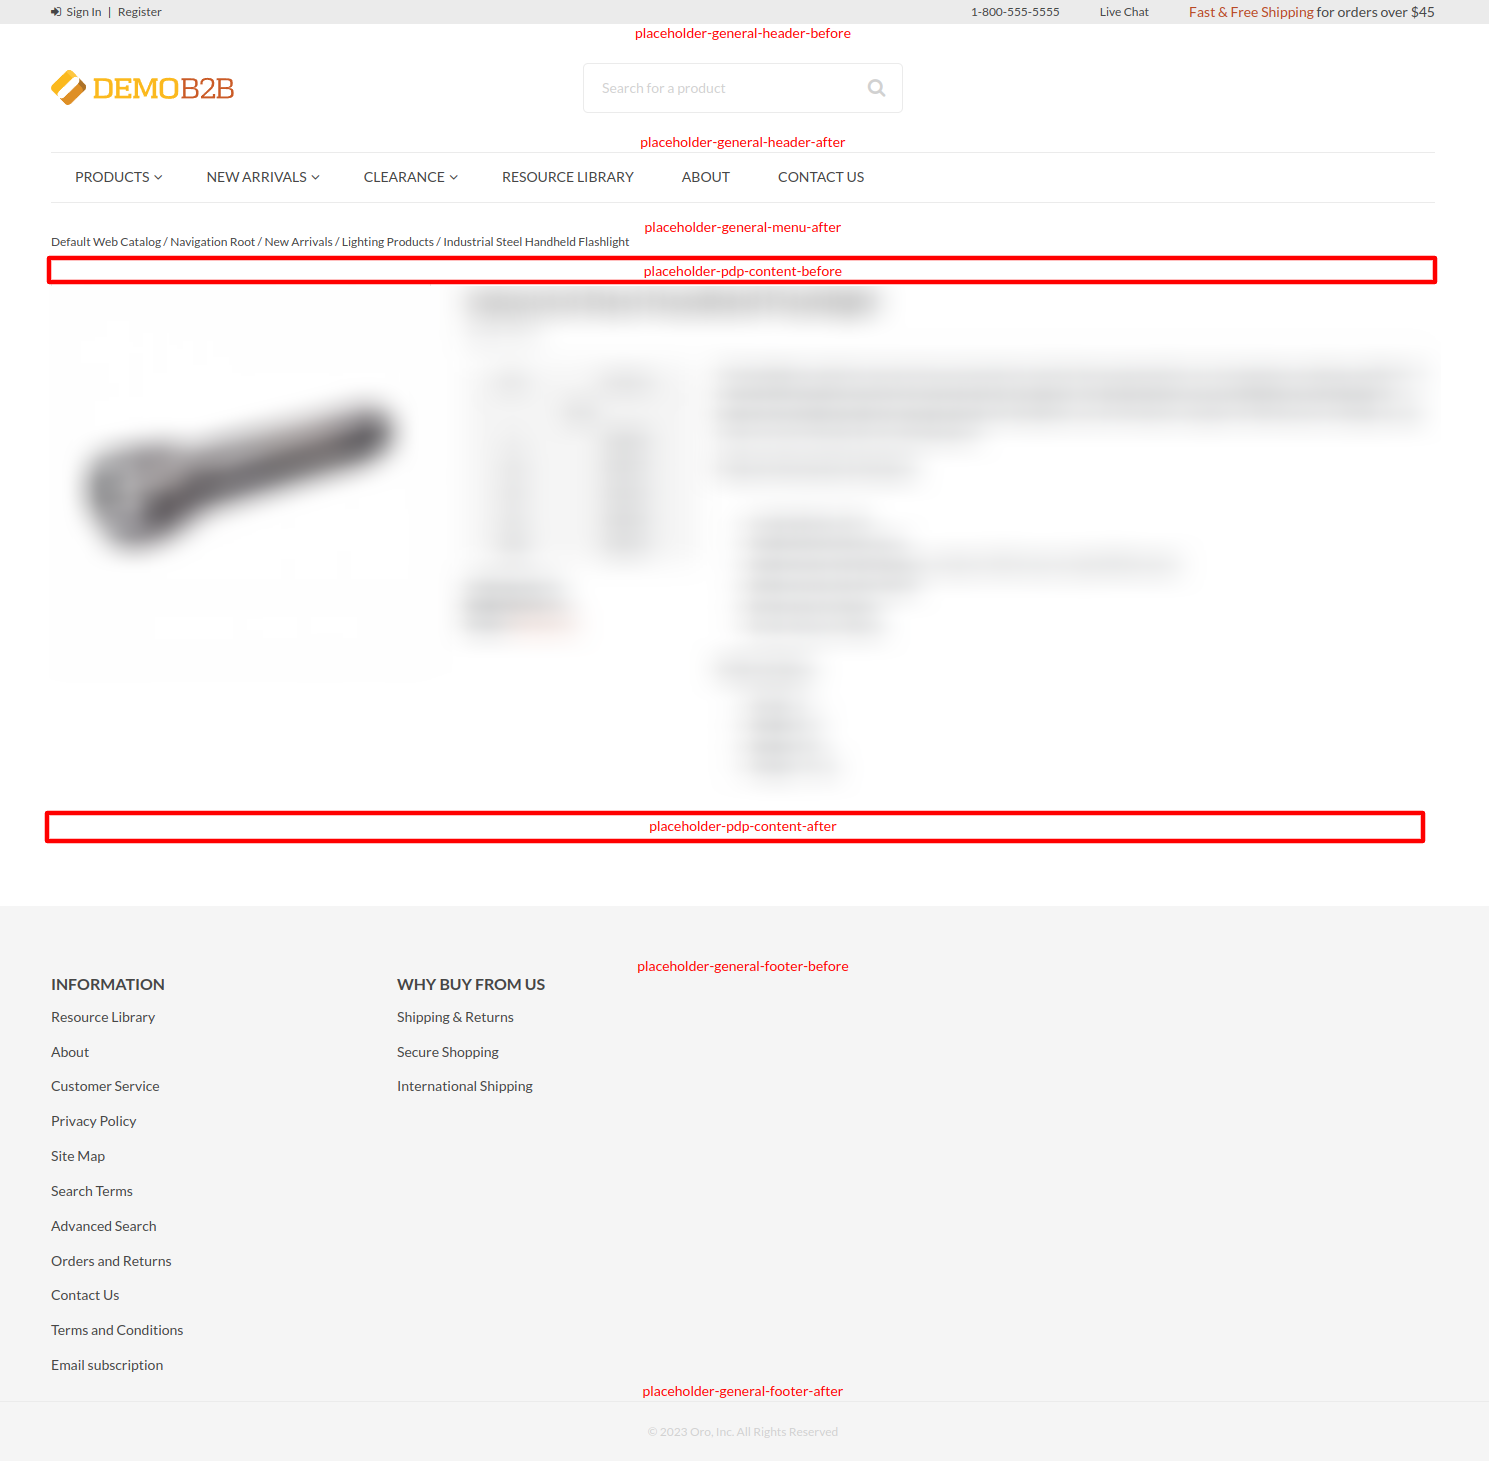
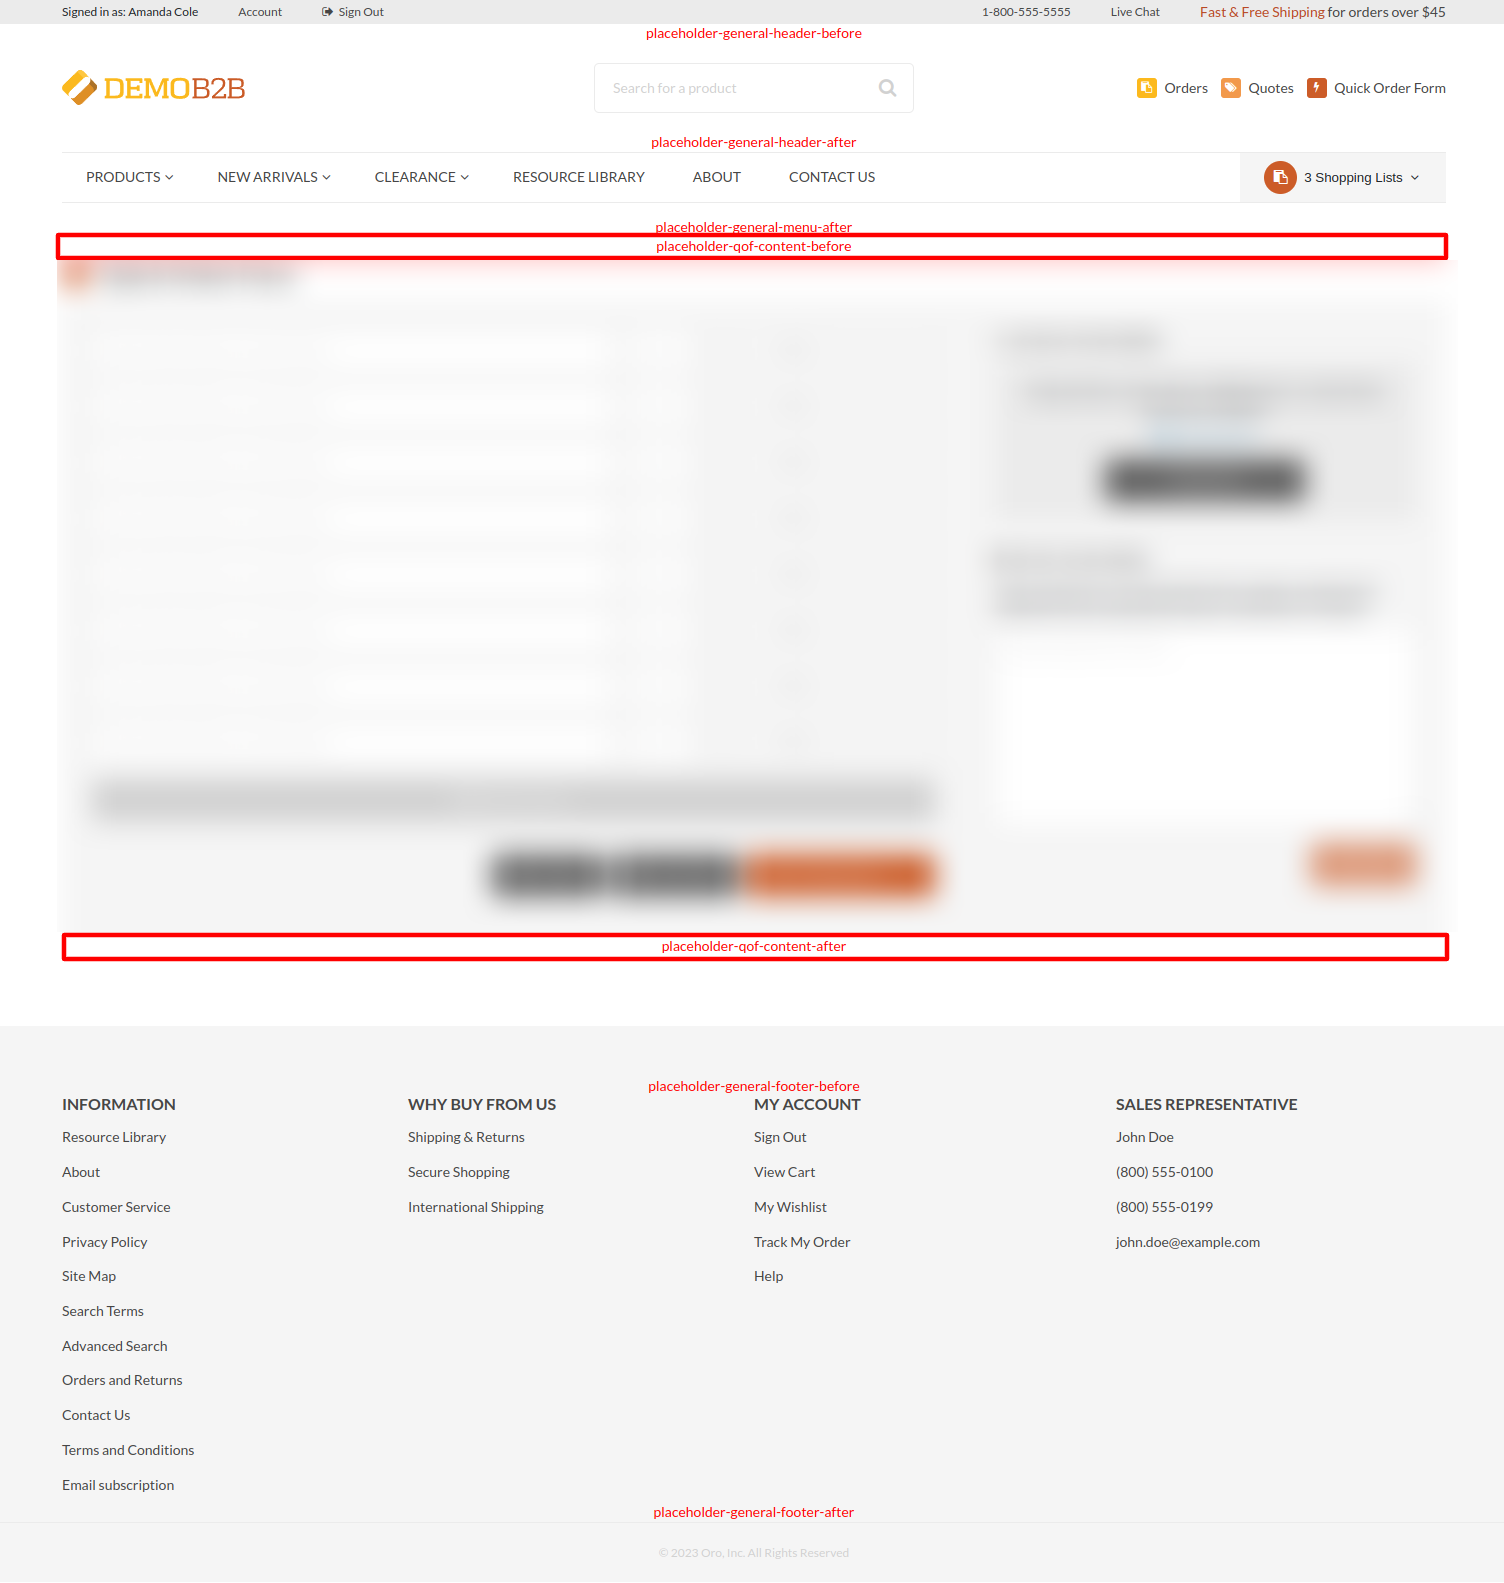
placeholder-general-header-beforeadded before the header;placeholder-general-header-afteradded after the header;placeholder-general-menu-afteradded after the main menu;placeholder-general-footer-beforeadded before the footer;placeholder-general-footer-afteradded after the footer.
Home Page
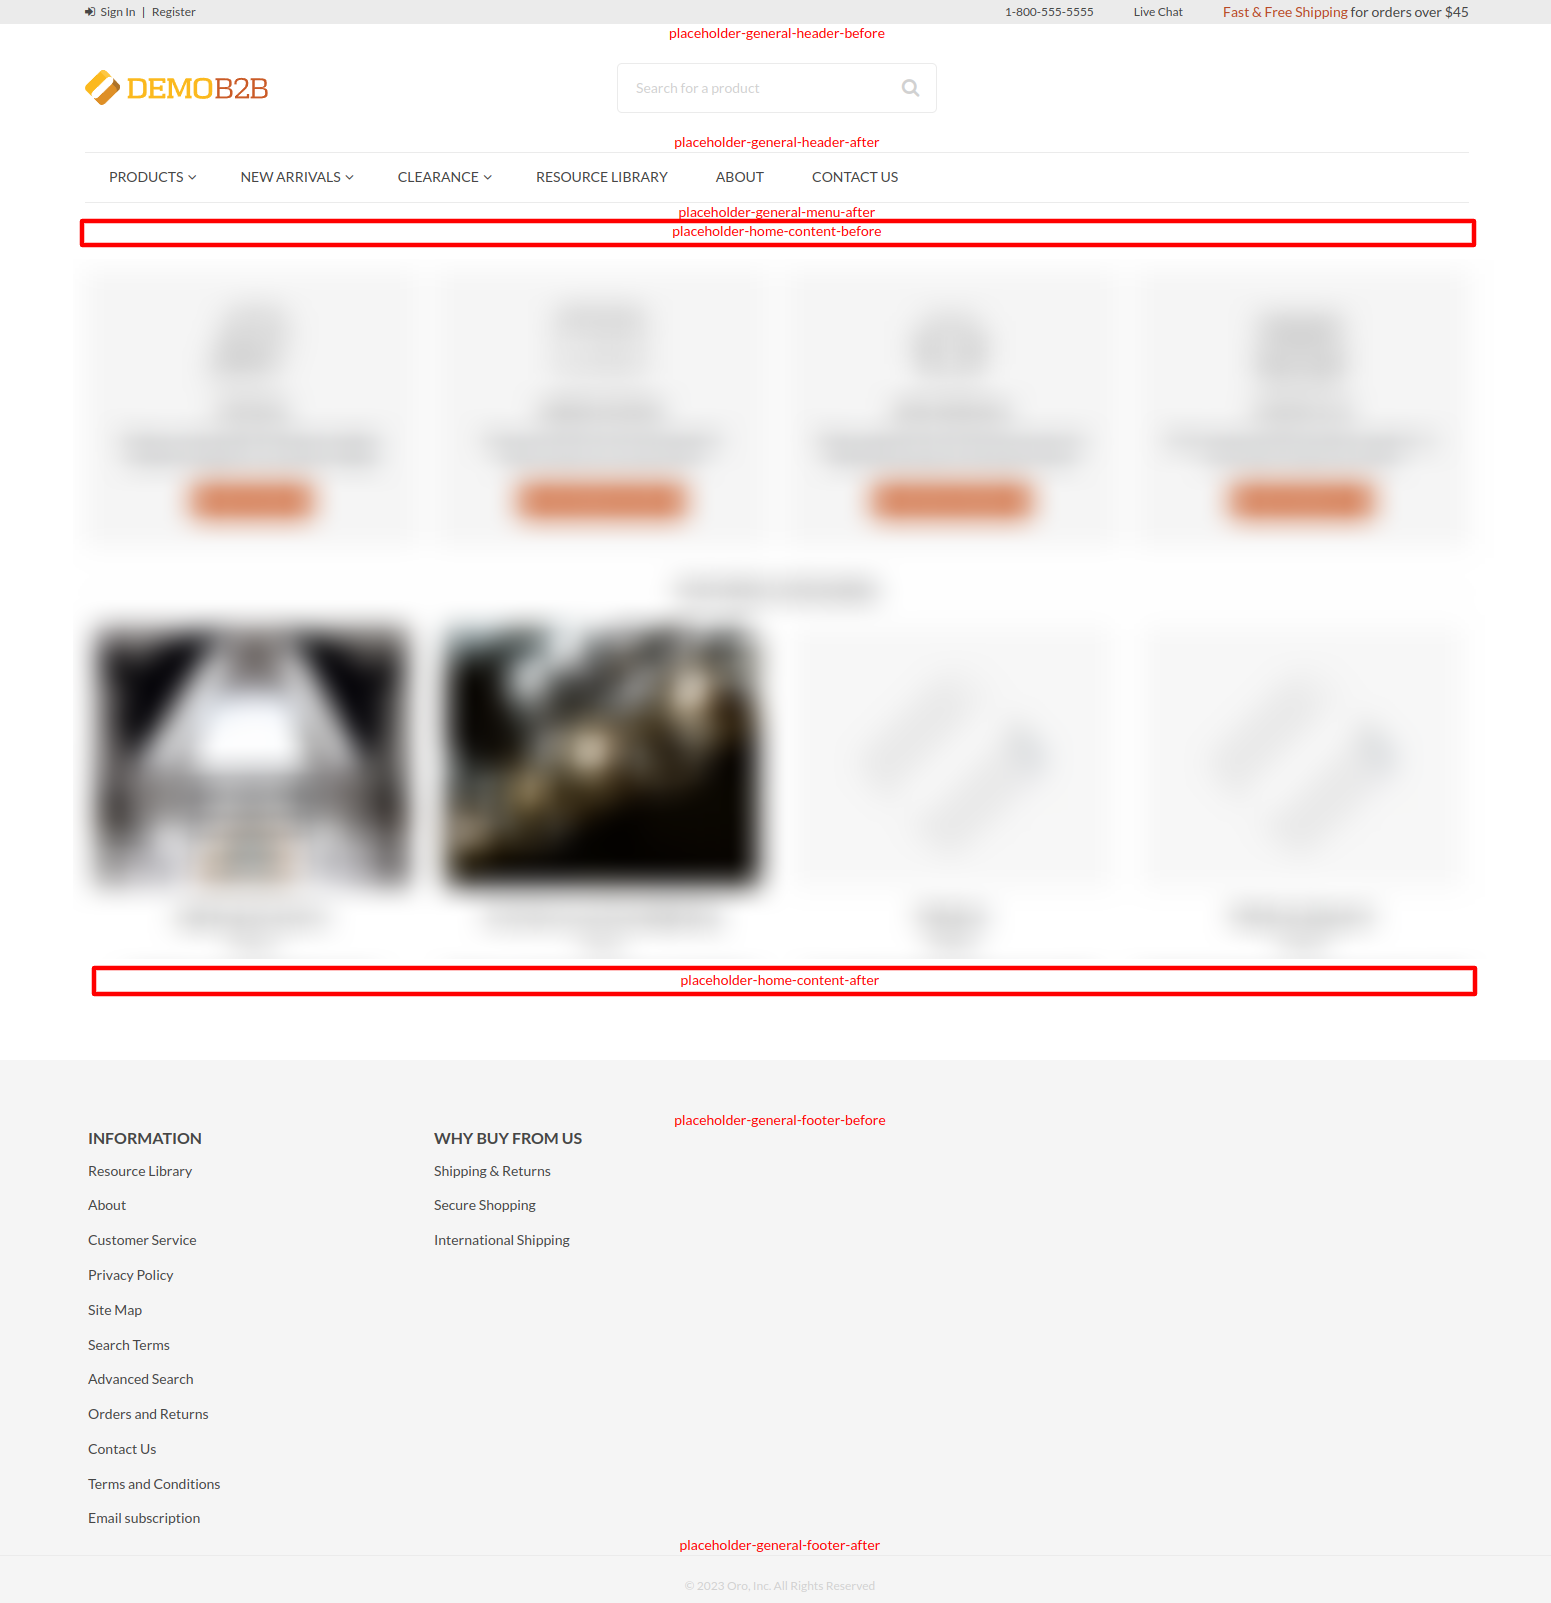
placeholder-home-content-beforeadded before the home page content;placeholder-home-content-afteradded after the home page content.
Search Results Page
placeholder-search-content-beforeadded before the search results grid;placeholder-search-content-afteradded after the search results grid.
Product Listing Page
placeholder-plp-content-beforeadded before the products grid;placeholder-plp-content-afteradded after the products grid.
Product Details Page
placeholder-pdp-content-beforeadded before the product details block;placeholder-pdp-content-afteradded after the product details block.
Quick Order Form Page
placeholder-qof-content-beforeadded before the quick order form;placeholder-qof-content-afteradded after the quick order form.
Shopping List Page
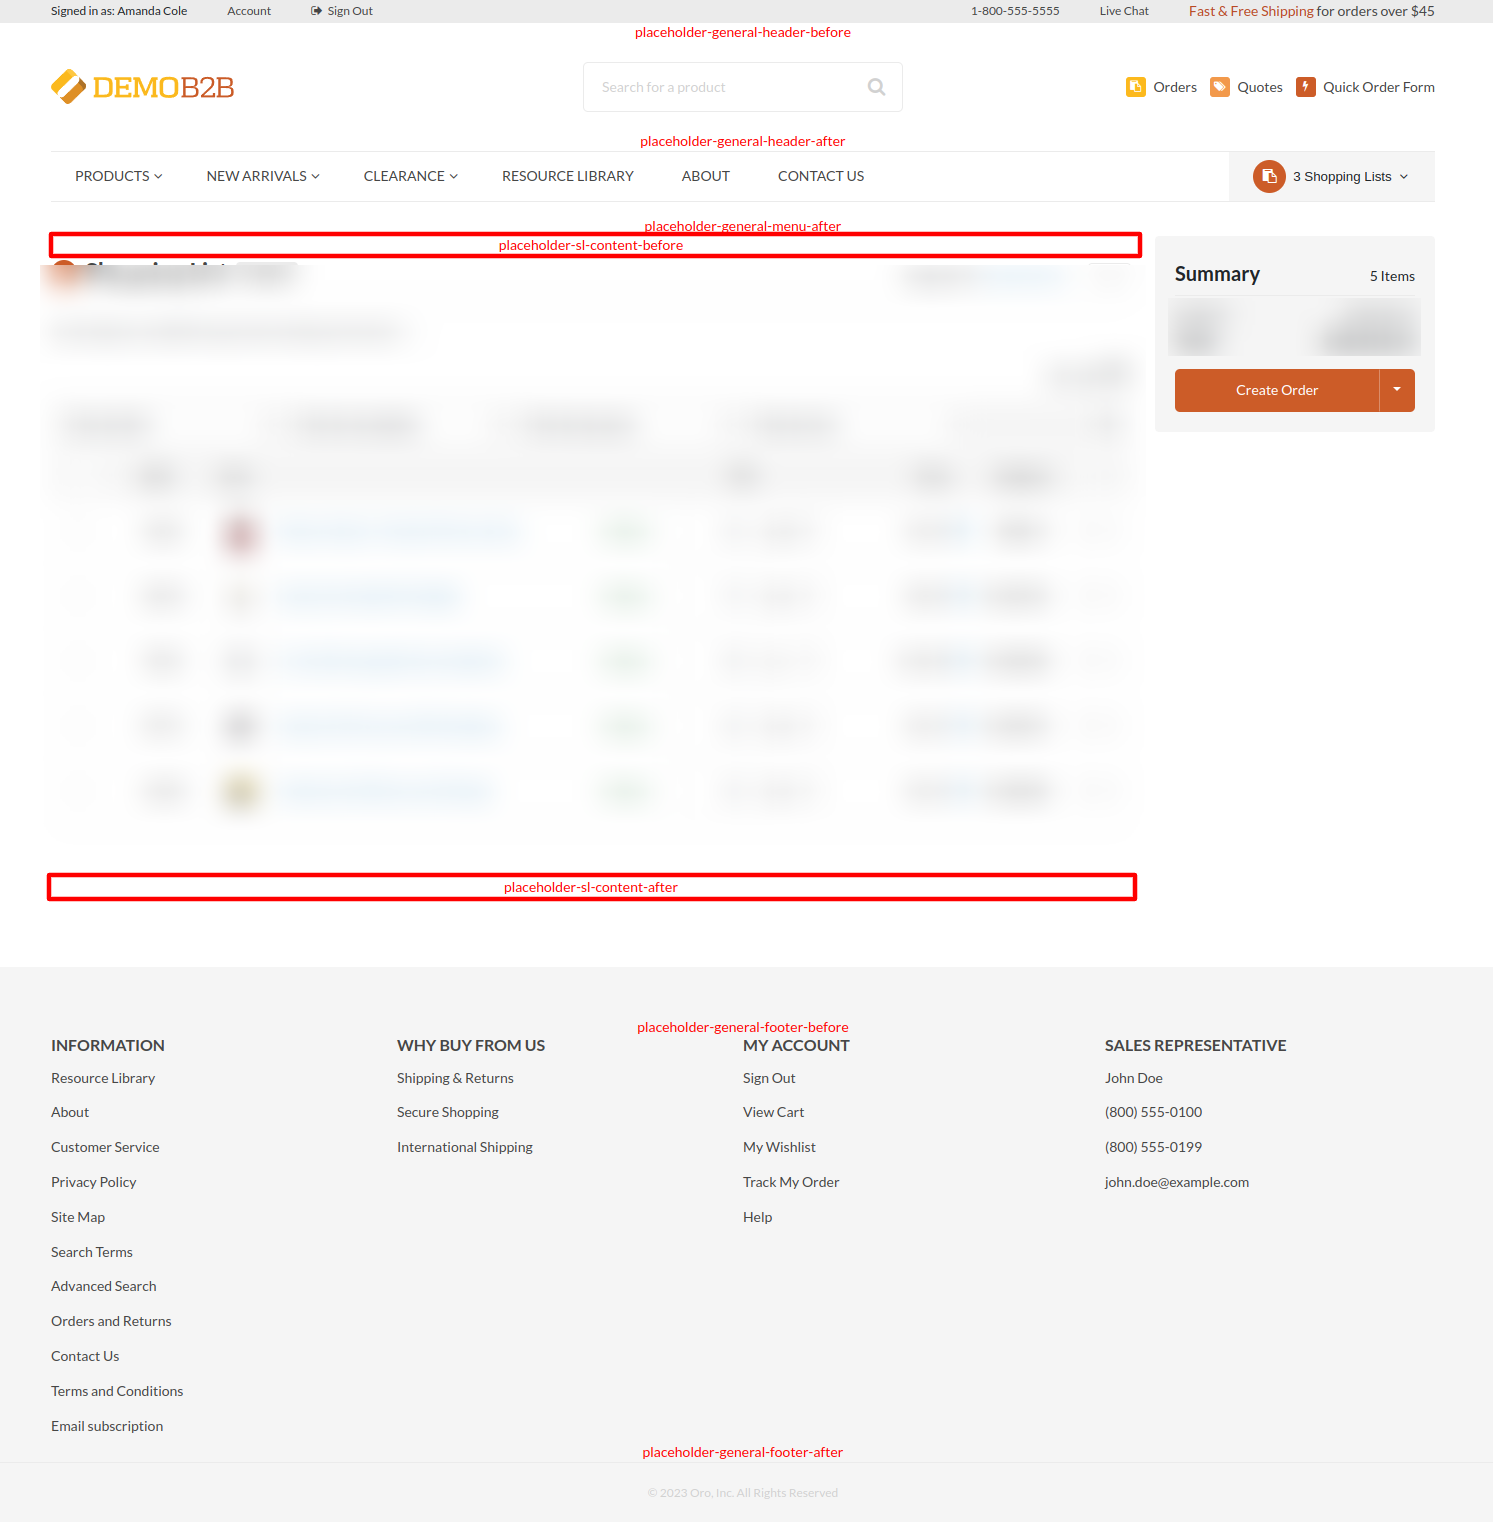
placeholder-sl-content-beforeadded before the shopping list content;placeholder-sl-content-afteradded after the shopping list content.
Checkout Page
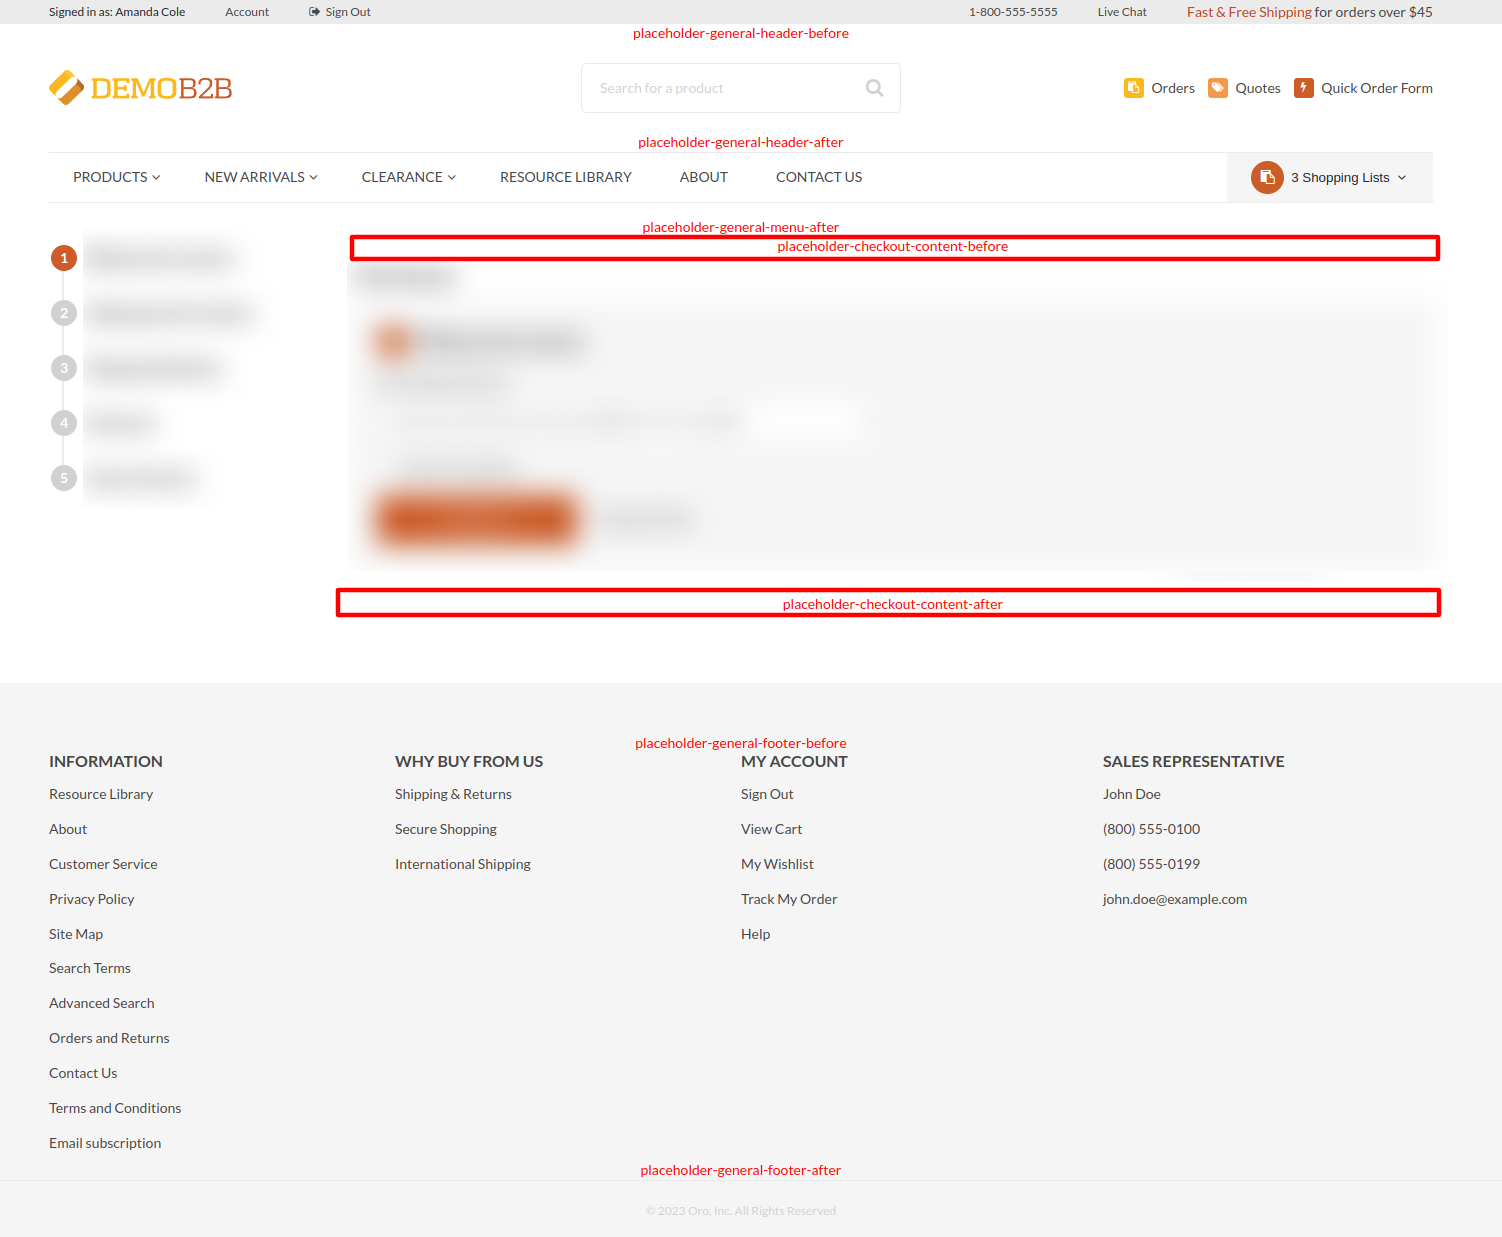
placeholder-checkout-content-beforeadded before the checkout content;placeholder-checkout-content-afteradded after the checkout content.
How To Install The Bundle
If you did not install the application yet, you just need to add the bundle as the composer dependency, and then install the application.
composer require ys-tools/orocommerce-elfsight-bundle
If you already have installed the application, you need to add the bundle as the composer dependency, remove the cache, and upgrade the application.
rm -rf var/cache/prod
composer require ys-tools/orocommerce-elfsight-bundle
rm -rf var/cache/prod
bin/console oro:platform:update --force --env=prod
How To Add Widgets
Here is the video that demonstrates how to add widgets. All required steps are described below.
Registration
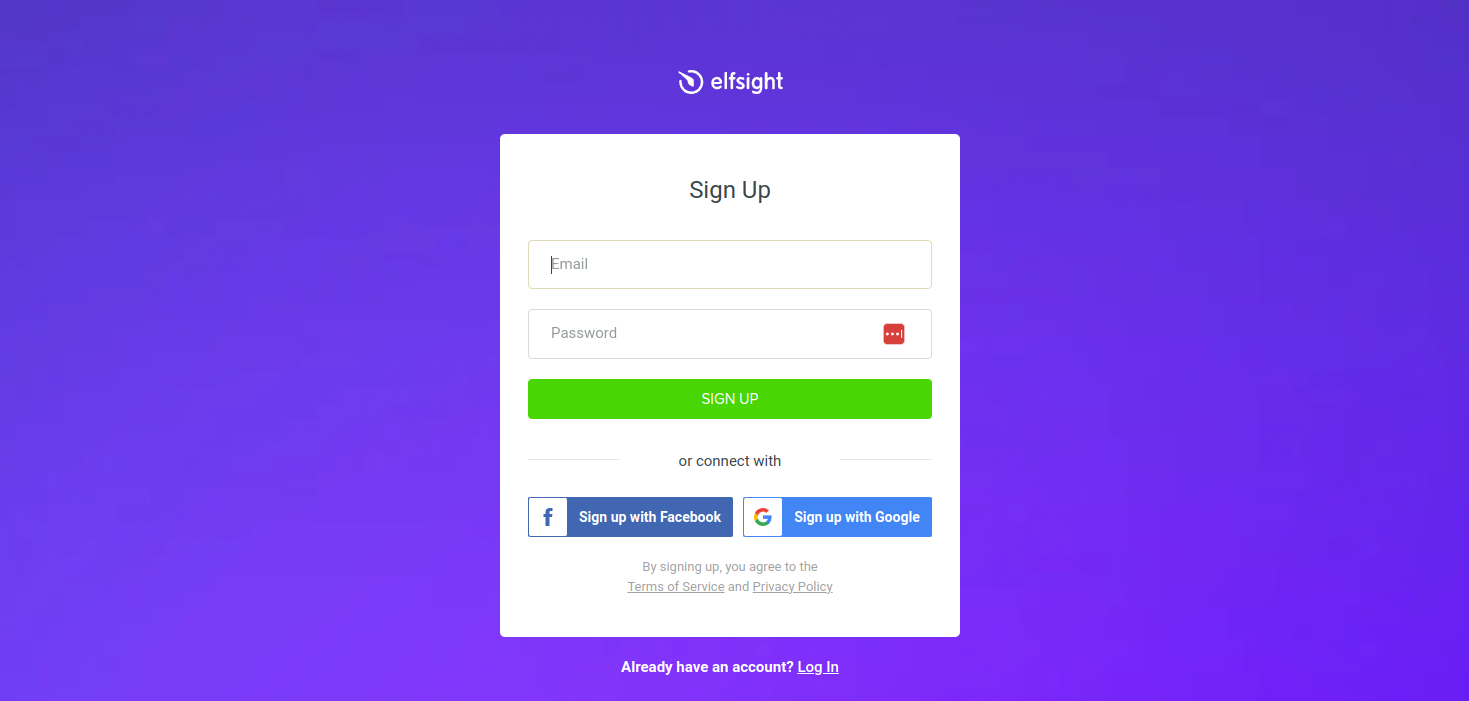
The first thing you need to do before using Elfsight widgets is to register in the Elfsight portal. You need to open
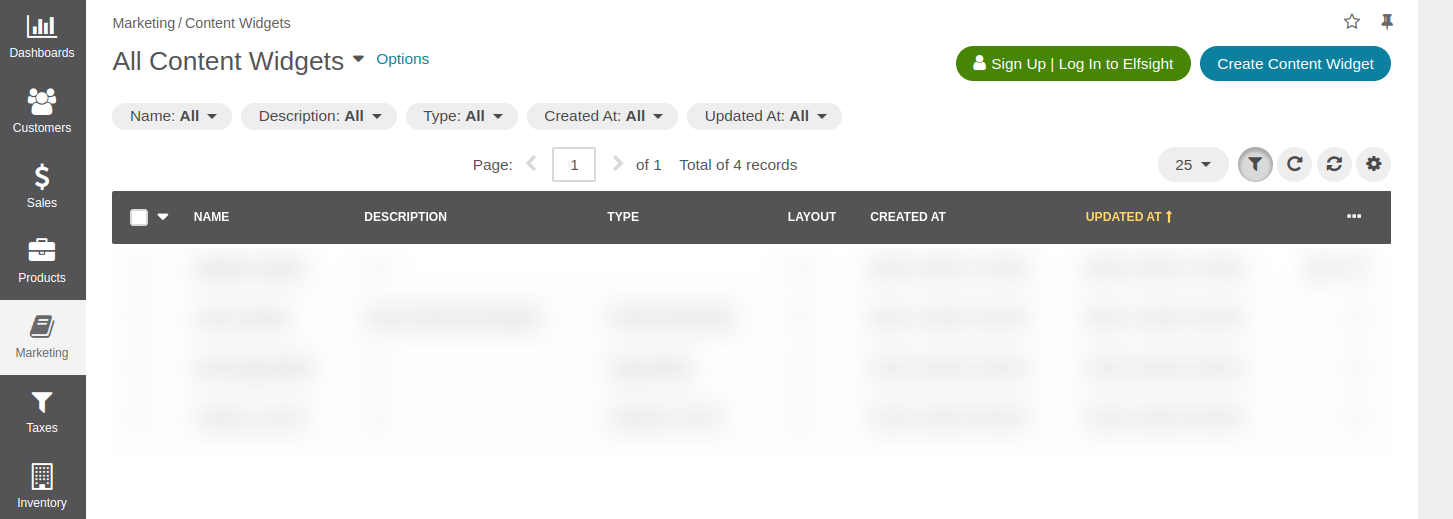
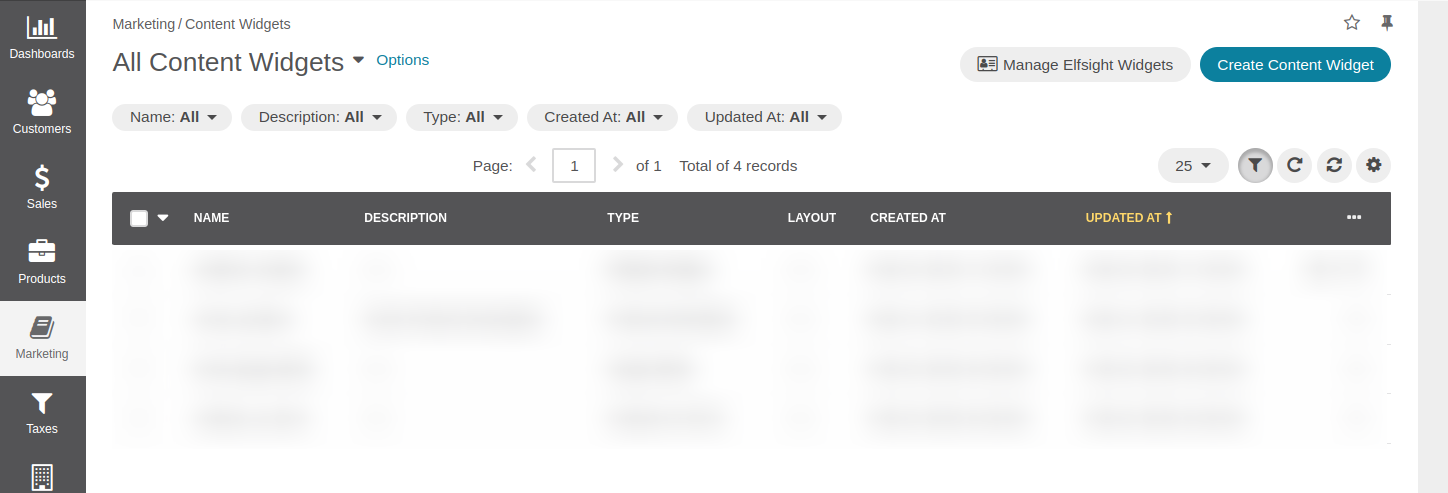
the list of content widgets under Marketing > Content Widgets and click the green button
Sign Up | Log In to Elfsight.
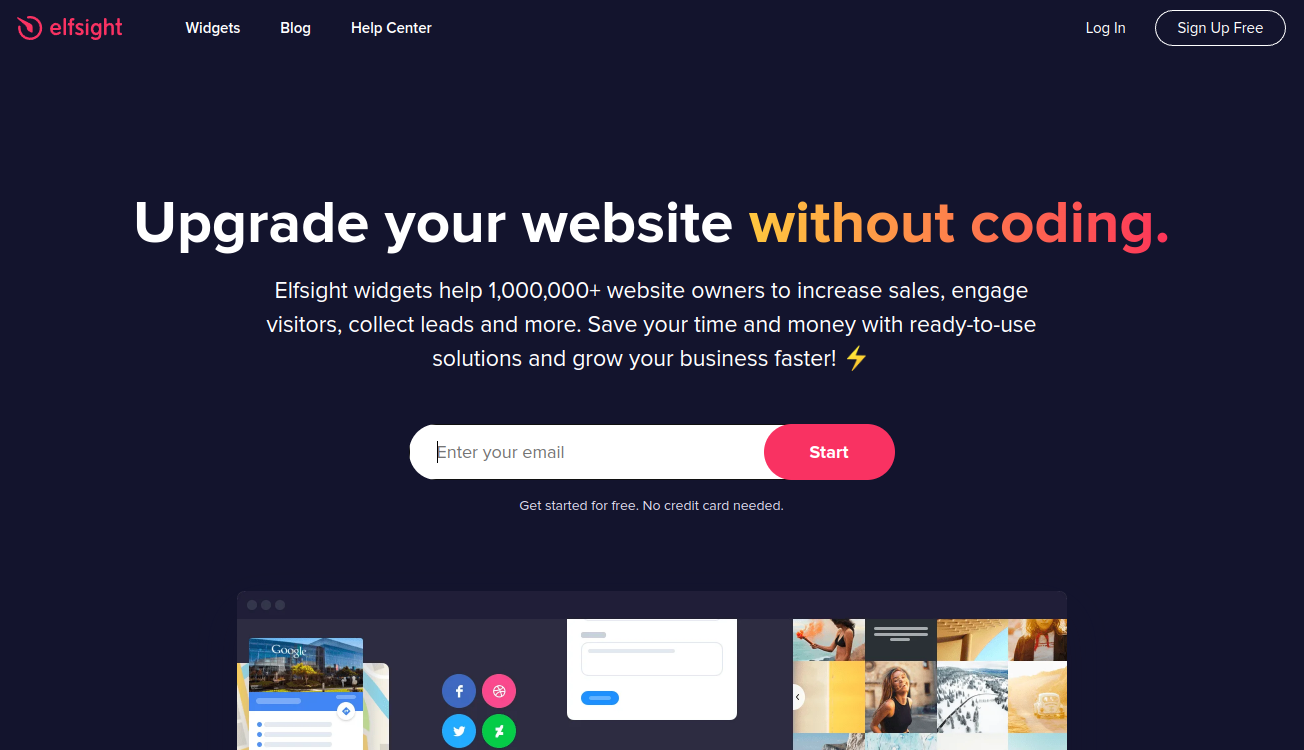
You will be redirected to the Elfsight website, there you can either enter your email and register manually, or click
the Sign Up Free button in the top right corner and sign up manually, via Google or Facebook.
Then you should go back to the OroCommerce application and open the list of content widgets under
Marketing > Content Widgets again. The sign op button should disappear, and you'll see a new button
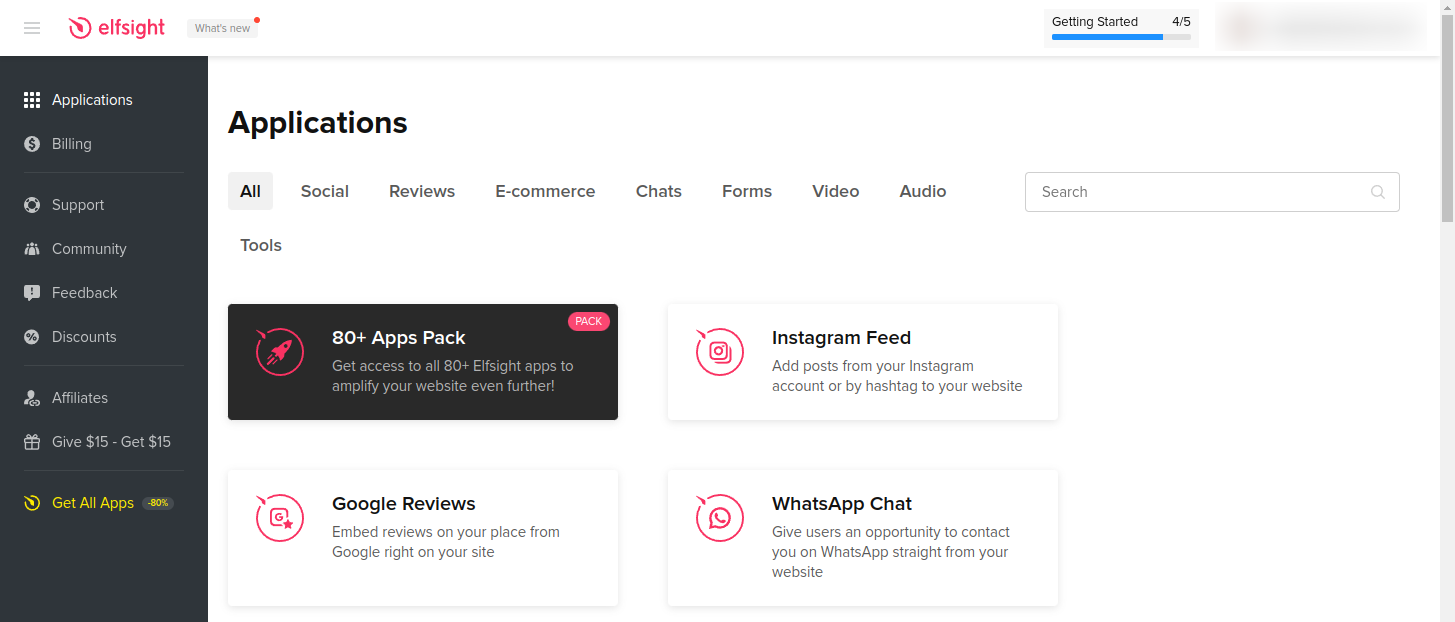
Manage Elfsight Widgets. You can use it to get back to the Elfsight website and manage all your widgets and
subscriptions there.
Create New Widget
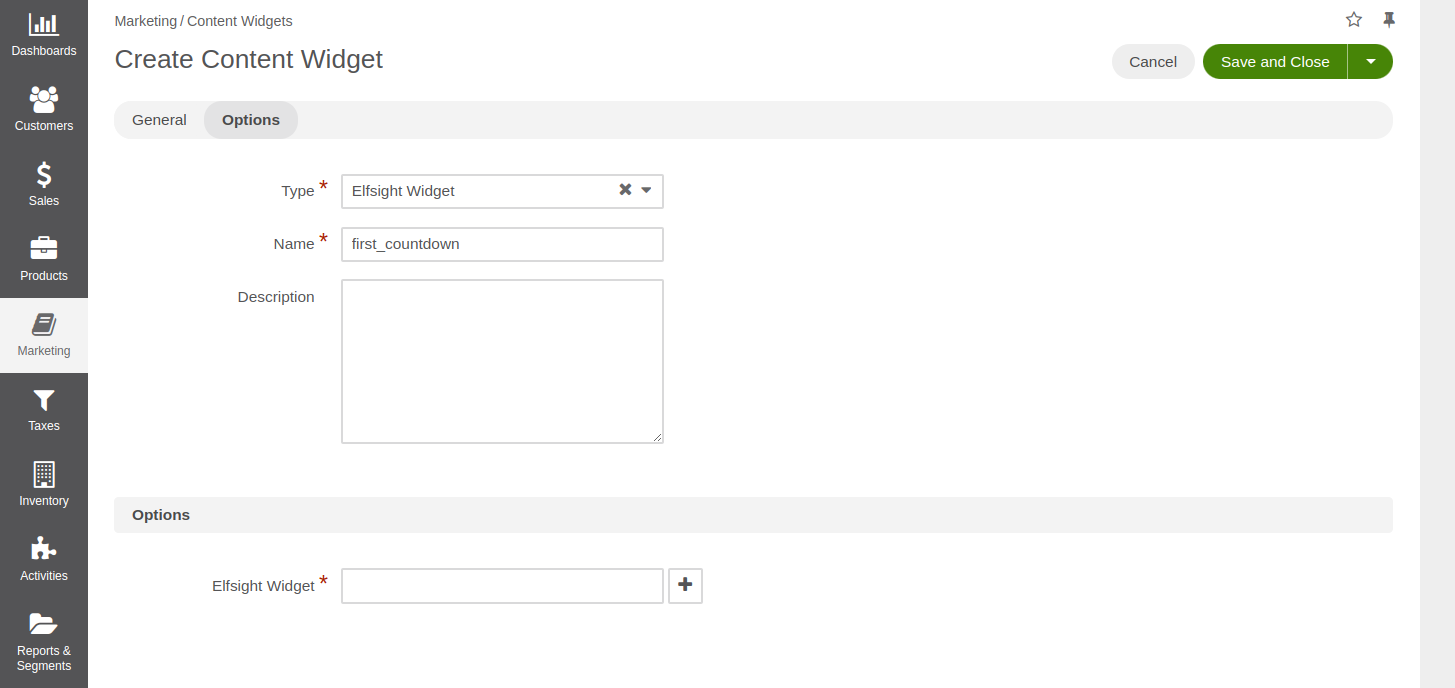
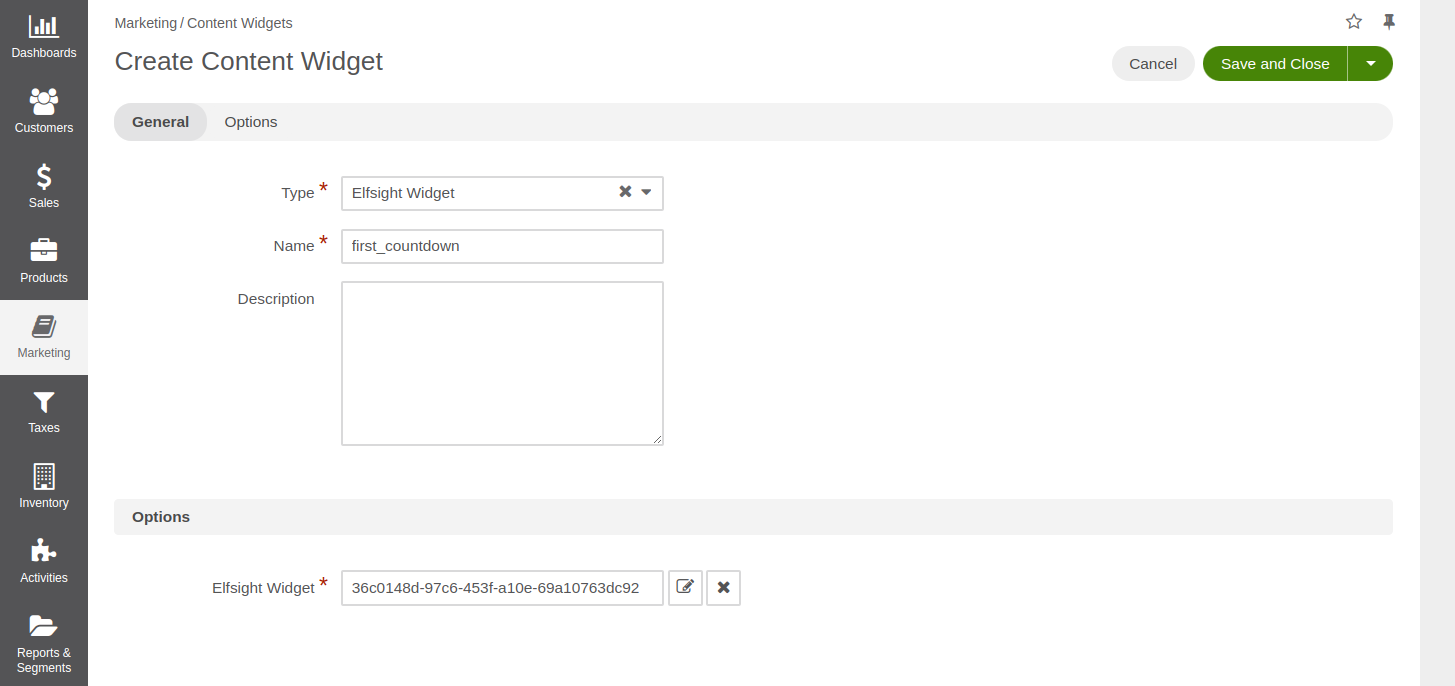
The next step is adding a new Elfsight widget. You need to click Create Content Widget button, pick Elfsight Widget
type from the dropdown, give the widget a name, and then click on the plus icon near the Elfsight Widget field
in the Options section.
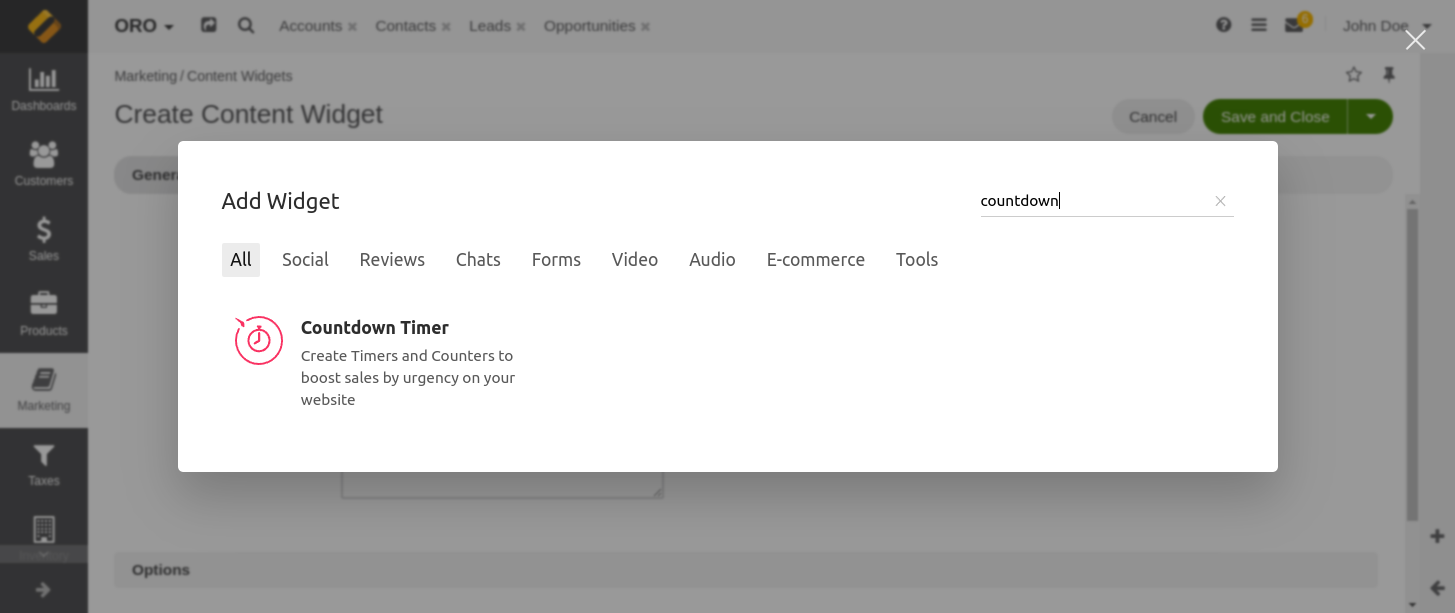
You should see a popup with a list of all available widget types. Find the one you want to use and click on it.
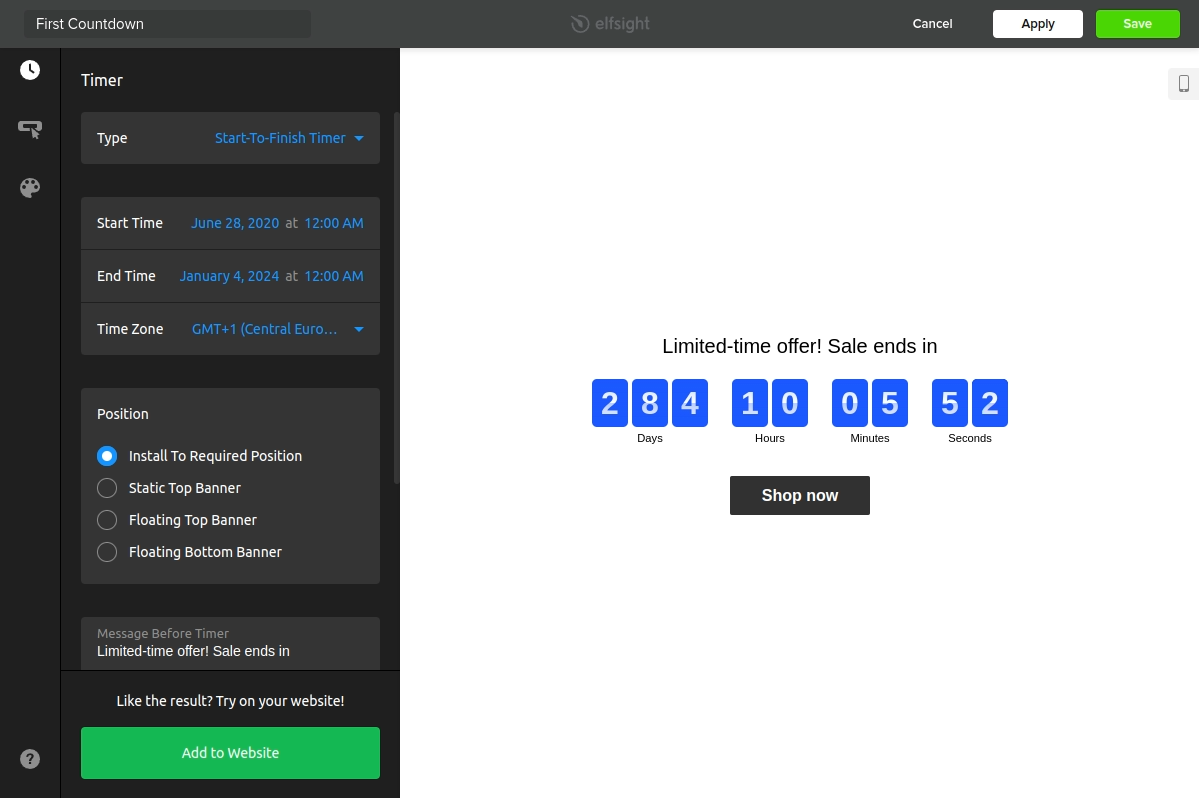
The application should open another popup where you can configure your widget. After you finish the configuration,
click Add to Website or Save button.
The popup will be closed, and you should see the identifier of your new widget in the Elfsight Widget field.
You can edit your widget or remove the identifier using appropriate buttons near the Elfsight Widget field.
Finally, you need to save the new content widget by clicking the Save and Close button.
Add The Widget
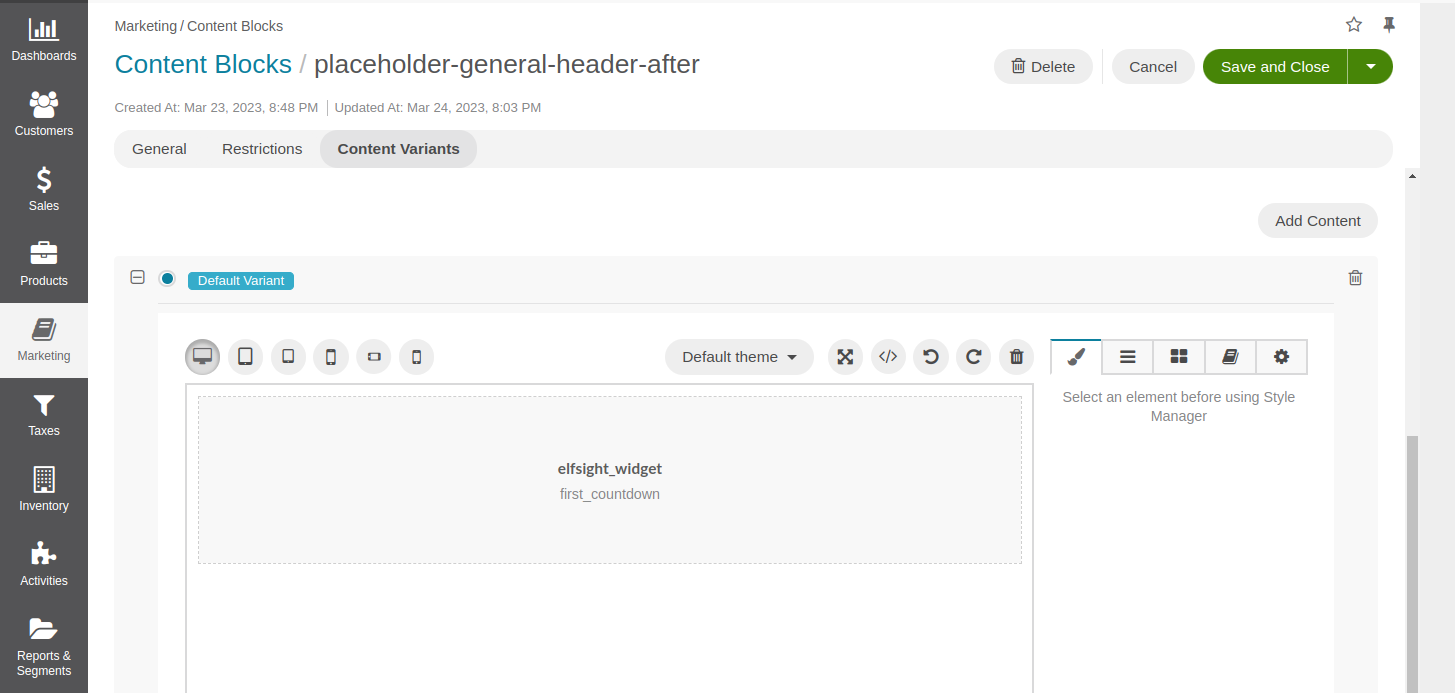
Now, you can add your new content widget to any place that supports content blocks. For example, if you want it to
always be presented in the application header you can use placeholder-general-header-after content block. You need to
open the list of content blocks under Marketing > Content Blocks, find the required content block, edit it, and add
new content widget to this block.
Then you have to save this content block, go to the storefront, and verify that the new widget is properly rendered in the header.
How To Thank The Author
If this bundle helped you and you are feeling generous today, then you can thank the author and support this initiative using one of the following buttons.

