trendyminds / places
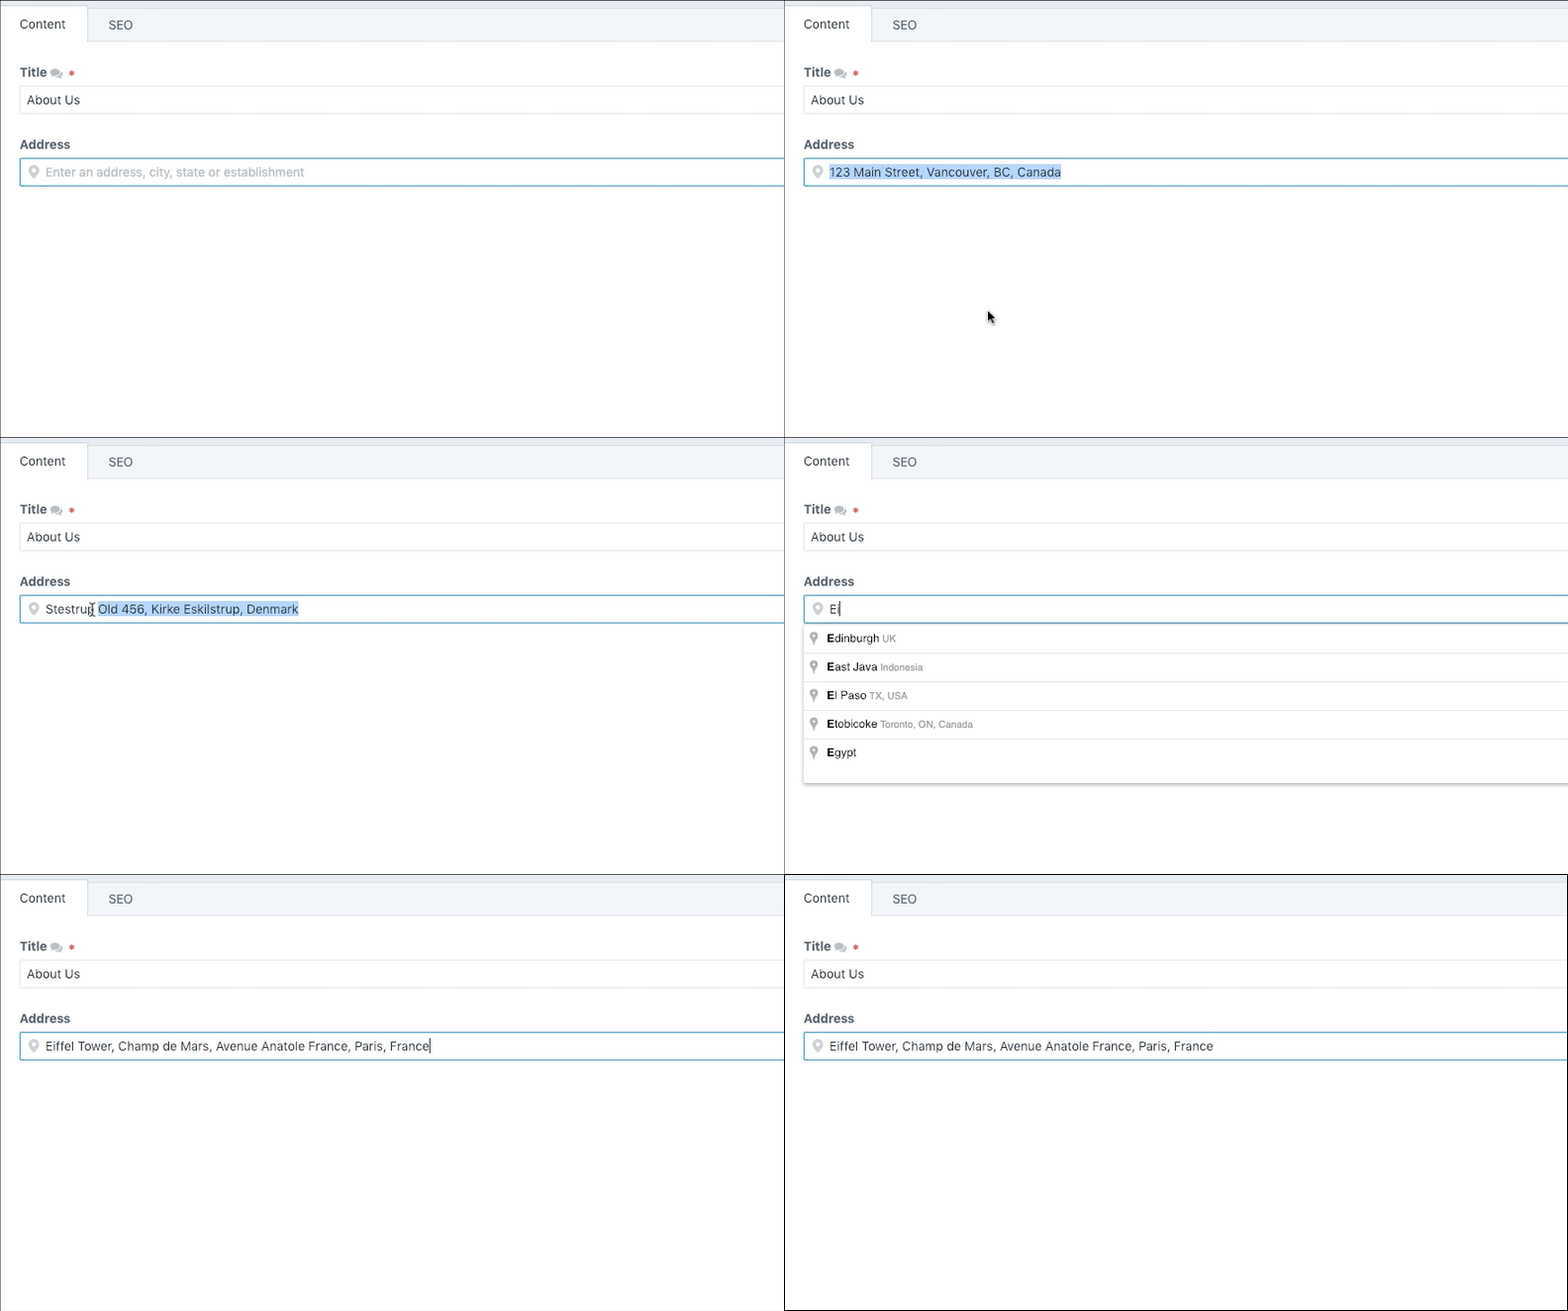
Geocode your content using Google's Place Autocomplete field
Installs: 45
Dependents: 0
Suggesters: 0
Security: 0
Stars: 0
Watchers: 3
Forks: 0
Open Issues: 4
Type:craft-plugin
pkg:composer/trendyminds/places
Requires
- craftcms/cms: ^3.0.0-RC1
This package is auto-updated.
Last update: 2026-02-05 11:32:17 UTC
README
Geocode your content using Google's Place Autocomplete field
Why Places?
Places solely exists to geotag your content so you may use the latitude/longitude, street, city, state, zip, etc in whatever way you choose.
Template Usage
Once you have data entered into your Places field type you can query it using the following syntax:
{{entry.yourField.place}}
{{entry.yourField.city}}
{{entry.yourField.state}}
{{entry.yourField.zip}}
{{entry.yourField.country}}
{{entry.yourField.lat}}
{{entry.yourField.lng}}
Plotting Places onto a map
Due to license restrictions, if you plot the data onto a map it must be a Google Map. From the Places API Policies as of 2019-02-14:
You can display Places API results on a Google Map, or without a map. If you want to display Places API results on a map, then these results must be displayed on a Google Map. It is prohibited to use Places API data on a map that is not a Google map.
Even with this restriction, the Google Maps API is a fantastic way to take your Places and add them to a map. However, this functionality is outside the scope of this plugin.
Alternative plugins
If you are looking for a more feature-complete tool that handles mapping (and much more) I'd highly recommend Double Secret Agency's Smart Map plugin
Requirements
This plugin requires Craft CMS 3.0.0-beta.23 or later.
Installation
To install the plugin, follow these instructions.
-
Open your terminal and go to your Craft project:
cd /path/to/project -
Then tell Composer to load the plugin:
composer require trendyminds/places -
In the Control Panel, go to Settings → Plugins and click the “Install” button for Places.
Contributing
We welcome anyone and everyone who would like to improve Places to fork it and send in pull requests. To start developing Places:
- Ensure you have Node version 10.x running on your machine
- Clone the repo to your computer
- Run
npm i - Run
npm startto compile the CSS and JS in the mainsrc/resources/directory

