trendyminds / craft-palette
A command palette to easily jump to specific areas within Craft
Installs: 18 373
Dependents: 1
Suggesters: 0
Security: 0
Stars: 11
Watchers: 4
Forks: 1
Open Issues: 0
Type:craft-plugin
pkg:composer/trendyminds/craft-palette
Requires
- php: ^8.2
- craftcms/cms: ^5.0.0
Requires (Dev)
- laravel/pint: ^1.3
- dev-craft-5
- 5.2.4
- 5.2.3
- 5.2.2
- 5.2.1
- 5.2.0
- 5.1.2
- 5.1.1
- 5.1.0
- 5.0.0
- 4.1.2
- 4.1.1
- 4.1.0
- 4.0.6
- 4.0.5
- 4.0.4
- 4.0.3
- 4.0.2
- 4.0.1
- 4.0.0
- 3.2.2
- 3.2.1
- 3.2.0
- 3.1.5
- 3.1.4
- 3.1.3
- 3.1.2
- 3.1.1
- 3.1.0
- 3.0.2
- 3.0.1
- 3.0.0
- 2.0.0
- 1.7.4
- 1.7.3
- 1.7.2
- 1.7.1
- 1.7.0
- 1.6.0
- 1.5.0
- 1.4.0
- 1.3.0
- 1.2.0
- 1.1.0
- 1.0.0
- 0.9.0
- dev-craft-4
- dev-craft-3
- dev-custom-palette-with-tailwind
- dev-headless-ui-palette
- dev-tw-palette-v2
This package is auto-updated.
Last update: 2026-02-19 14:35:44 UTC
README
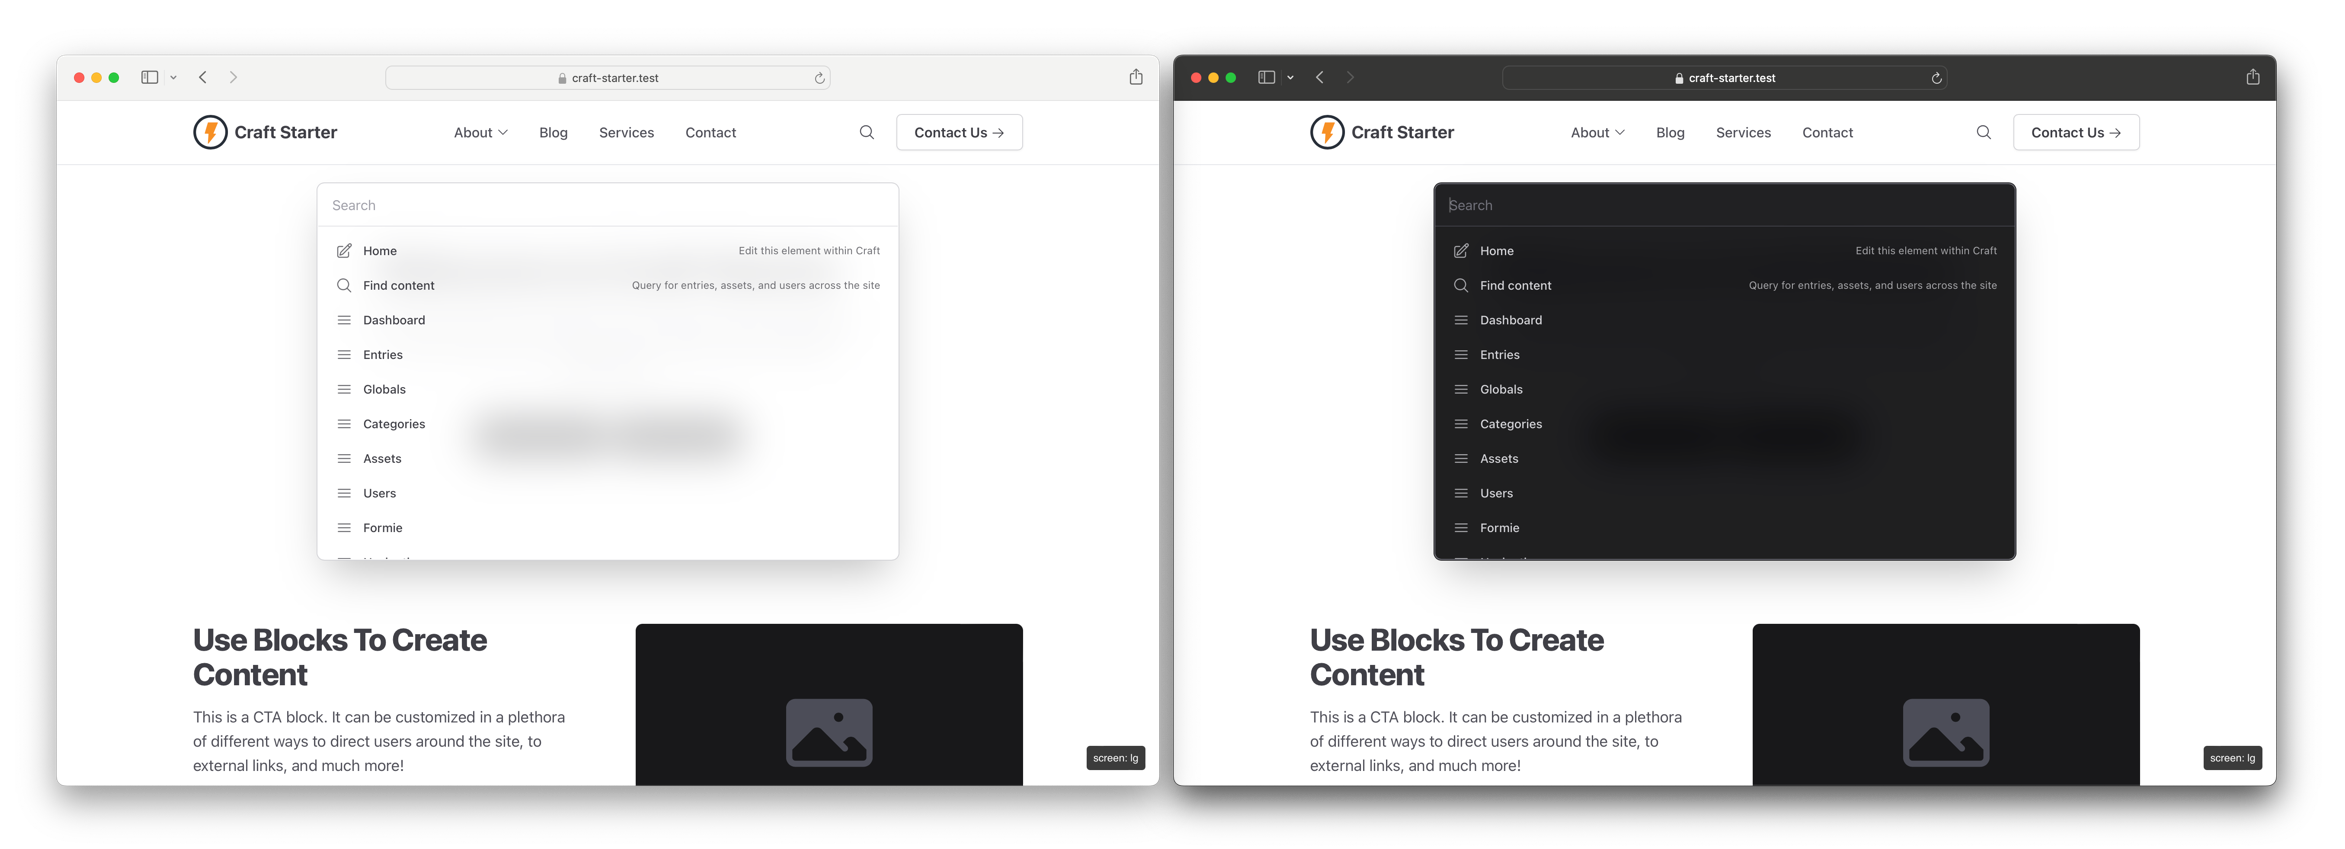
⌨️ CMD+K your way around Craft!
🤔 What is Palette?
Palette allows you to easily jump between areas, entries, assets, and users within Craft without lifting your hands off the keyboard!
If you're a developer, you likely use something like Raycast, Alfred, or Spotlight.
That should also exist in the CMS you use most, right? With Palette you can now jump around with ease!
⚡️ Features
- 🔍 Available on the front-end and in the control panel
- 🌗 Light and dark mode support
- ⭐️ Zero setup necessary; just install and enable
- 🏎 Compatible with full-page static caching strategies like Blitz
- 🔐 Actions change based on user permissions and if admin changes are allowed
- 🎛️ Change contexts to filter actions or search your content
- 🔌 Plugins that register navigation links, settings areas, and utilities are included automatically
- 💅 Add your own custom URLs via the config file (Craft 4+ only)
📦 Installing
Install Palette one of two ways:
- Install via Craft's Plugin Store
- Run
composer require trendyminds/craft-paletteand enable the plugin from "Settings > Plugins" - Optionally, you can configure Palette by adding a
config/palette.phpfile and modifying the default options
🤝 Contributing
If you would like to contribute to Palette we tried to make it as easy as possible:
- Clone the repo
- Run
npm ito install the Node dependencies - Run
npm run devto begin the watch task - Make your changes
- Run
npm run buildto compile and minify the CSS and JS - Submit a PR!

