torrix / laravel-uikit
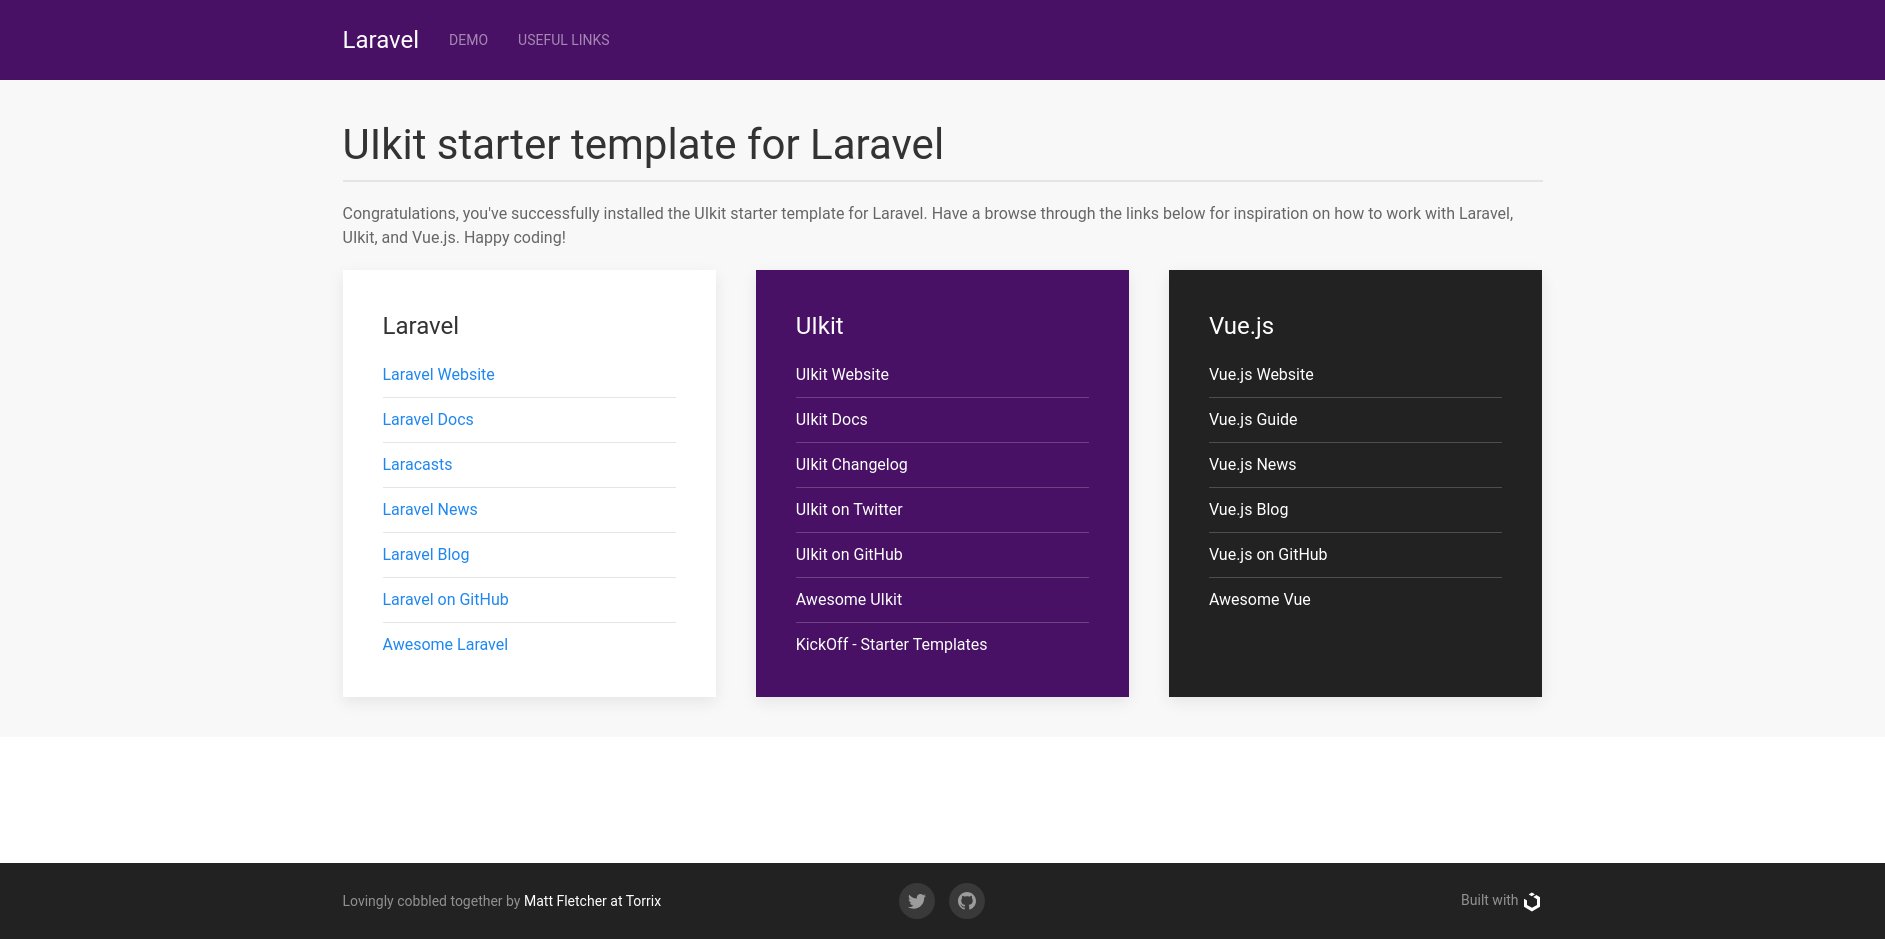
UIkit starter template for Laravel
Maintainers
Requires
- php: ^8.2
- illuminate/support: ^10.0
This package is auto-updated.
Last update: 2026-05-27 11:43:10 UTC
README
Including authentication scaffolding for Laravel Fortify
Out of the box, Laravel ships with a default welcome template built with Tailwind CSS. On top of the base framework, Laravel JetStream provides two user interfaces (your choice of Laravel Livewire or InertiaJS) for login and register pages whilst Laravel Fortify provides the authentication backend.
Although Tailwind CSS is quickly gaining popularity, many people, like me, prefer a more traditional front-end framework, like Bootstrap, Foundation, or Bulma. I choose UIkit by YOOtheme because I found it to be the most modern, clean, well-thought-out, and modular framework available.
Why UIkit?
I've used UIkit for just about every project I've worked on in the last few years, for both websites and web applications, from tiny single-page landing sites, to massive web applications with thousands of users.
This package enhances Laravel with a starter template for UIkit, and gives you everything you need to start your next web project.
What's included?
- UIkit package (installed via composer)
- Sass starter file, to customise your UIkit CSS
- JavaScript to load UIkit libraries
- Welcome page
- UIkit demo page
- Optional views for:
- Log In
- Register
- Forgot Password
- Reset Password
- Verify Email
What's still to come?
- Profile pages
- Two-factor authentication
Getting Started
These instructions will get you a copy of the project up and running on your local machine for development and testing purposes. See Deployment for notes on how to deploy the project on a live system.
Prerequisites
To begin, you'll need a fresh install of Laravel 10+. Adding this to an existing project is not recommended and may cause issues. For full instructions on installing Laravel, refer to the Laravel installation docs, but something like the following will get you up and running:
composer global require laravel/installer

laravel new mysite

cd mysite
Installing this preset
To turn the base Laravel installation into a UIkit site, follow the steps below.
- Include this repository into your composer dependencies:
composer require torrix/laravel-uikit
- Run the artisan command to publish the necessary files into your Laravel install. It will overwrite welcome.blade.php, so do not run this on established projects with changes made to that file.
php artisan vendor:publish --provider="Torrix\LaravelUikitServiceProvider" --force
- (optional) Include Laravel Fortify, if you want to make use of the
ready-made authentication system. You will need to create a database, and
configure the file
.envwith the correct credentials for it.
composer require laravel/fortify

php artisan vendor:publish --provider="Laravel\Fortify\FortifyServiceProvider"

php artisan migrate
Add in config/app.php:
 'providers' => [
        // ...
        App\Providers\FortifyServiceProvider::class,
    ],
- Run NPM to build your CSS and JS assets using Laravel Mix:
npm install && npm run dev
Sometimes, npm run dev needs to be run twice to complete the installation.
Read the output carefully to see if this is the case.
- Run the built-in development server
php artisan serve
Your new site will be served at http://localhost:8000.
Developing with UIkit
To get started in UIkit, read their excellent docs. The examples and tests provided should give you all the help you need. To get an idea of what UIkit is capable of, I highly recommend the KickOff starter templates for inspiration.
To start customising UIkit to your own needs, take a look in
app.scss. In there, you will find the
standard UIkit imports, and by way of a simple example, I've changed the
default blue primary colour to a nice purple shade, just to show what's
possible in almost no time at all. Try changing it to another colour, and
then running npm run dev to rebuild the CSS, and see the changes to your
site.
Handy tip
Whilst developing your site, running Laravel Mix in watch mode makes it easy to make changes and quickly see their results:
npm run watch
Deployment
When deploying to a live server, remember to build your assets in production mode for smaller, faster downloads:
npm run prod
Built With
- UIkit - The beautiful, powerful front-end framework that you'll be delighted to build your next Laravel project with!
- Laravel - The awesome PHP framework that makes all of this worthwhile.
- Laravel Fortify - The backend Laravel 9 uses to power its authentication system.
Author
Matt Fletcher @ Torrix
License
This template is open-source software licensed under the MIT license - see the LICENSE.md file for details