rpsimao / beautymail
Send beautiful html emails with Laravel
Installs: 150
Dependents: 0
Suggesters: 0
Security: 0
Stars: 0
Watchers: 0
Forks: 208
Language:Blade
pkg:composer/rpsimao/beautymail
Requires
- php: >=5.4.0
- illuminate/support: 4.*|5.*|^6.0.0|^7.0.0|^8.0.0|^9.0.0|^10.0.0|^11.0.0
- pelago/emogrifier: ^3.0|^4.0|^5.0|^6.0|^7.0|^7.2
README
Beautymail makes it super easy to send beautiful responsive HTML emails. It's made for things like:
- Welcome emails
- Password reminders
- Invoices
- Data exports
If you're on Laravel 4, use the 1.x branch.
Index:
Templates
There are tons of great looking HTML email templates out there. Campaign Monitor and Mailchimp has released hundreds for free. It is pretty simple to adapt a template to Beautymail. If you do, please send a PR.
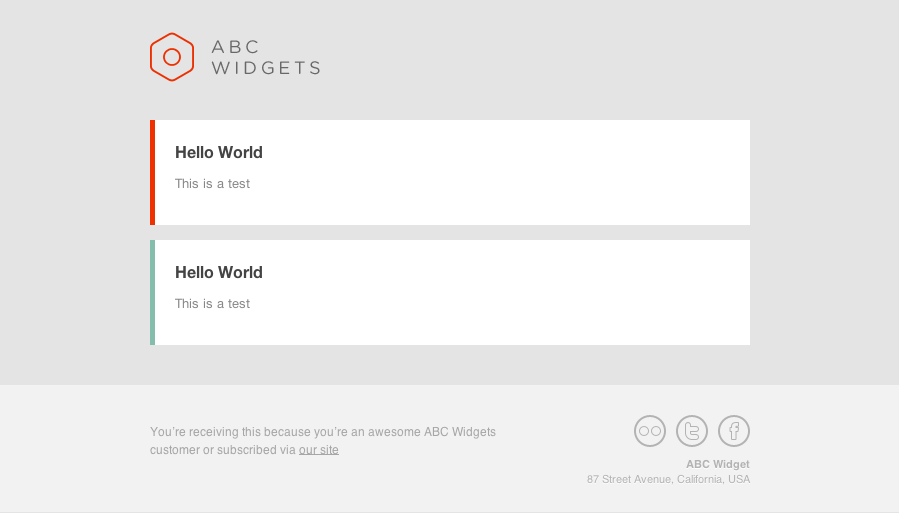
Widgets by Campaign Monitor:
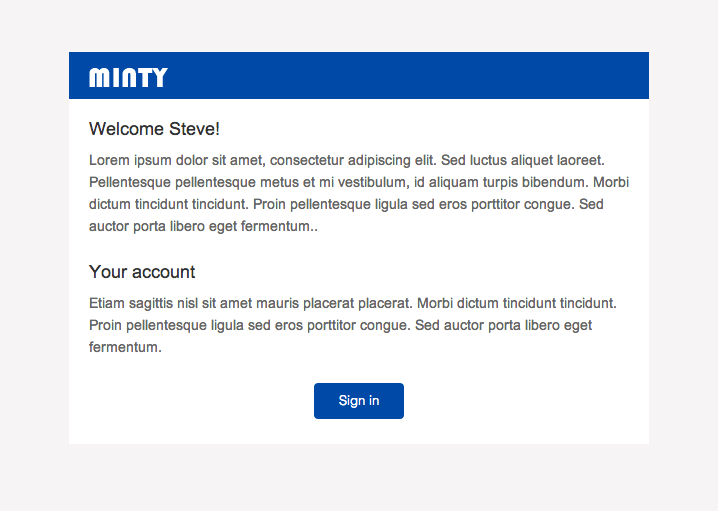
Minty by Stamplia:
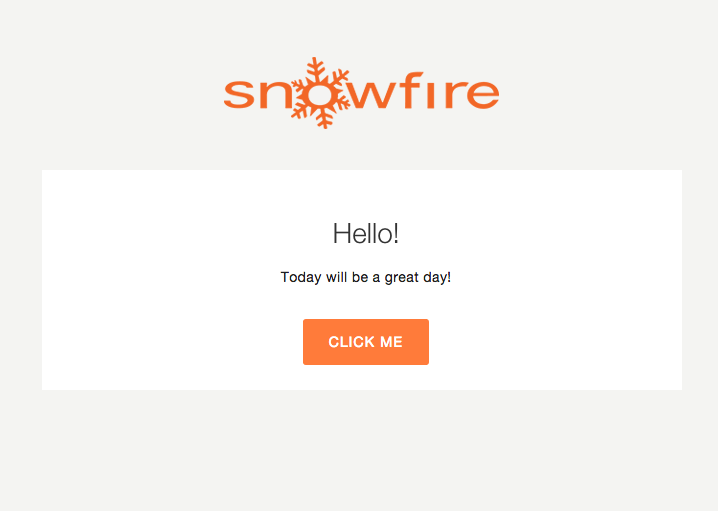
Sunny
Installation
Add the package to your composer.json by running:
composer require snowfire/beautymail
When it's installed, publish assets to your public folder
php artisan vendor:publish --provider="Snowfire\Beautymail\BeautymailServiceProvider"
Configure your settings such as logo url and social links in config/beautymail.php
Send your first Beauty mail
Add this to your routes/web.php
Route::get('/test', function()
{
	$beautymail = app()->make(Snowfire\Beautymail\Beautymail::class);
	$beautymail->send('emails.welcome', [], function($message)
	{
		$message
			->from('bar@example.com')
			->to('foo@example.com', 'John Smith')
			->subject('Welcome!');
	});

});
Now create resources/views/emails/welcome.blade.php
@extends('beautymail::templates.widgets')

@section('content')

	@include('beautymail::templates.widgets.articleStart')

		<h4 class="secondary"><strong>Hello World</strong></h4>
		<p>This is a test</p>

	@include('beautymail::templates.widgets.articleEnd')


	@include('beautymail::templates.widgets.newfeatureStart')

		<h4 class="secondary"><strong>Hello World again</strong></h4>
		<p>This is another test</p>

	@include('beautymail::templates.widgets.newfeatureEnd')

@stop
That's it!
Options
Template: Widgets
To change colours for the different segments, pass a colour variable:
@include('beautymail::templates.widgets.articleStart', ['color' => '#0000FF'])
Minty template example
@extends('beautymail::templates.minty')

@section('content')

	@include('beautymail::templates.minty.contentStart')
		<tr>
			<td class="title">
				Welcome Steve
			</td>
		</tr>
		<tr>
			<td width="100%" height="10"></td>
		</tr>
		<tr>
			<td class="paragraph">
				This is a paragraph text
			</td>
		</tr>
		<tr>
			<td width="100%" height="25"></td>
		</tr>
		<tr>
			<td class="title">
				This is a heading
			</td>
		</tr>
		<tr>
			<td width="100%" height="10"></td>
		</tr>
		<tr>
			<td class="paragraph">
				More paragraph text.
			</td>
		</tr>
		<tr>
			<td width="100%" height="25"></td>
		</tr>
		<tr>
			<td>
				@include('beautymail::templates.minty.button', ['text' => 'Sign in', 'link' => '#'])
			</td>
		</tr>
		<tr>
			<td width="100%" height="25"></td>
		</tr>
	@include('beautymail::templates.minty.contentEnd')

@stop
Ark template example
@extends('beautymail::templates.ark')

@section('content')

    @include('beautymail::templates.ark.heading', [
		'heading' => 'Hello World!',
		'level' => 'h1'
	])

    @include('beautymail::templates.ark.contentStart')

        <h4 class="secondary"><strong>Hello World</strong></h4>
        <p>This is a test</p>

    @include('beautymail::templates.ark.contentEnd')

    @include('beautymail::templates.ark.heading', [
		'heading' => 'Another headline',
		'level' => 'h2'
	])

    @include('beautymail::templates.ark.contentStart')

        <h4 class="secondary"><strong>Hello World again</strong></h4>
        <p>This is another test</p>

    @include('beautymail::templates.ark.contentEnd')

@stop
Sunny template example
@extends('beautymail::templates.sunny')

@section('content')

    @include ('beautymail::templates.sunny.heading' , [
        'heading' => 'Hello!',
        'level' => 'h1',
    ])

    @include('beautymail::templates.sunny.contentStart')

        <p>Today will be a great day!</p>

    @include('beautymail::templates.sunny.contentEnd')

    @include('beautymail::templates.sunny.button', [
        	'title' => 'Click me',
        	'link' => 'http://google.com'
    ])

@stop
Lumen support
In order to get this working on Lumen follow the installation instructions except for the artisan vendor:publish command, since Lumen does not provide this command. Instead you have to copy the assets folder from vendor/rpsimao/beautymail/public/ to the public folder in your Lumen project manually.
Make sure to also put the beautymail.php config file in the config folder (default available in src/config/settings.php)
Enable mailing in Lumen
After this you will need to install and configure illuminate/mailer with:
composer require illuminate/mail
and add this to your bootstrap/app.php:
$app->withFacades();
$app->register(App\Providers\AppServiceProvider::class);
See this blog post for more details and how to use different mail libraries in lumen:
Configure Beautymail classes and configuration parameters
In order to get Beautymail working on Lumen you need to add the following to your bootstrap/app.php in order to resolve missing config files, parameters and classes (before you register BeautymailServiceProvider):
// Provide required path variables
$app->instance('path.config', env("STORAGE_DIR", app()->basePath()) . DIRECTORY_SEPARATOR . 'config');
$app->instance('path.public', env("STORAGE_DIR", app()->basePath()) . DIRECTORY_SEPARATOR . 'public');

// Enable config for beautymail
$app->configure('beautymail');

// Provide class alliases to resolve Request and Config
class_alias(\Illuminate\Support\Facades\Request::class, "\Request");
class_alias(\Illuminate\Support\Facades\Config::class, "\Config");
Start using Beautymail
Congratulations, you can know start using bBautmail in Lumen. See: Send your first Beauty mail on what to do next.


