fbnkcmaster / xtenant
Make your Laravel app multi-tenant ready easily
Installs: 29
Dependents: 0
Suggesters: 0
Security: 0
Stars: 9
Watchers: 2
Forks: 4
Open Issues: 13
pkg:composer/fbnkcmaster/xtenant
Requires (Dev)
- dev-master
- v0.3.2-beta
- v0.3.1-beta
- v0.3.0-beta
- v0.2.1-beta
- v0.2.0-beta
- v0.1.1-beta
- v0.1.0-beta
- dev-dependabot/npm_and_yarn/minimist-and-minimist-and-mkdirp-1.2.8
- dev-dependabot/composer/symfony/http-kernel-5.4.20
- dev-dependabot/npm_and_yarn/json5-1.0.2
- dev-dependabot/npm_and_yarn/express-4.18.2
- dev-dependabot/npm_and_yarn/qs-and-express-6.11.0
- dev-dependabot/npm_and_yarn/decode-uri-component-0.2.2
- dev-dependabot/npm_and_yarn/loader-utils-and-loader-utils-and-webpack-cli-1.4.2
- dev-develop
- dev-dependabot/npm_and_yarn/moment-2.29.4
- dev-dependabot/npm_and_yarn/eventsource-1.1.1
- dev-dependabot/npm_and_yarn/async-2.6.4
- dev-dependabot/npm_and_yarn/url-parse-1.5.10
- dev-dependabot/npm_and_yarn/follow-redirects-1.14.8
- dev-dependabot/npm_and_yarn/ajv-6.12.6
This package is auto-updated.
Last update: 2026-01-05 13:39:02 UTC
README
xTenant handles everything for you to make your Laravel app multi-tenant ready with ease.
(WARNING: This work still in beta stage, so no warranty to use it in production)
PHILOSOPHY
In summary: "Plug & Play".
Who doesn't like it when "it just works" with no more steps to do and no more annoying configuration changes?
That's the aim of this package: Just "require & setup". With no more steps, no additional configuration, and no mandatory code changing, you get your app multi-tenancy ready, and everything is handled for you to run multiple web apps with one single Laravel installation.
FEATURES
- Easy install
- Console commands and Web interface
- Multiple databases
- Support: MySQL and SQLite
- Subdomain tenants
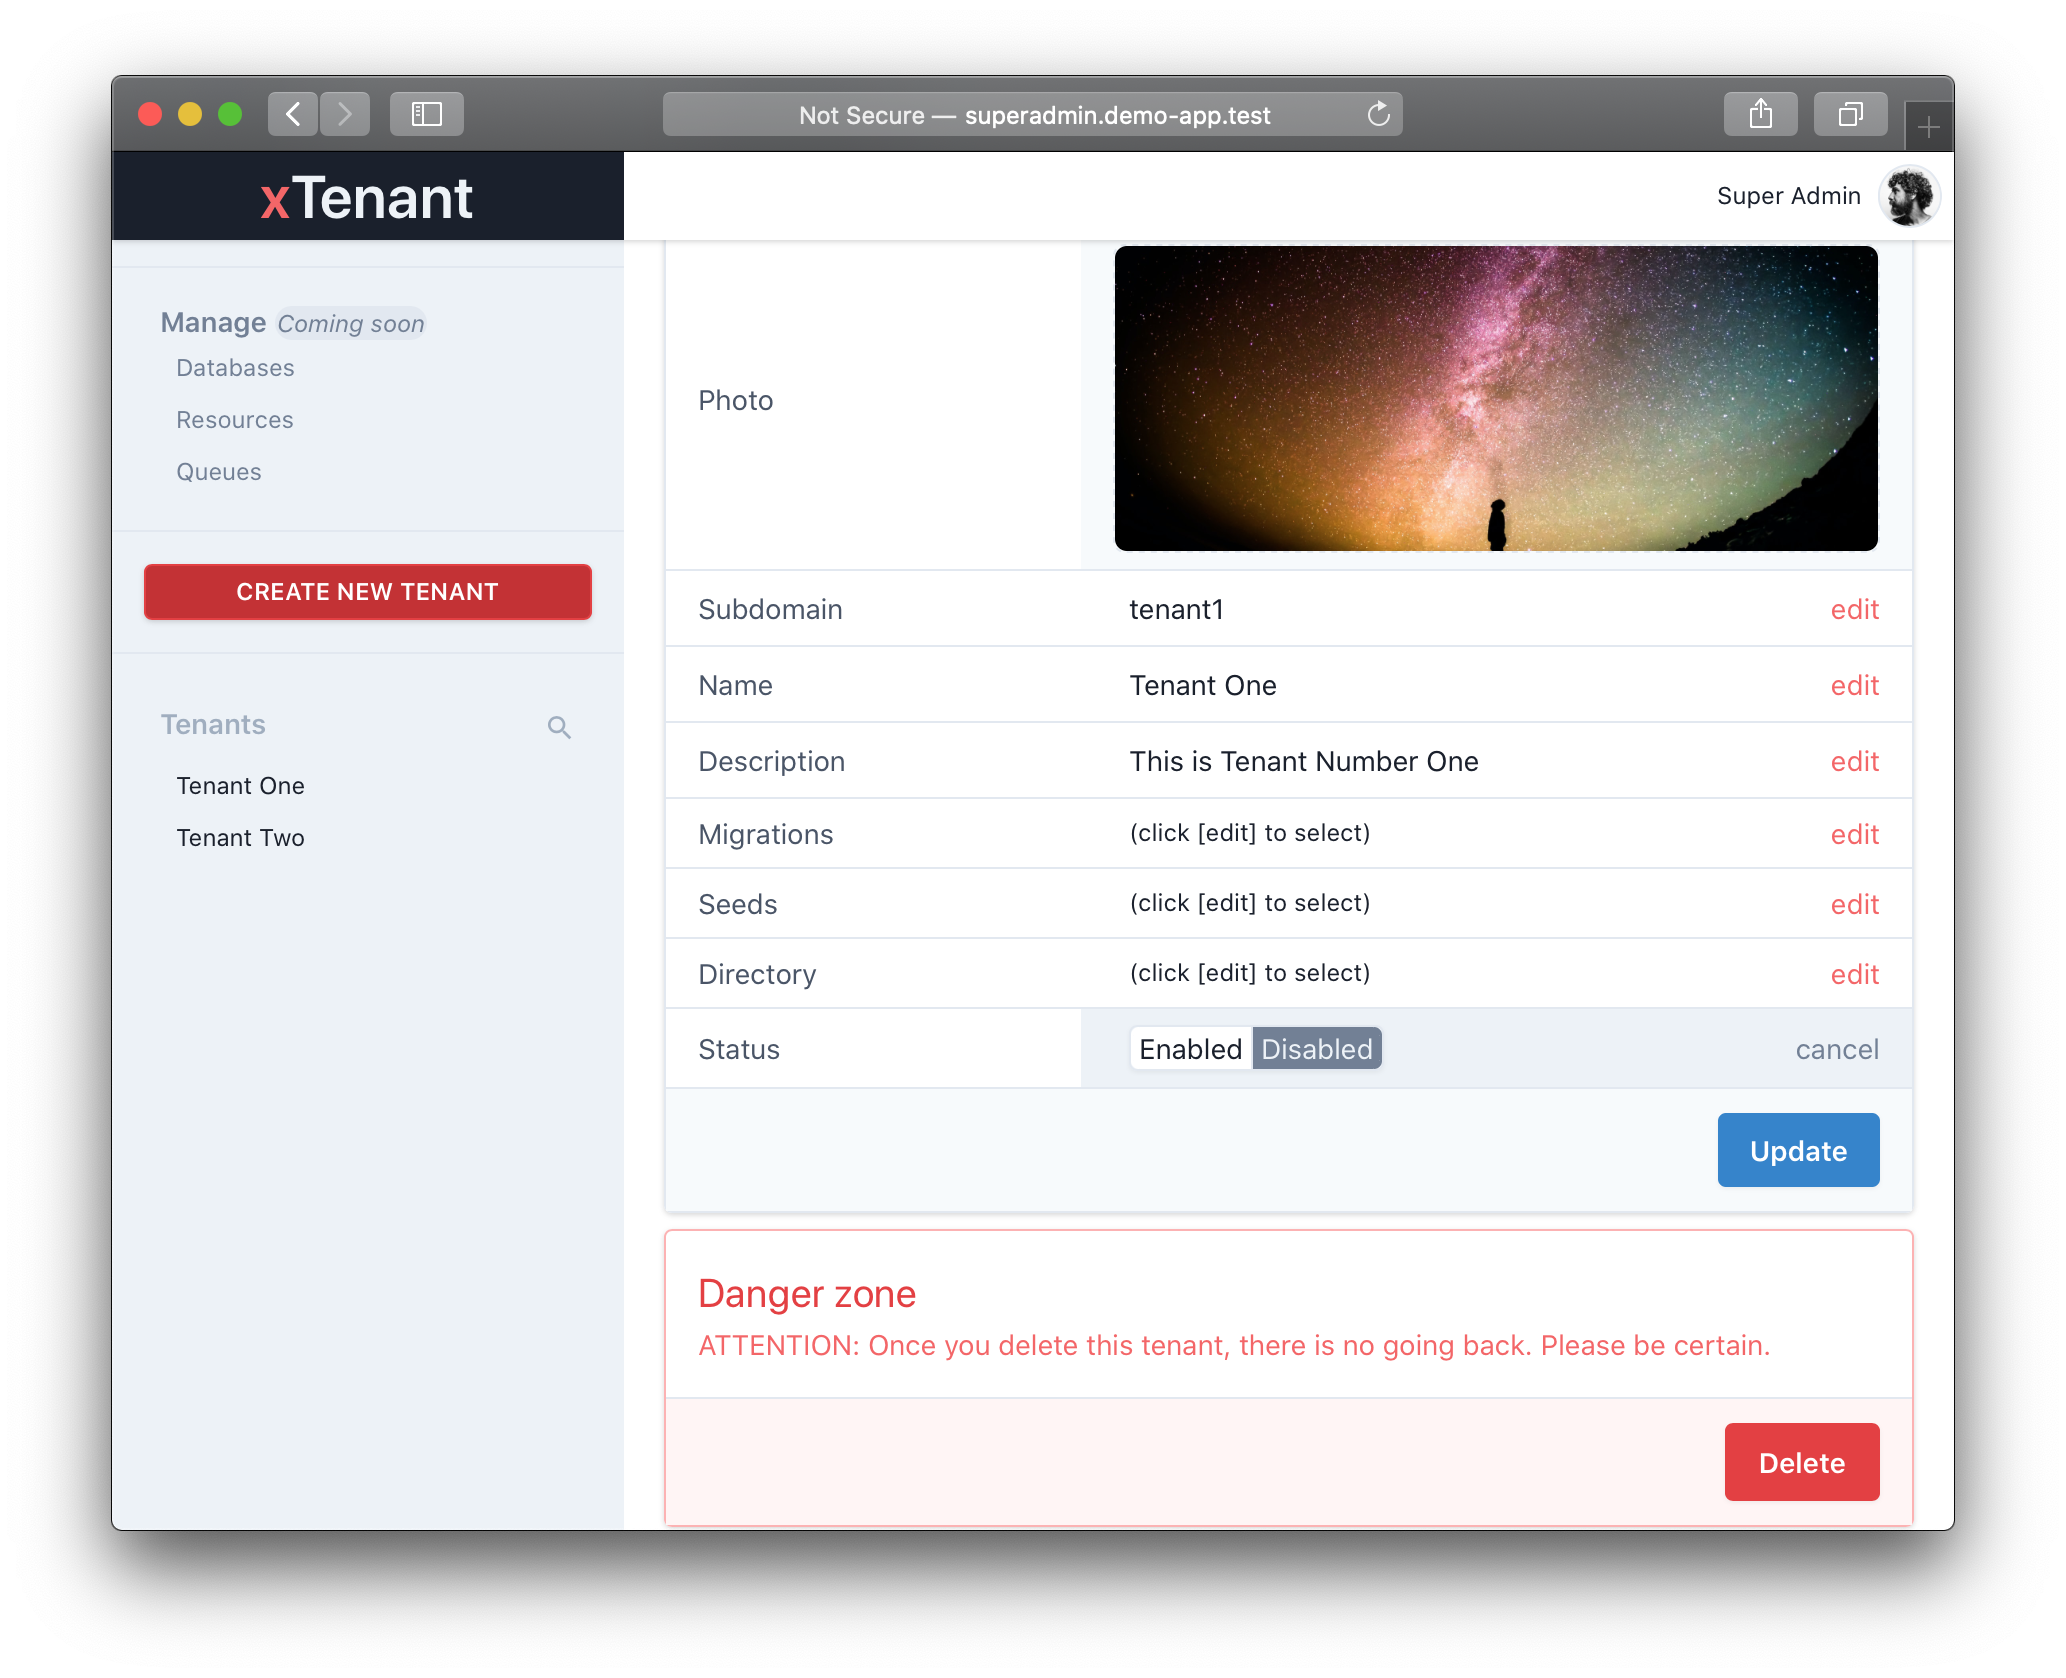
- Manage tenants (name, description, image): Create/Edit/Delete + Enable/Disable
- Backup & restore tenants' DBs & files
INSTALLATION
You can install this package via Composer by running this command in your terminal in the root of your project:
composer require fbnkcmaster/xtenant
GETTING STARTED (with an example)
To get started, I have prepared a demo app to test this package with it.
Go ahead and install the demo-app you can find here and come back to continue:
https://github.com/FBNKCMaster/demo-app
If everything is ok, switch to the repo folder where you have installed demo-app
cd demo-app
Install xTenant package using composer
composer require fbnkcmaster/xtenant
USAGE
Here are the steps and commands you will need to use this package:
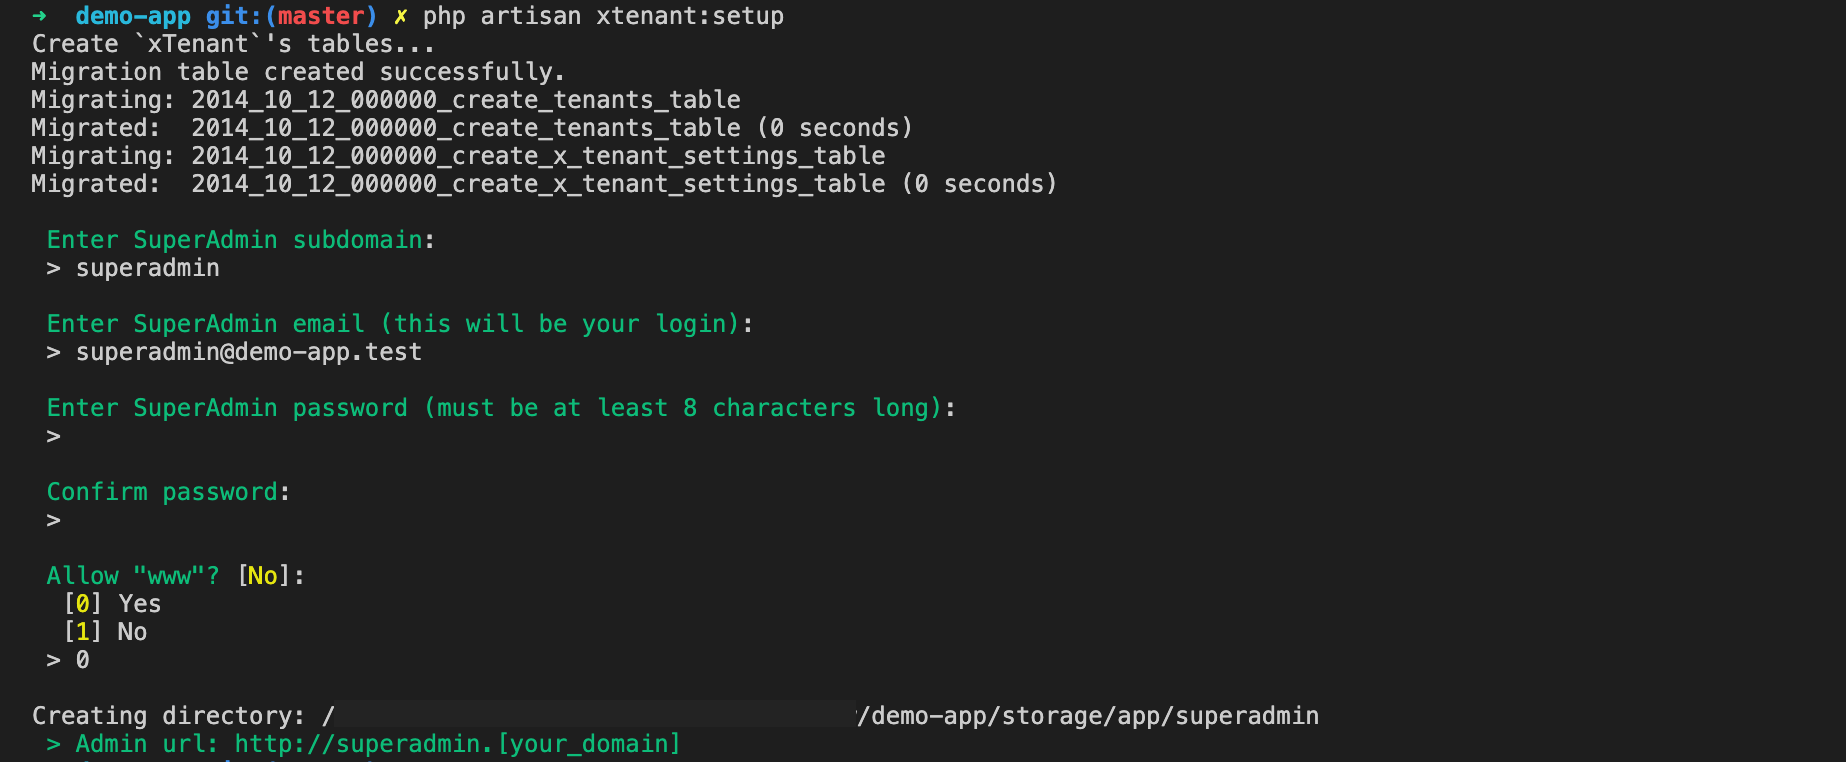
1/ First, setup the package
php artisan xtenant:setup
You will be asked to enter:
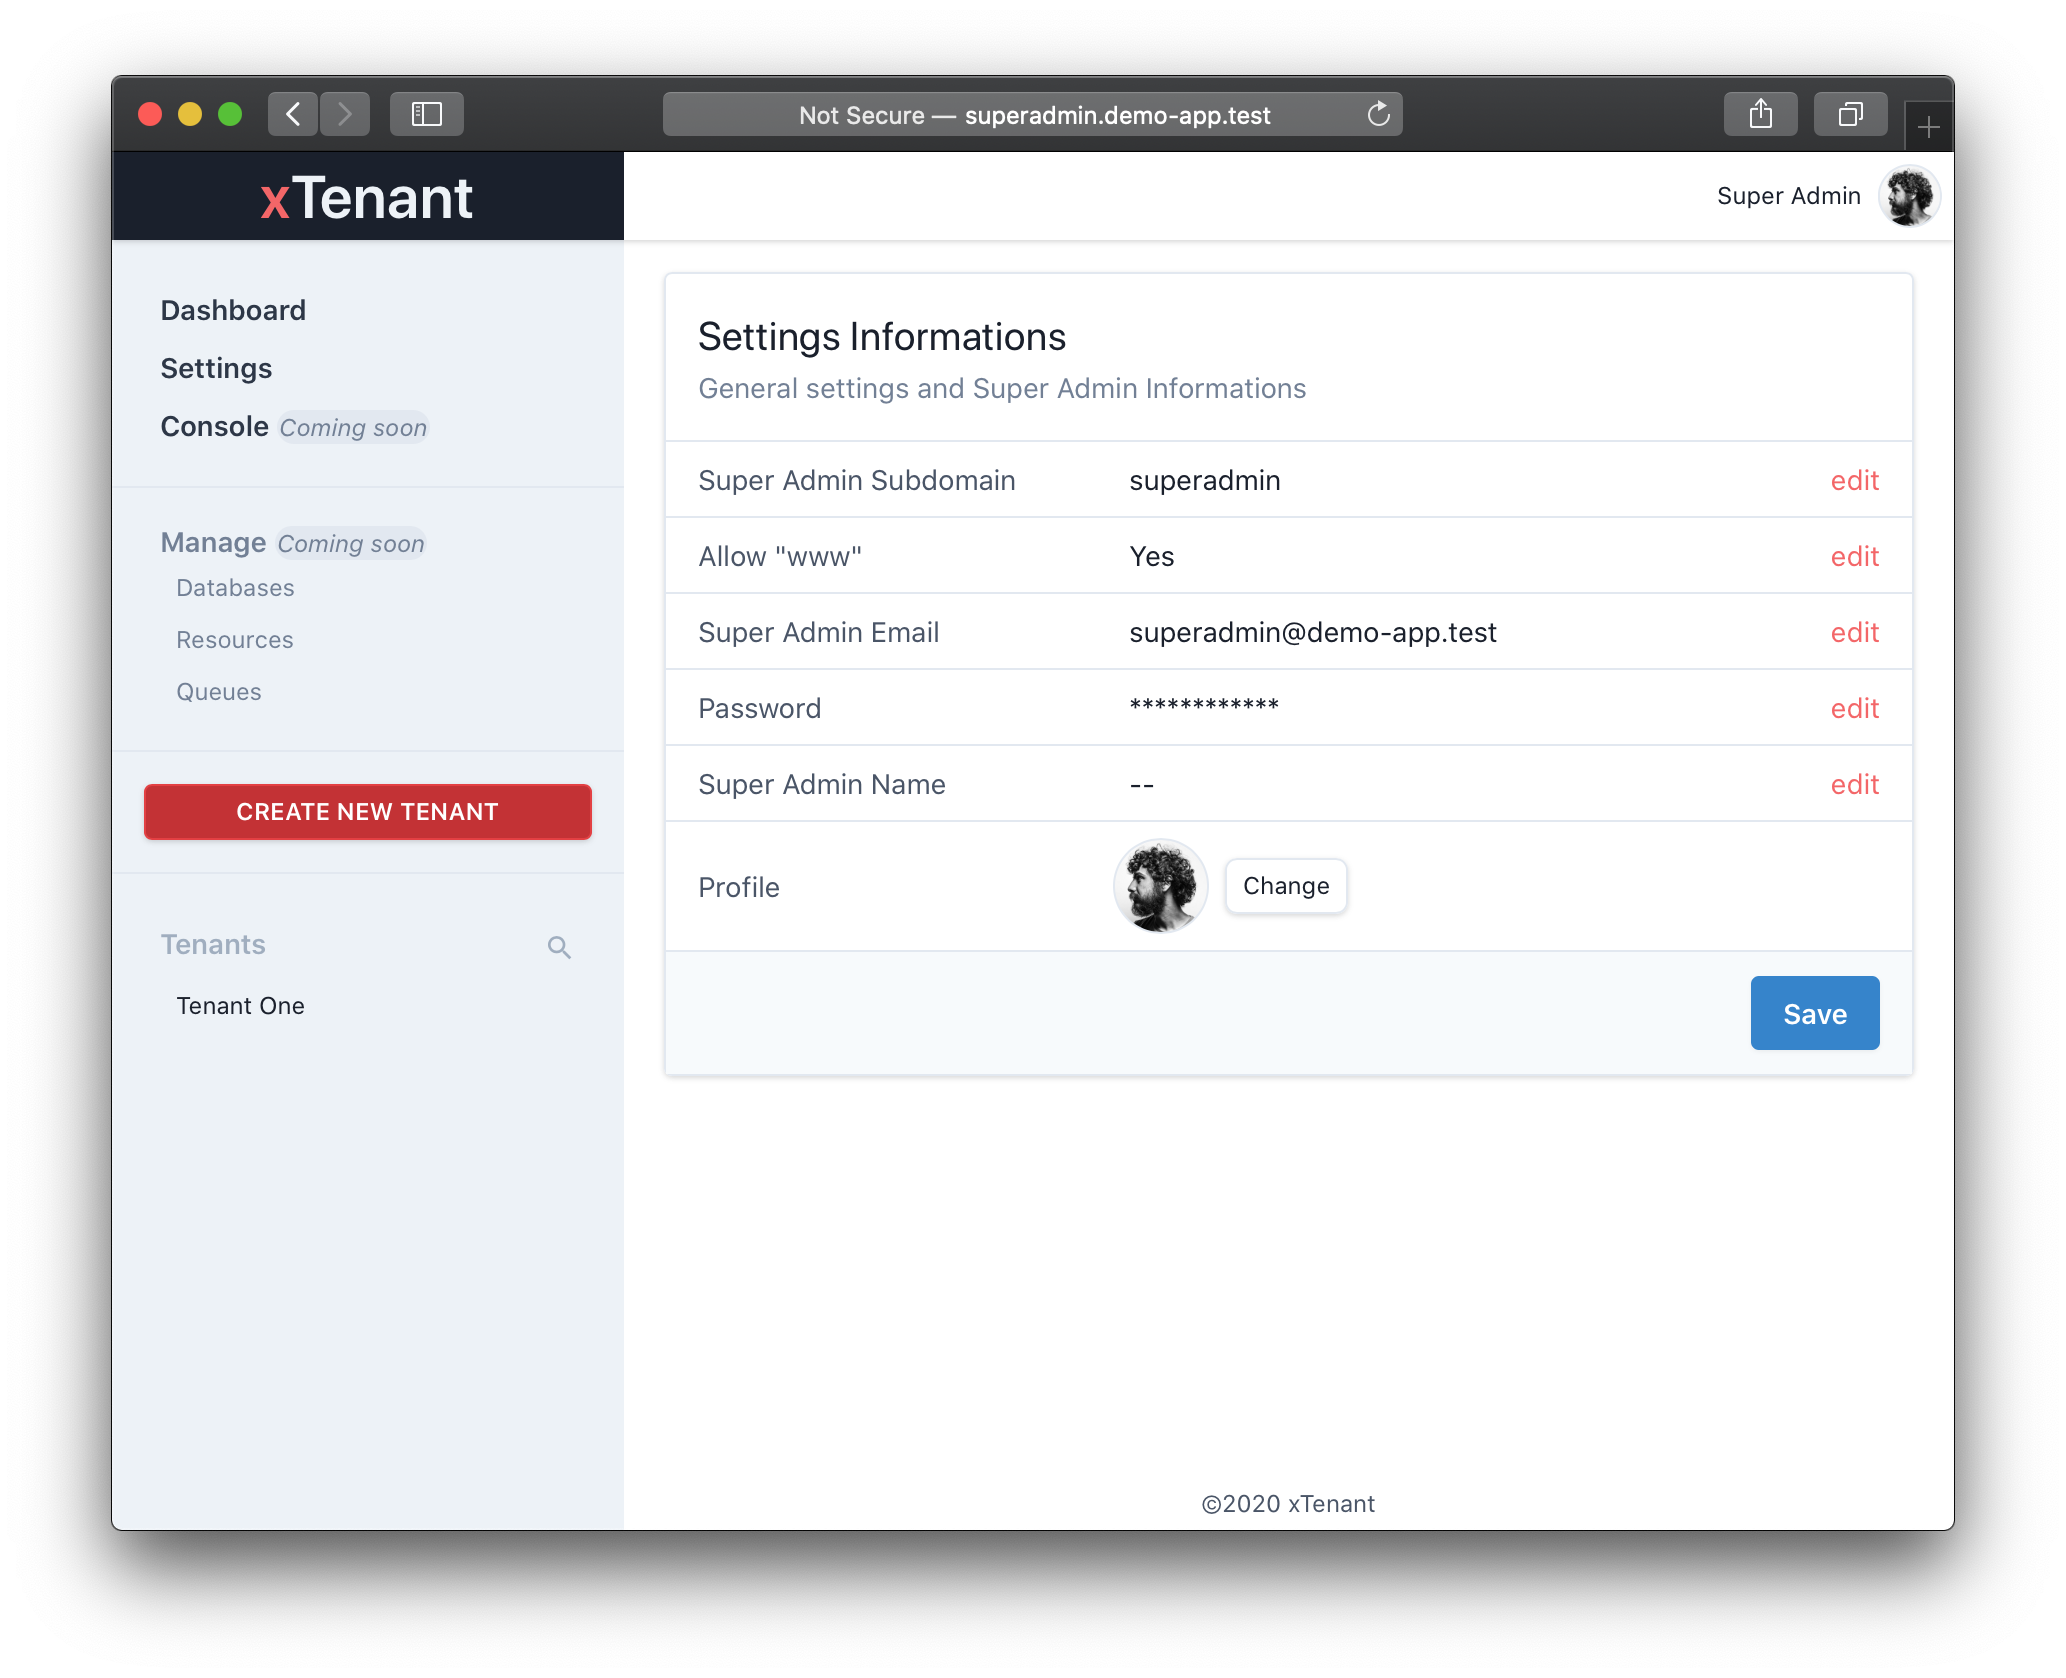
- The [superadmin] subdomain to be able to access SuperAdmin's web interface
- The email address and password of the SuperAdmin
- And finally, if you want to allow "www" for subdomains.
2/ Create your first tenant
You have two options:
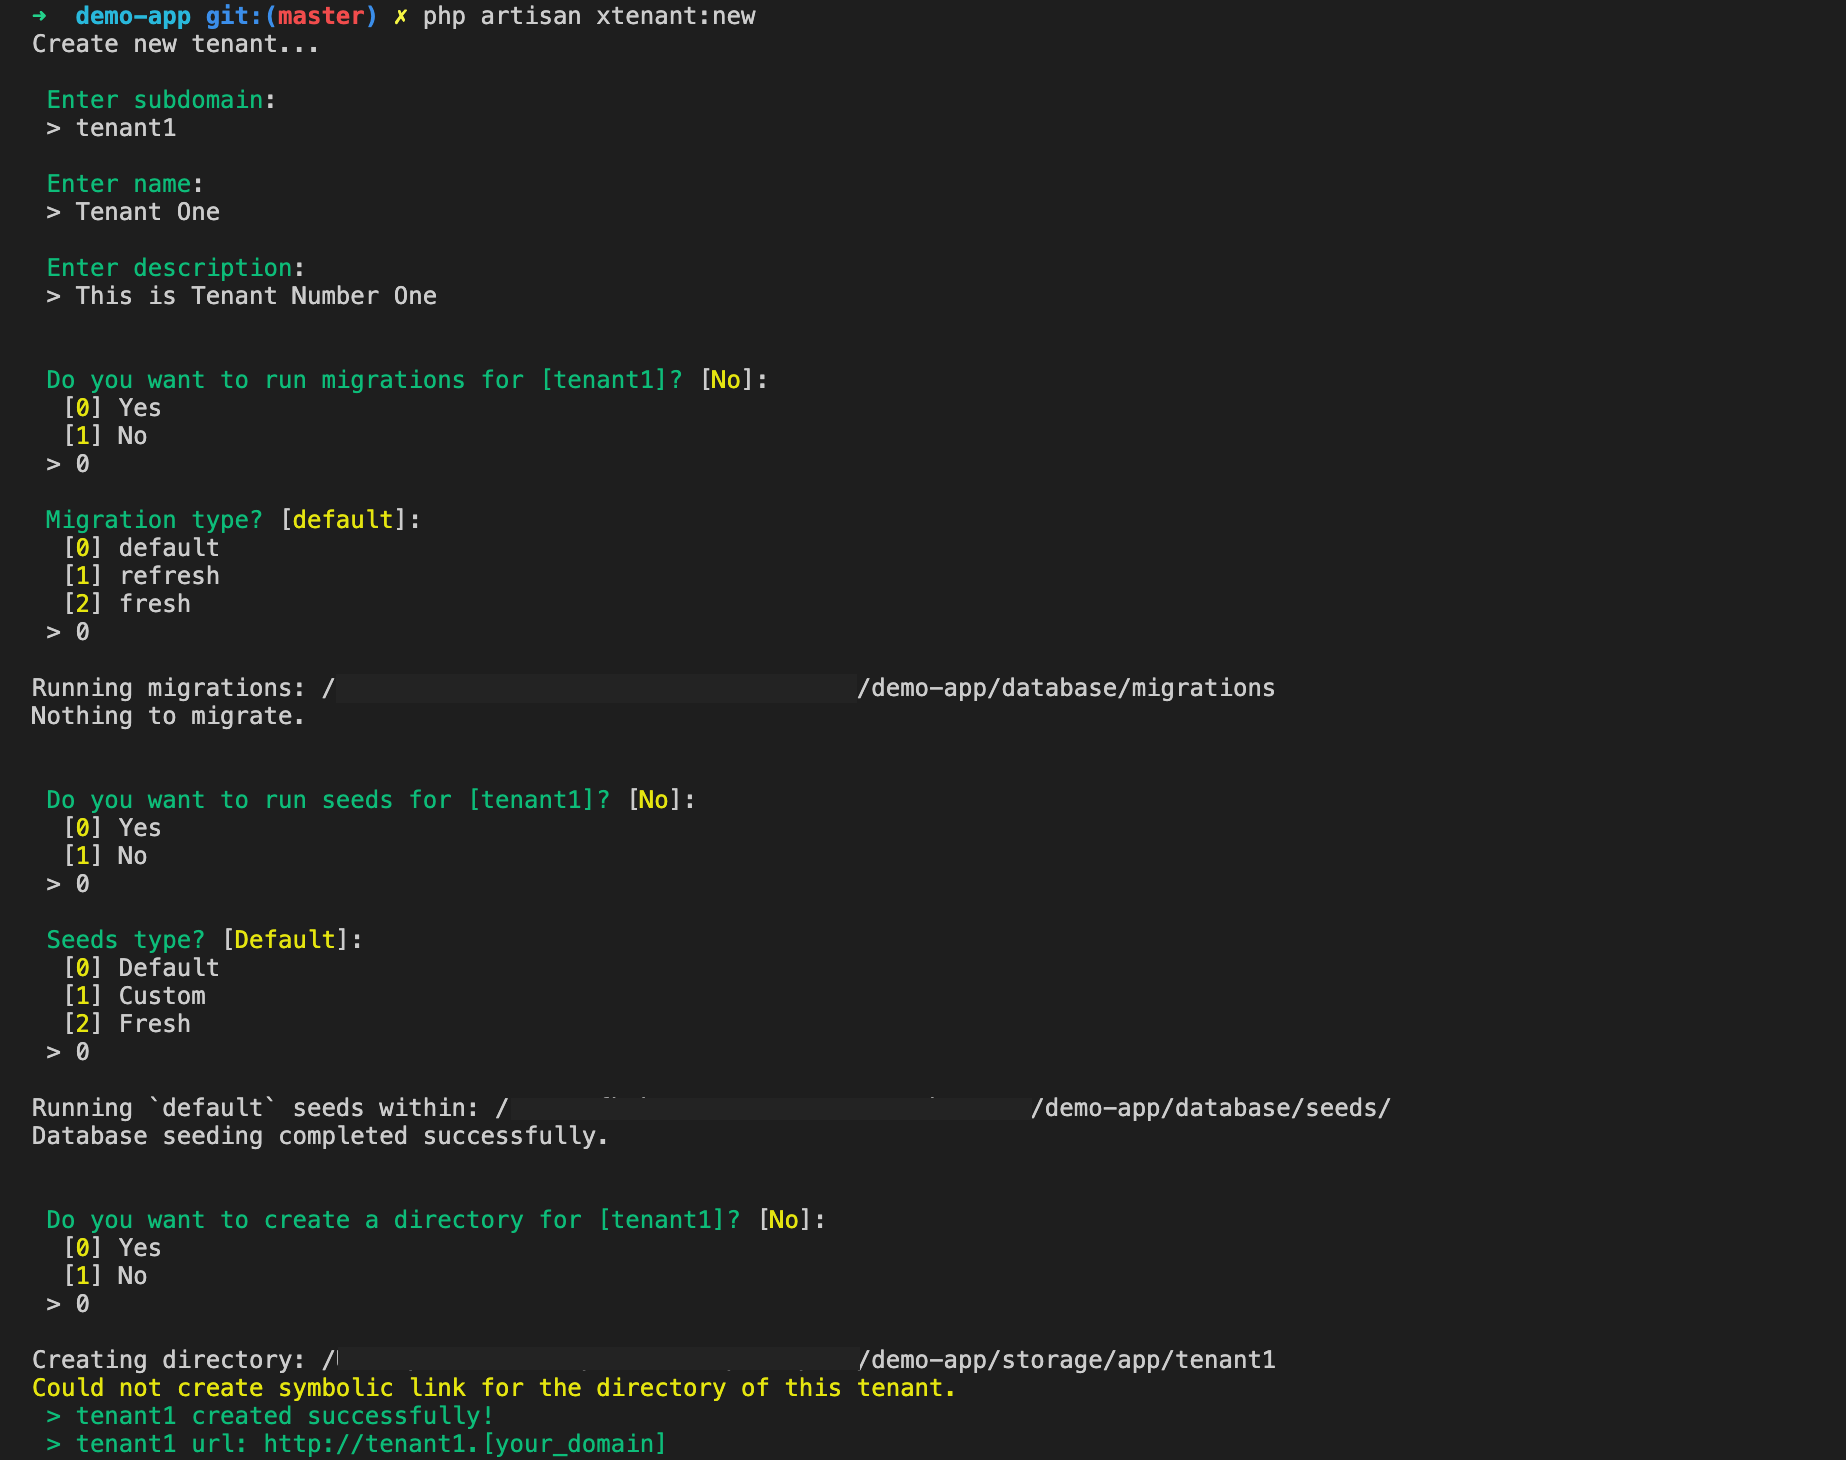
via [ COMMANDS ]
php artisan xtenant:new
You will have to choose a subdomain, a name, and a description for this tenant.
If the subdomain already exists, you will be asked to edit or override it.
Then you will be asked if you want to run migrations, seeds and create a directory for this tenant.
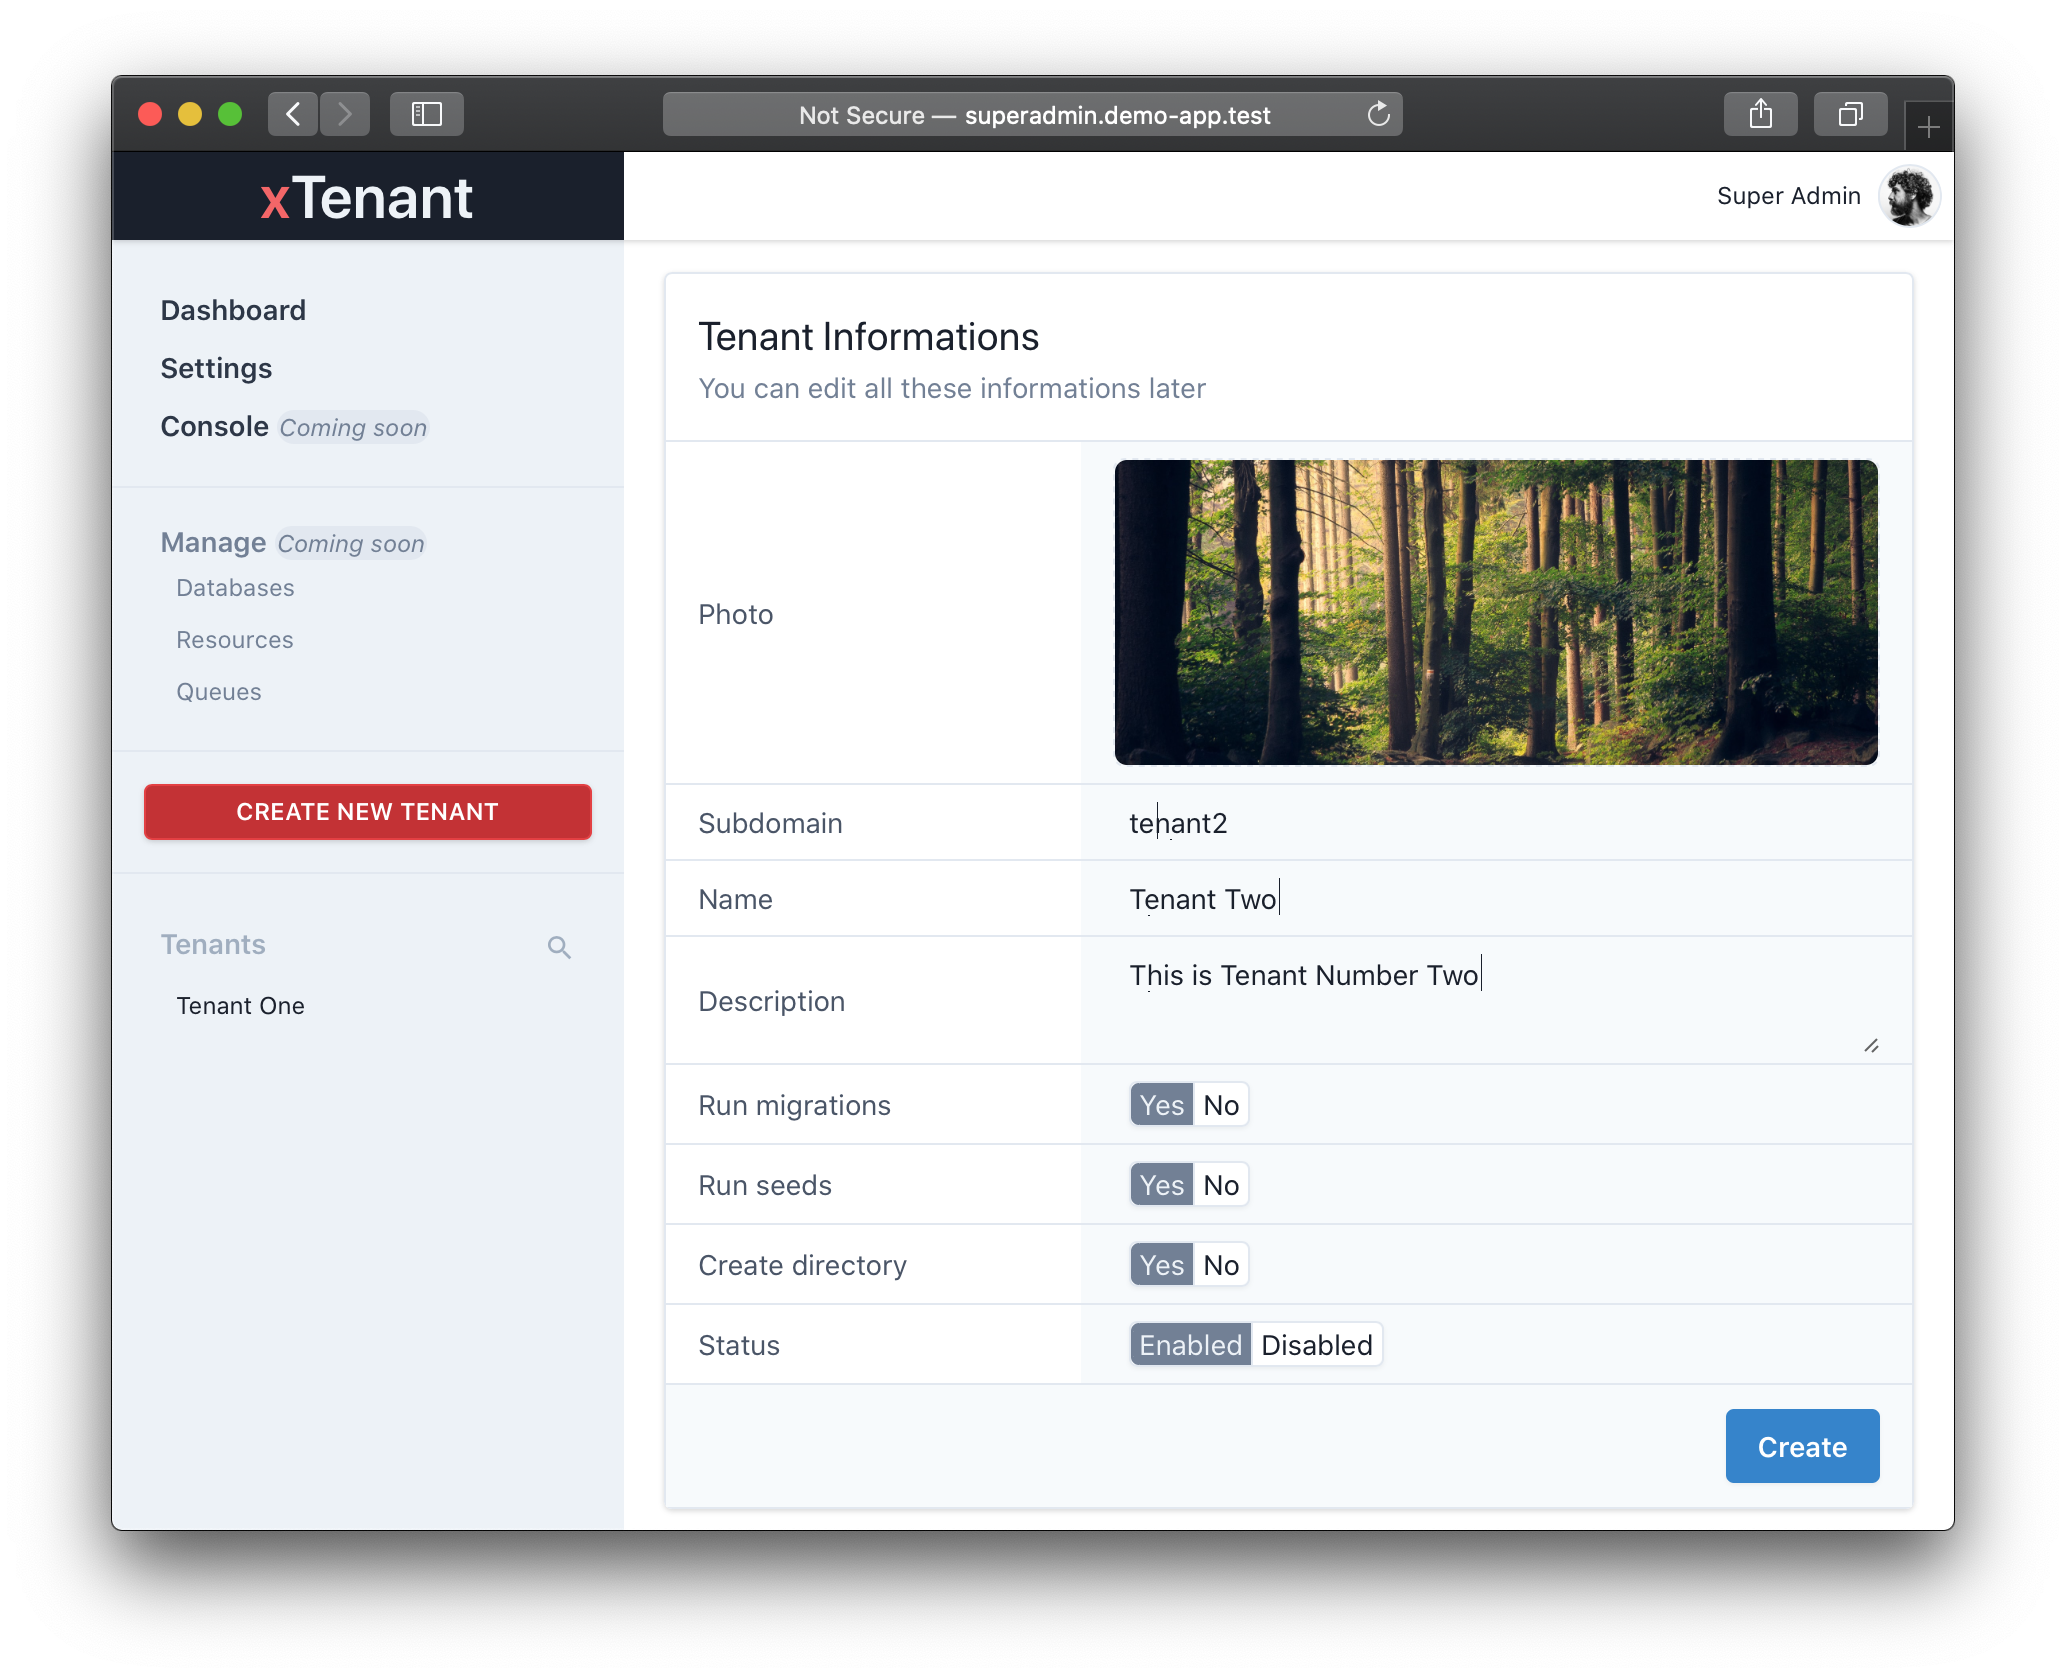
via [ SuperAdmin Web Interface ]
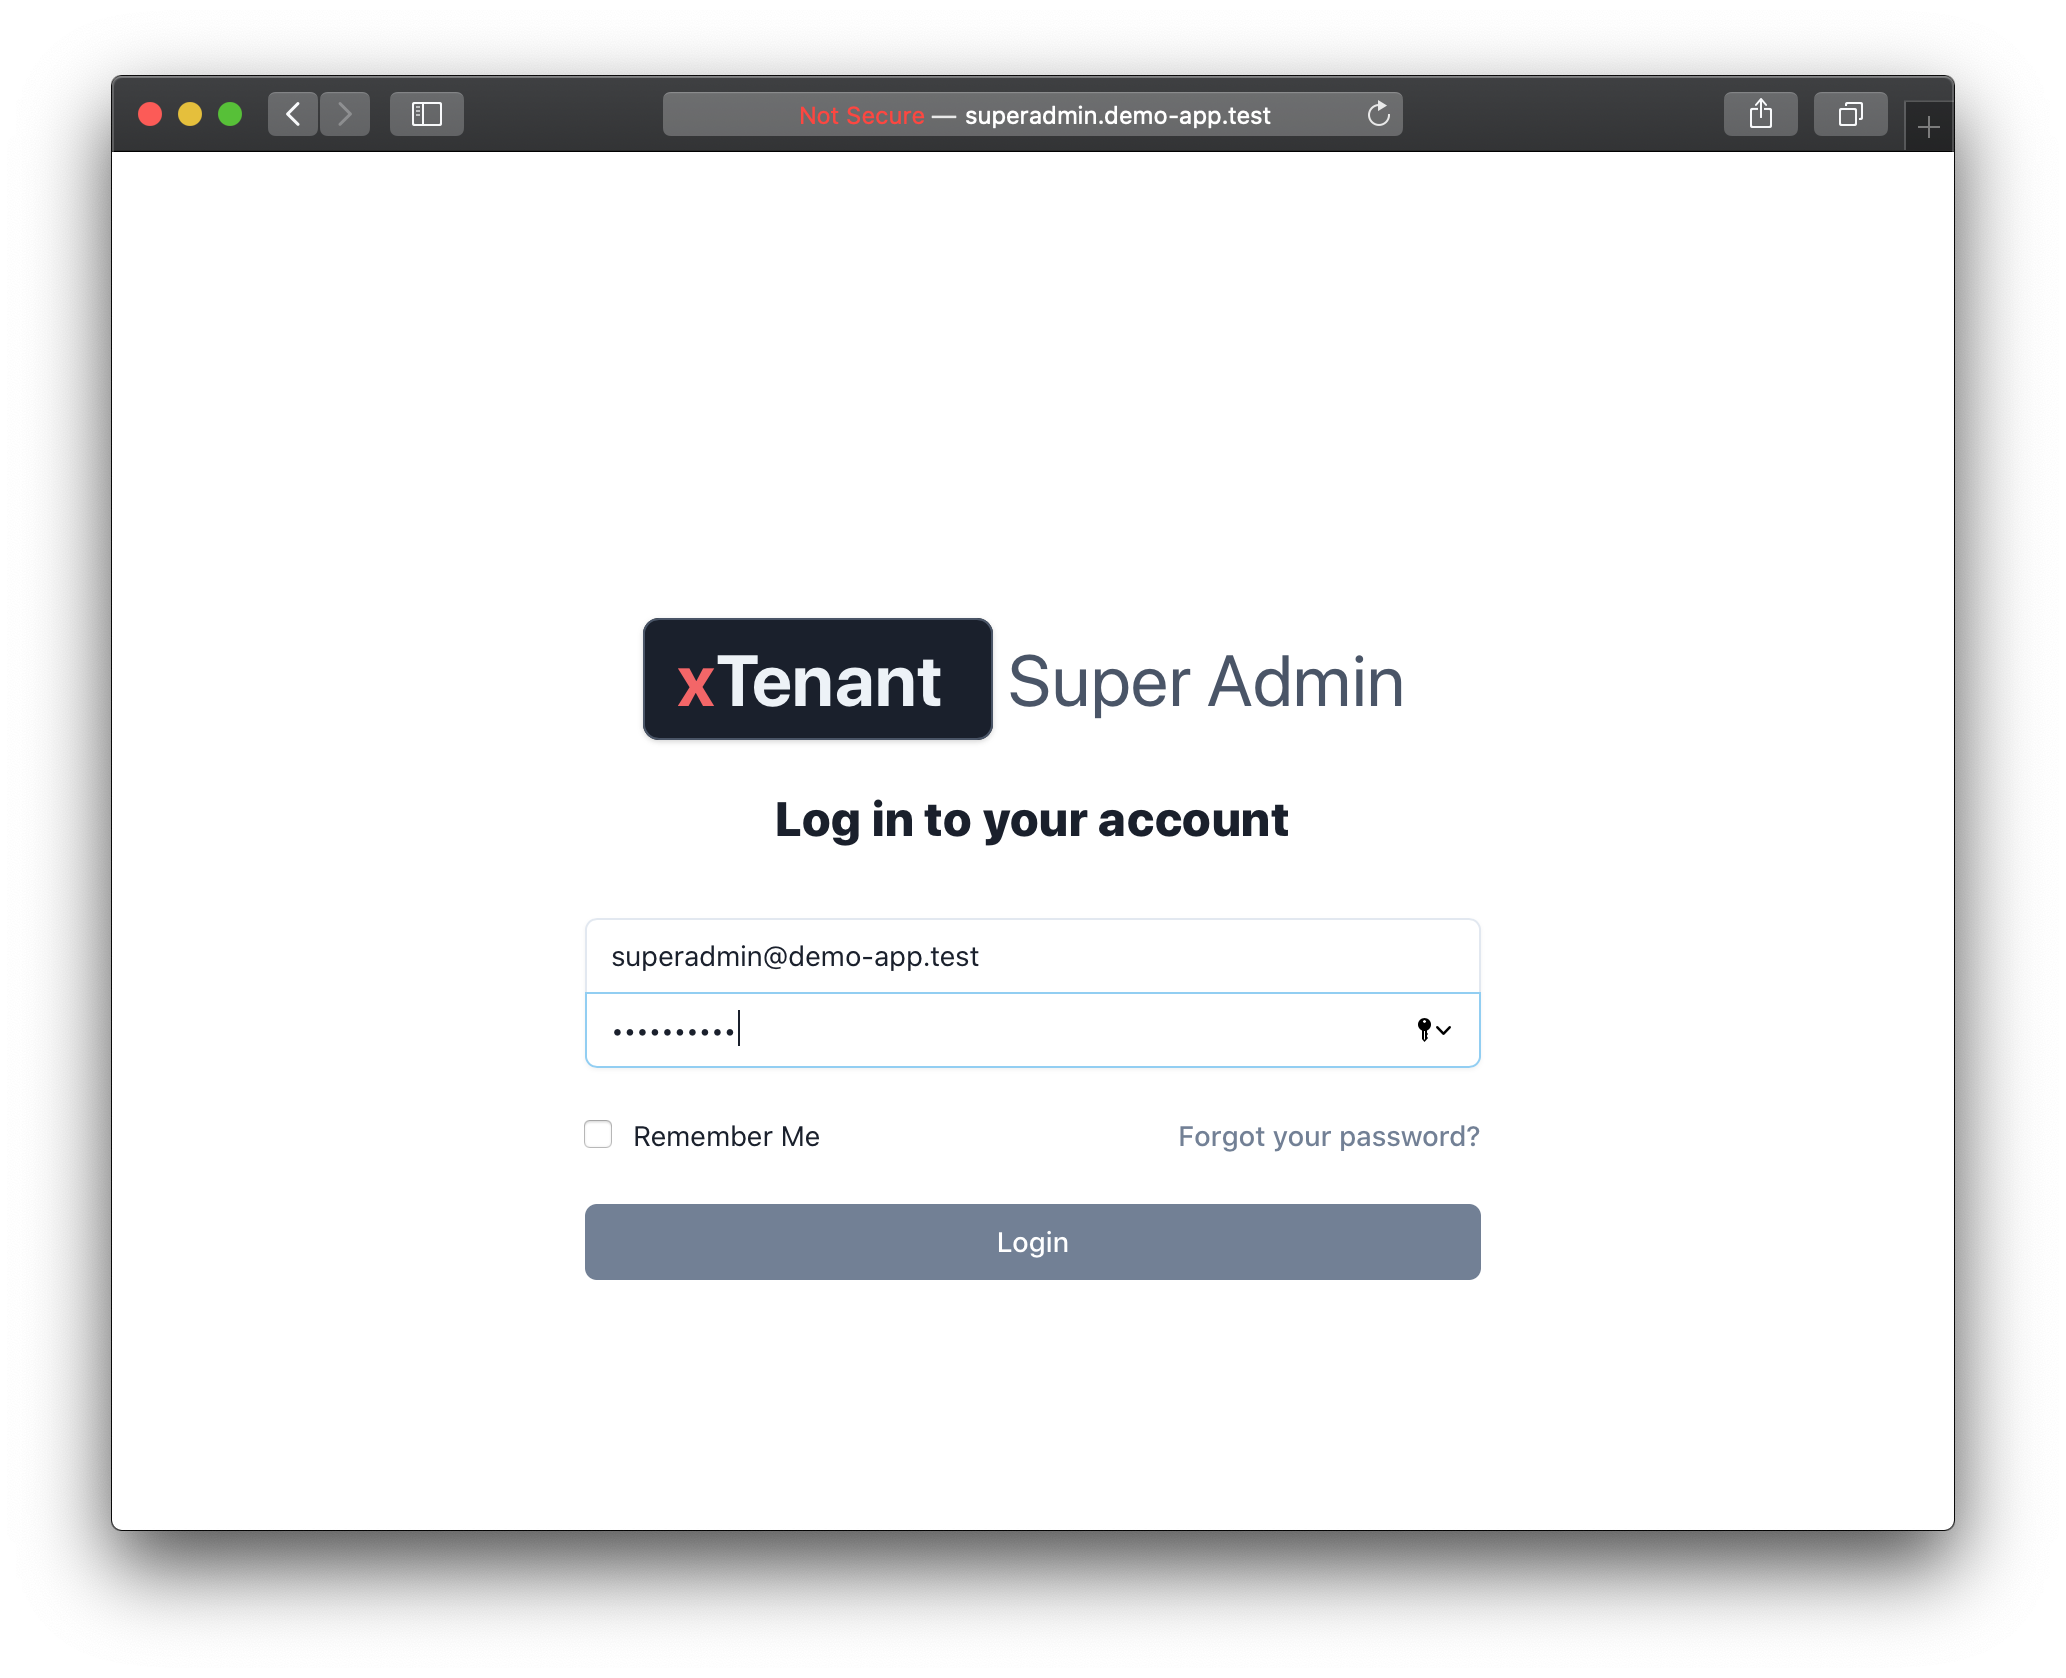
To create a new tenant or manage existing ones, you will need to access the SuperAdmin web interface:
http://[superadmin].demo-app.test/login
Enter your credentials (SuperAdmin's email address and password) to connect.
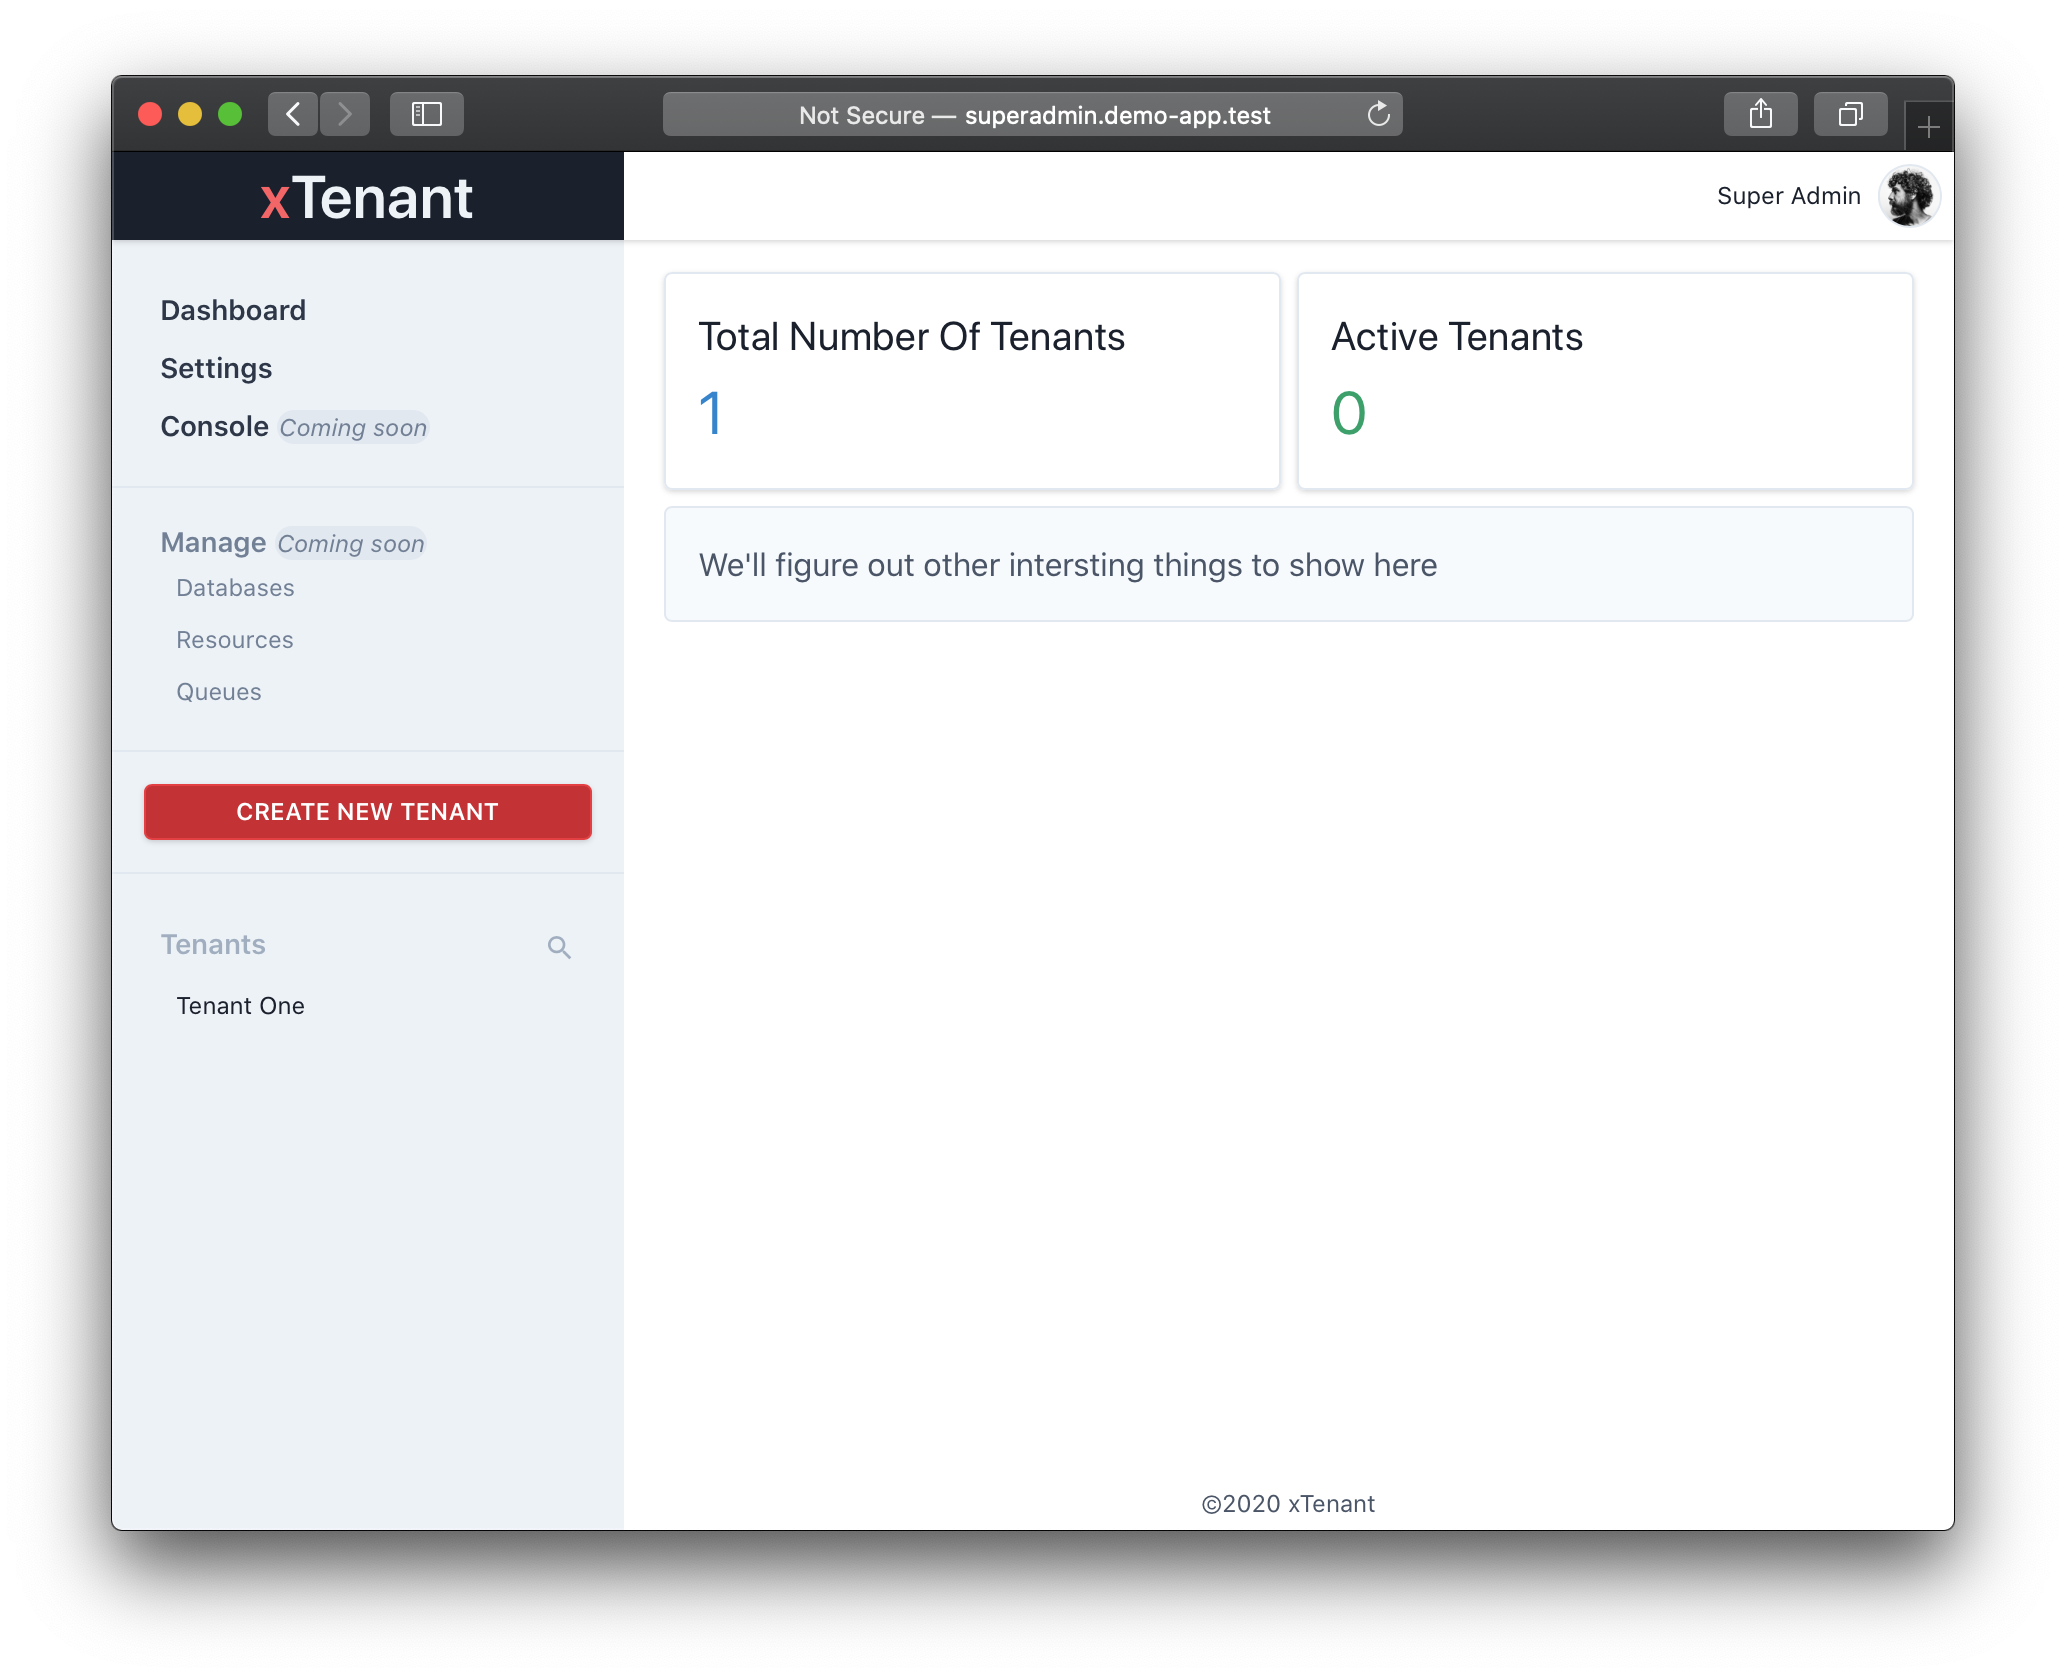
Then go ahead and click on the "Create New Tenant" red button to create your first tenant.
3/ That's all. If everything is ok you will be able to access your tenant at:
http://[tenant_subdomain].demo-app.test
ROAD MAP
- PostgreSQL and SQLServer support
- Handling Queues
- Web Console
- Manage Databases (Backups & Restorations)
FAQ
- Is it free?
Yes!
- Can I contribute?
Yes!
- How to support?
Anything you can do to help is appreciated :)
FEEDBACK
Feedbacks are welcome!
Feel free to open issues or direct contact me via twitter (@FBNKCMaster)
CONTRIBUTION
xTenant is an open source project and anyone can contribute to make it better.
So if you like the philosophy and the idea, feel free to fork, test, PR, rise issues, suggest ideas and sponsor as well :)
CREDITS
Big thanks to the great community of [ Laravel + Vue.js/Alpine.js + Tailwind CSS ] especially:
- Taylor Otwell and the team: for Laravel, the great framework
- Tom Schlick: being the first to talk and bringing first insights and ideas about multi-tenancy with Laravel
- Mohamed Said: for his tutorials on youtube and write-ups about this complex subject
- Adam Wathan and the team: for the awesome Tailwind CSS
- Caleb Porzio: for Alpine.js (really sweet alternative to Vue.js)

