adigital / help-links
Define useful links to be added to the dashboard for clients.
Installs: 2 004
Dependents: 0
Suggesters: 0
Security: 0
Stars: 10
Watchers: 3
Forks: 1
Open Issues: 2
Type:craft-plugin
pkg:composer/adigital/help-links
Requires
- craftcms/cms: ^5.0.0
README
Define useful links to be added to the dashboard for clients.
Requirements
This plugin requires Craft CMS 5.0.0 or later.
Installation
To install the plugin, follow these instructions.
-
Open your terminal and go to your Craft project:
cd /path/to/project -
Then tell Composer to load the plugin:
composer require adigital/help-links -
In the Control Panel, go to Settings → Plugins and click the “Install” button for Help Links.
Help Links Overview
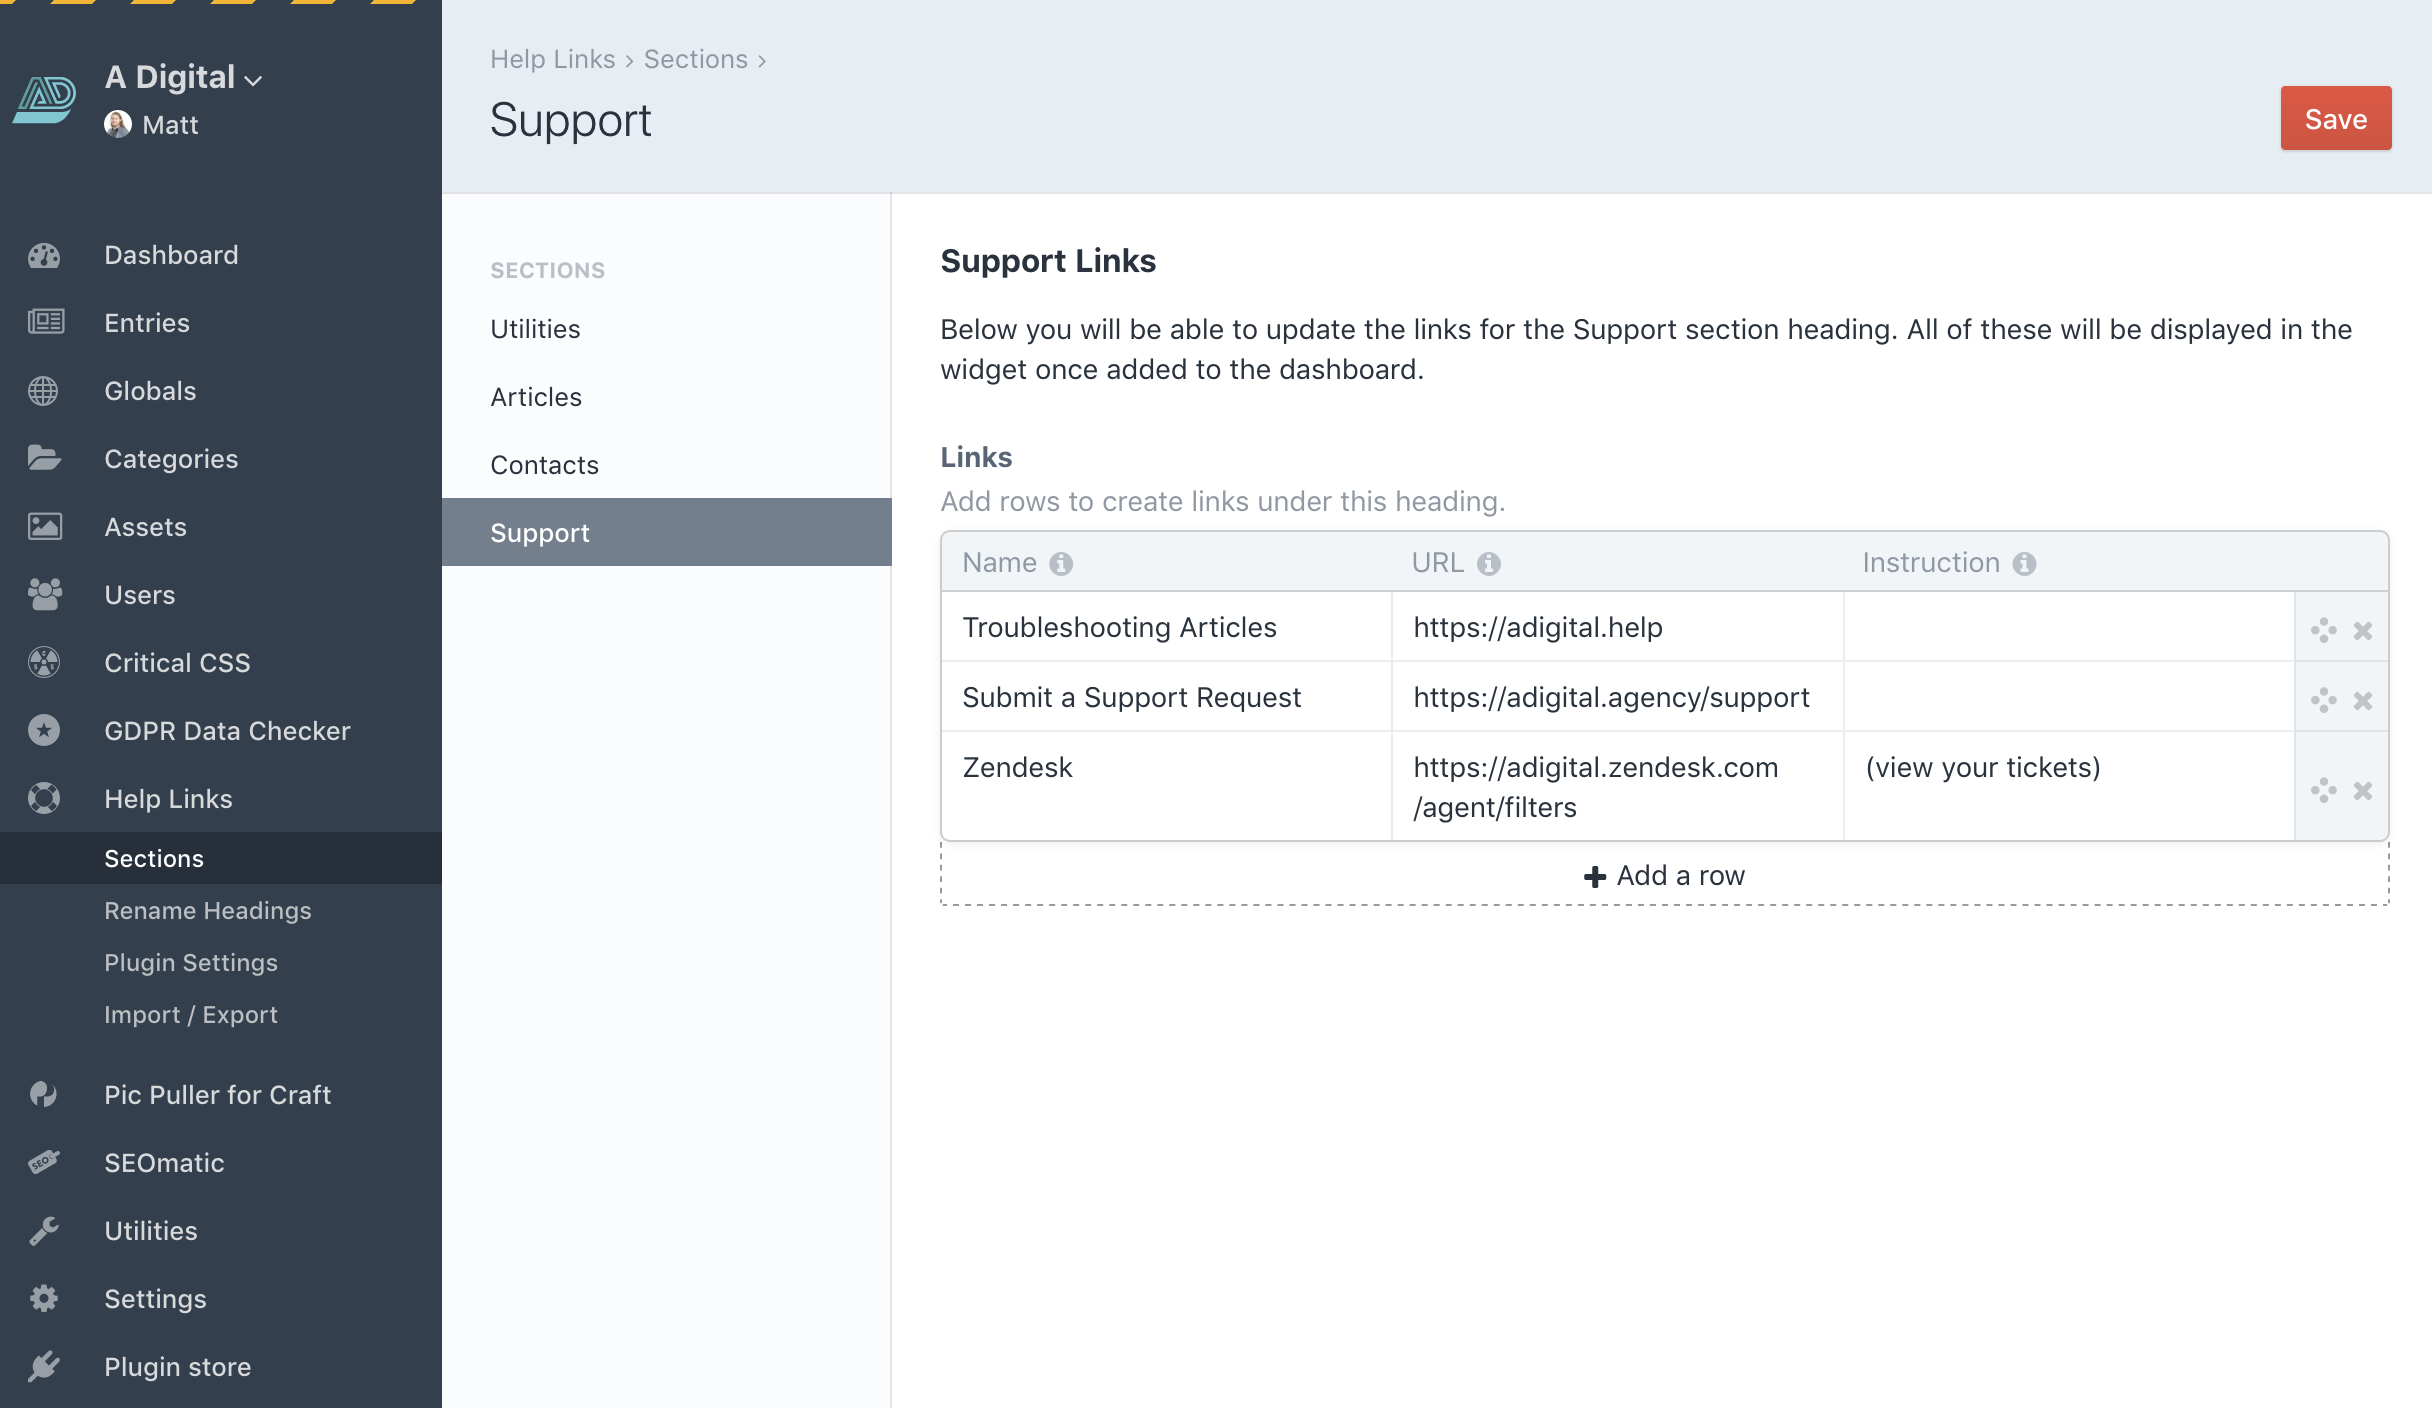
This widget can be used to display useful links on the dashboard for clients. You can create as many headings as you need in the plugin settings to separate out the content clearly. Each link can have a title, url, and additional comment. This plugin was inspired by the talk Katie Fritz gave at dot all 2018 in Berlin about Prioritising Author Experience.
Configuring Help Links
Create your section headings in the plugin settings page. Then click Help Links in the sidebar and configure the links for each of these headings you have created.
Pre Populating Help Links
If like us, you are going to be using this for multiple clients but most of the links will remain the same, then you can pre-populate your settings and links for this plugin. There are 2 ways of doing this.
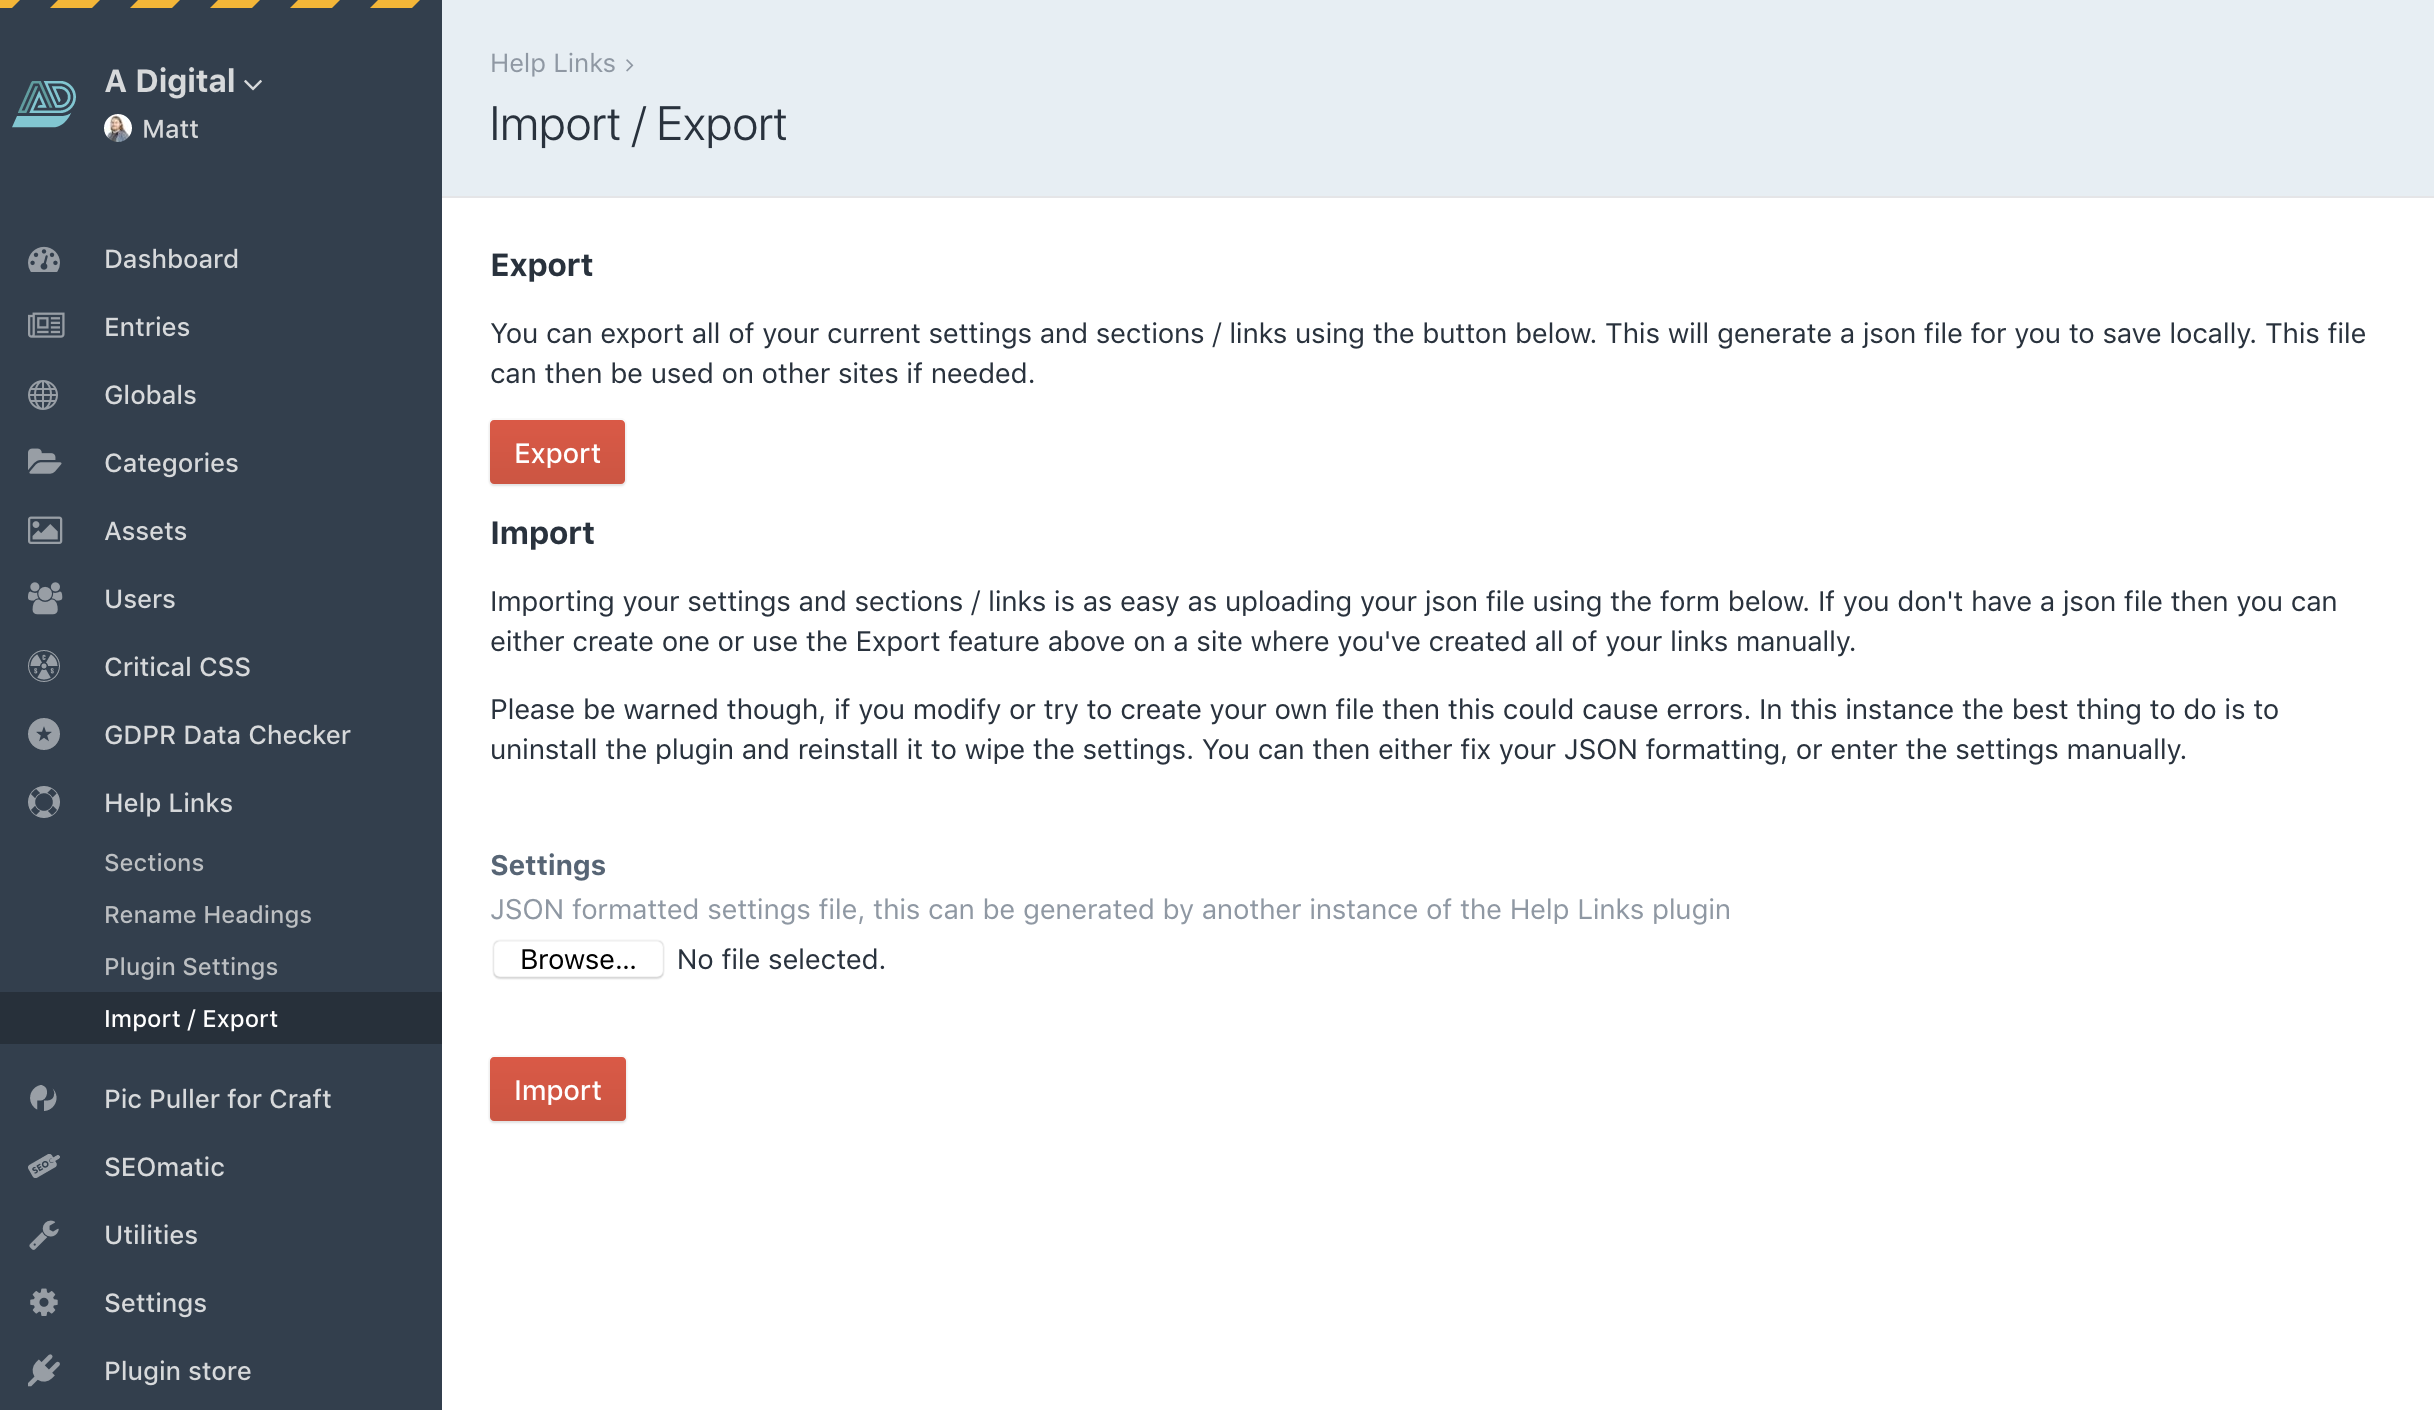
Import / Export using the plugin
We've created an Import / Export page within the plugin which you can use. Once you have manually populated the links on one site, you can export these to a JSON formatted file. This file can be imported into a clean install, and it will then generate all of your links for you. From here you can then edit them as needed to make them site specific. This is our recommended method for pre-populating your links.
Use a migration
You can also create a content migration and run it within the CMS once the plugin is installed. You can then edit the settings in the usual way as needed.
A code example can be found below for setting up a migration to run with this plugin, just make sure you add use adigital\helplinks\HelpLinks; to the top of the file.
$settings = [
	"widgetTitle" => "Help Links",
	"sections" => [
		["Documentation"],
		["Support"]
	]
];
HelpLinks::$plugin->helpLinksService->updateSettings($settings['widgetTitle'], $settings['sections']);

$request = [];
$request["heading"] = "Documentation";
$request["position"] = "1";
$request["links"][] = [
	"Test",
	"https://www.test.com",
	"This is a test"
];
$request["links"][] = [
	"Another",
	"https://www.google.co.uk",
	"(Google)"
];
HelpLinks::$plugin->helpLinksService->generateSection($request);

$request = [];
$request["heading"] = "Support";
$request["position"] = "2";
$request["links"][] = [
	"Zendesk",
	"https://adigital.zendesk.com/agent/filters",
	"(tickets)"
];
HelpLinks::$plugin->helpLinksService->generateSection($request);
Using Help Links
Once configured, add the widget to your dashboard.
Screenshots
Dashboard
Settings
Section Links
Rename Headings
Import / Export
Permissions
Brought to you by A Digital


